Configure TACACS Client in miniOrange
With miniOrange manage and increase security of all of your devices including tacacs routers and switches. miniOrange provides you a centralized dashboard where you can add all your TACACS devices and configure their authentication source like verifying user identities from Active Directory. For increasing or adding the extra layer of Security miniOrange provides you multi factor authentication on top of regular authentication. It can be AD authentication + MFA or local authentication + MFA.
Follow the Step-by-Step Guide given below for configuring the TACACS Client in miniOrange
1. Tacacs Apps Configuration for single IPS
- Login into miniOrange Admin Console.
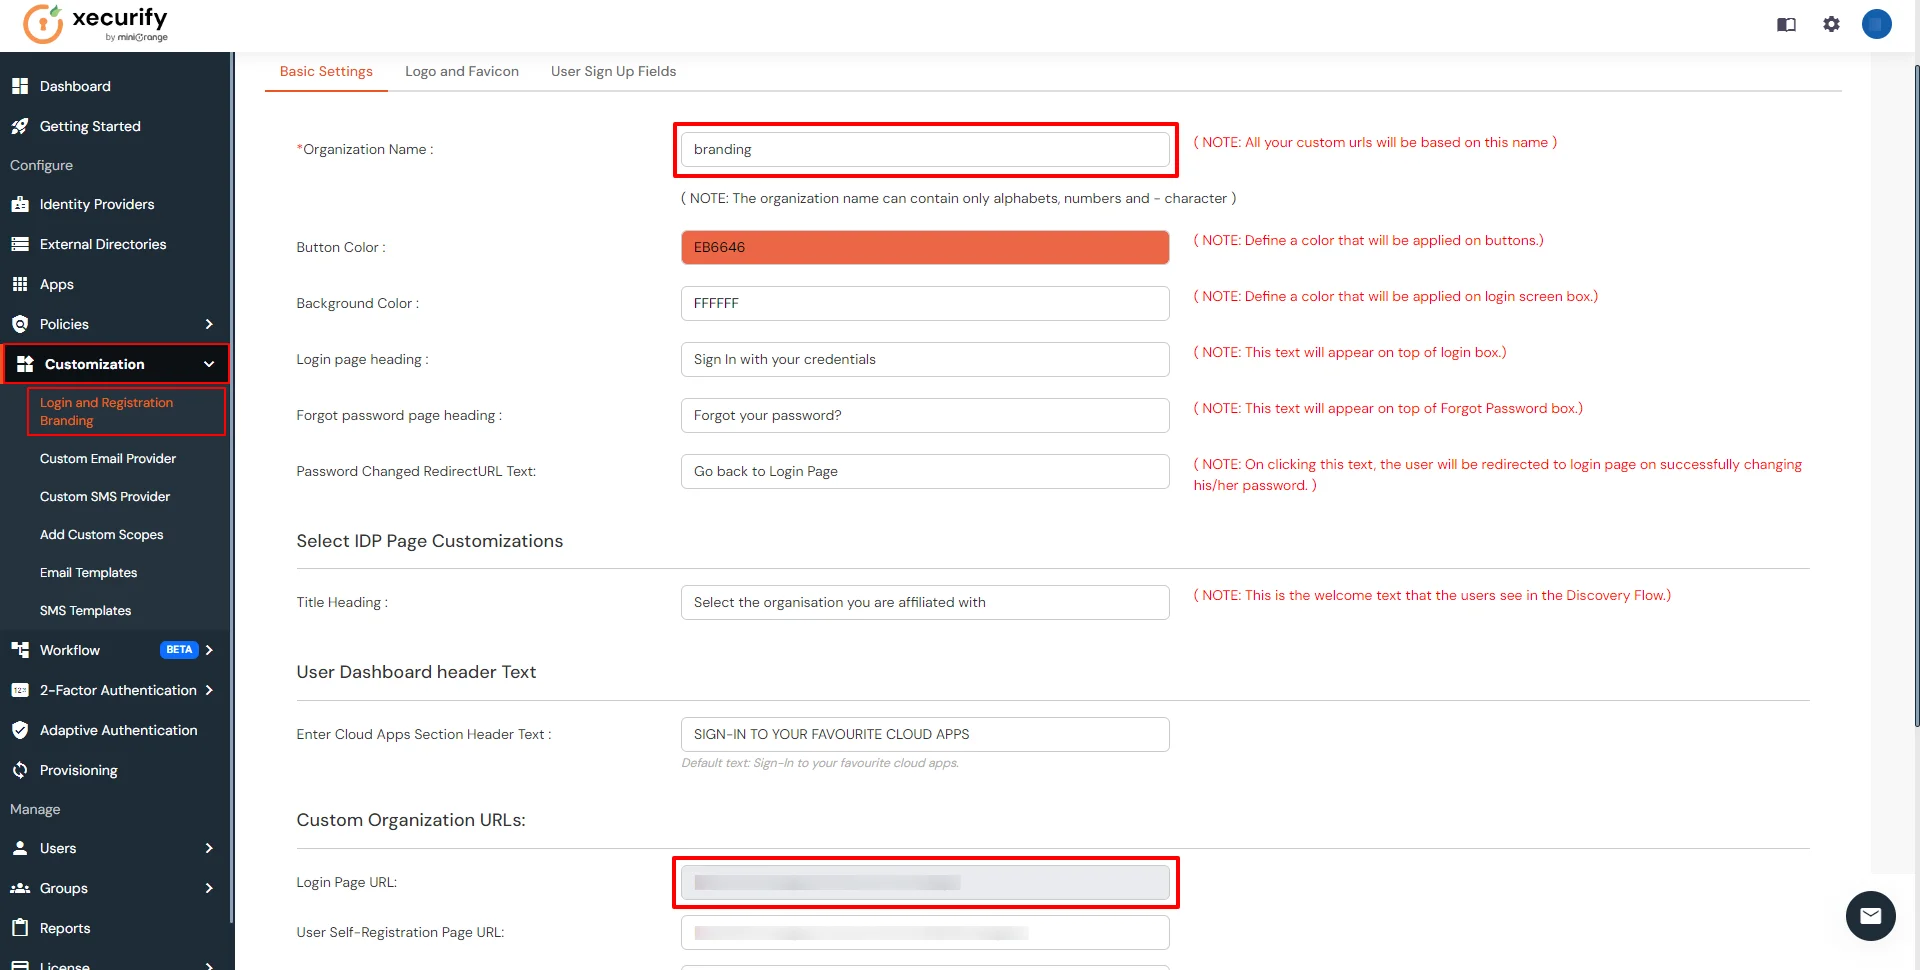
- Click on Customization in the left menu of the dashboard.
- In Basic Settings, set the Organization Name as the custom_domain name.
- Click Save. Once that is set, the branded login URL would be of the format https://<custom_domain>.xecurify.com/moas/login
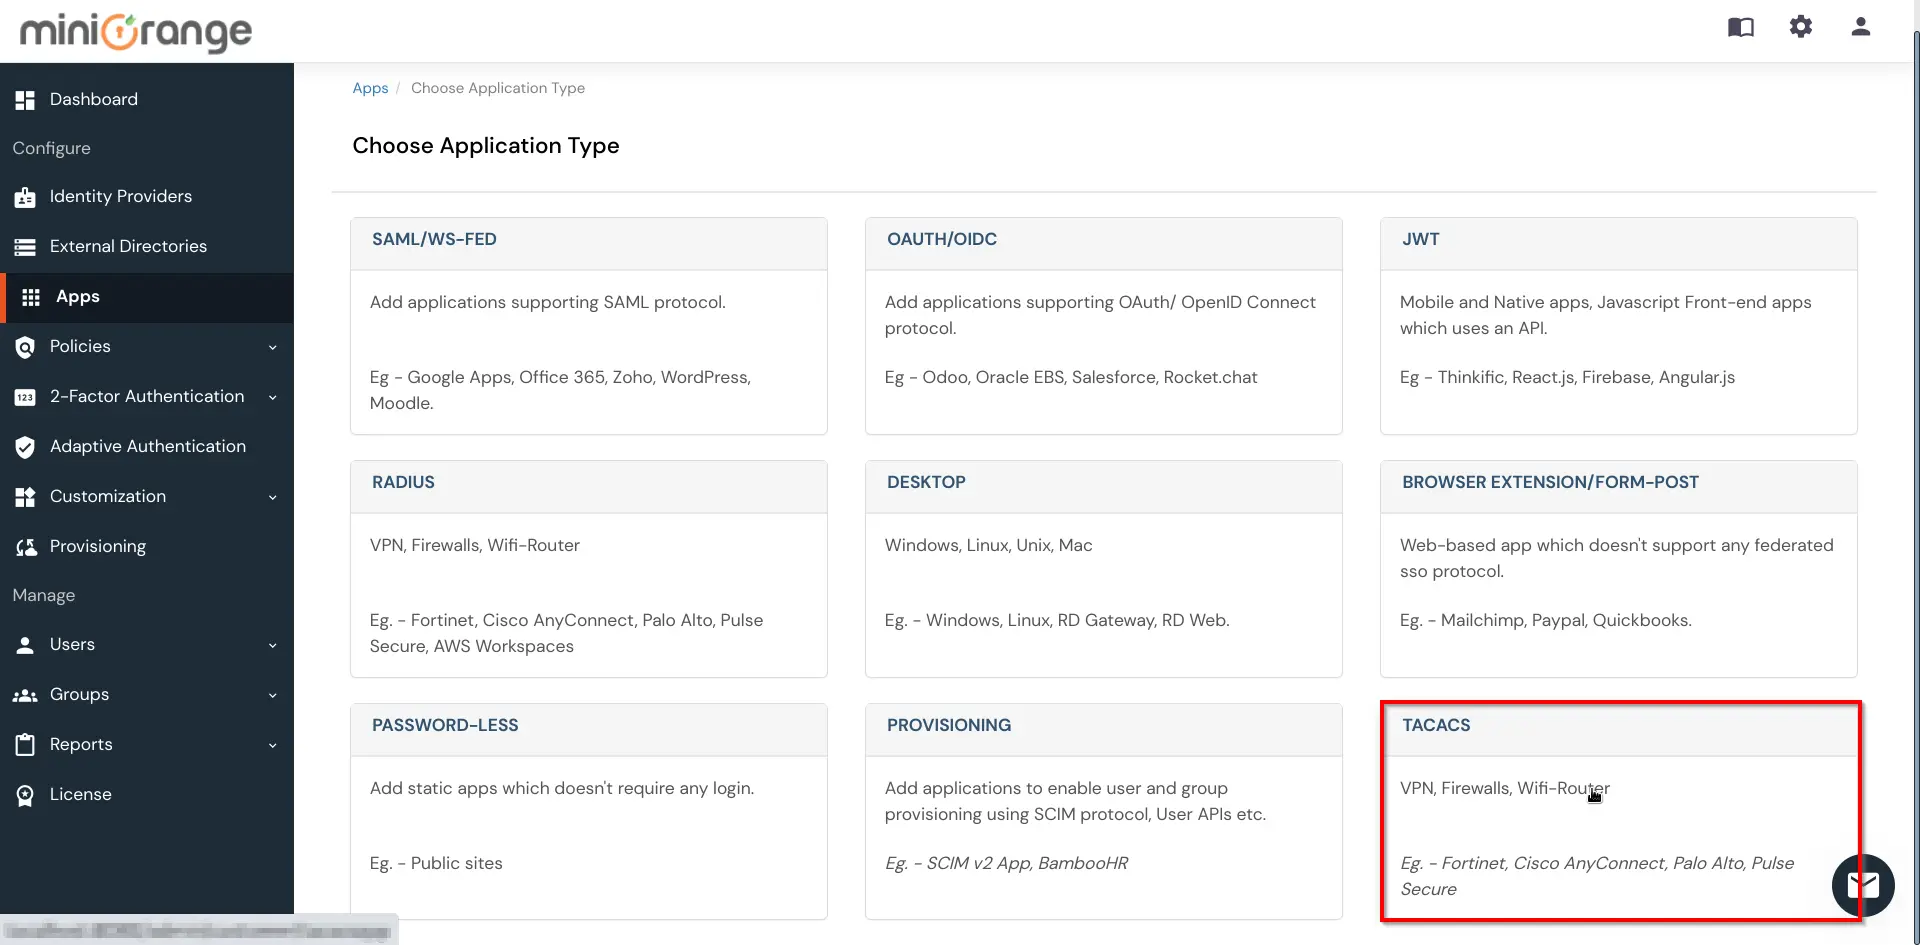
- Go to Apps Click on Add Application button.

- Select TACACS as application type from All Apps dropdown.
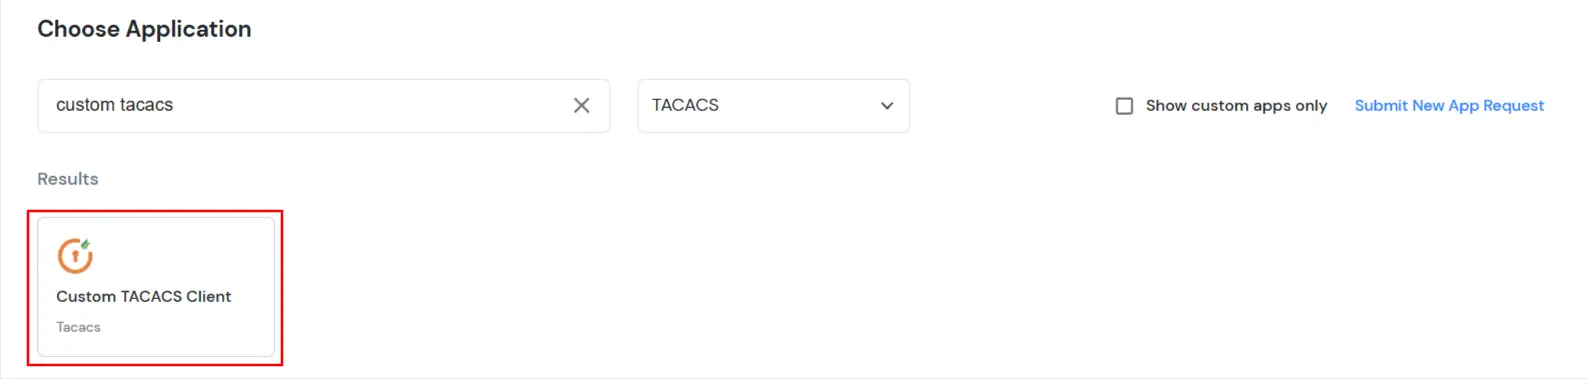
- Search for your application from the list, if your application is not found. Search for Custom Tacacs Client and you can set up your app via Custom Tacacs Client.
- Under the Basic tab, the user can fill out all required fields such as Display Name, Client IP, and Shared Secret. These are mandatory fields.

| Client Name: |
Any name for your reference. |
| Client IP: |
IP address of network device which will send TACACS authentication request. |
| Shared Secret: |
Security key.
For Eg. "sharedsecret"
(Keep this with you, you will need to configure same on TACACS client). |
- The Save button will appear on the Basic or Advanced tabs only when there is a single IP.
Note:
- In the case of multiple IPs, the Save button will appear only when the user navigates to the Policies tab.
- Then the user can save the application either without navigating to the Advanced tab or after filling in the fields on the Advanced tab.
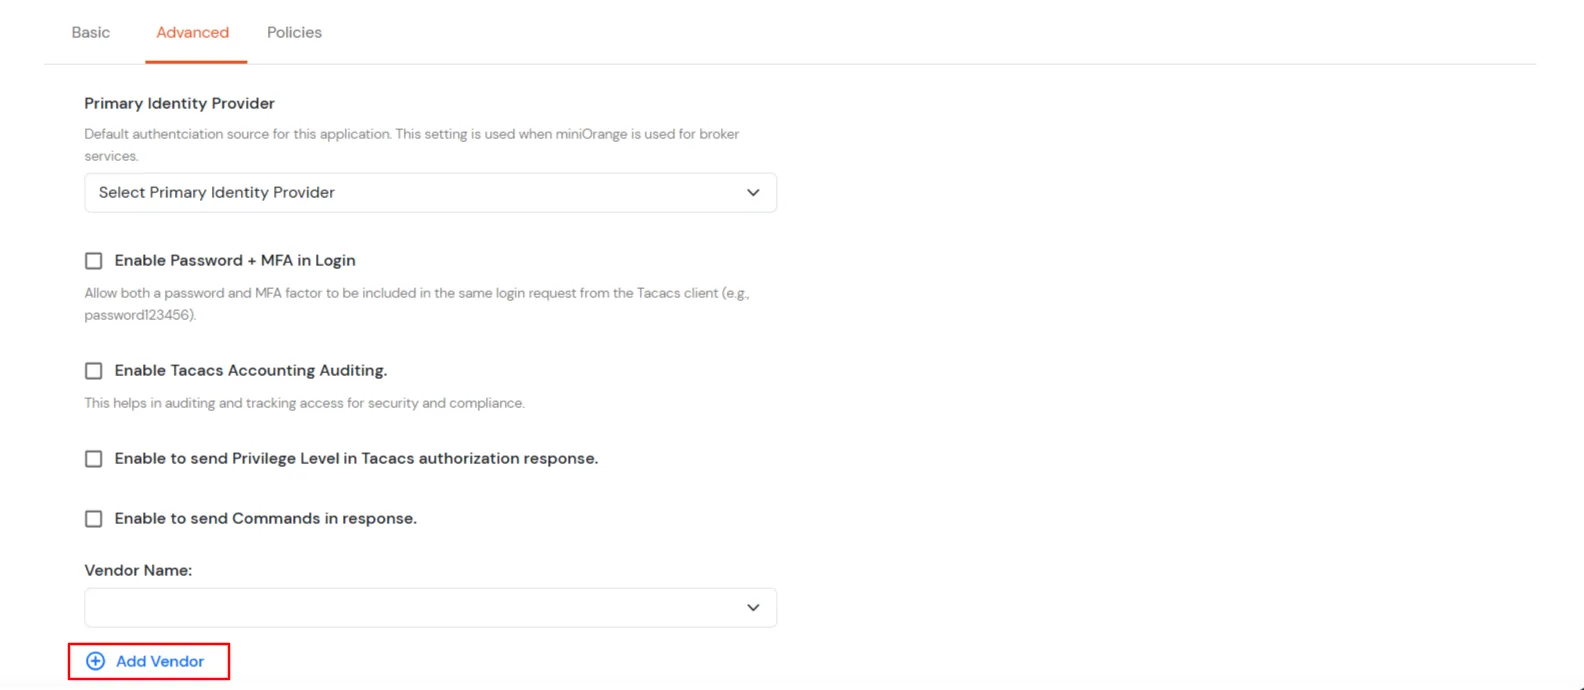
- In the Advanced Settings tab, there is a button called Add Vendor. When the user click this button, a modal titled Add Vendor will open, containing a single input field.
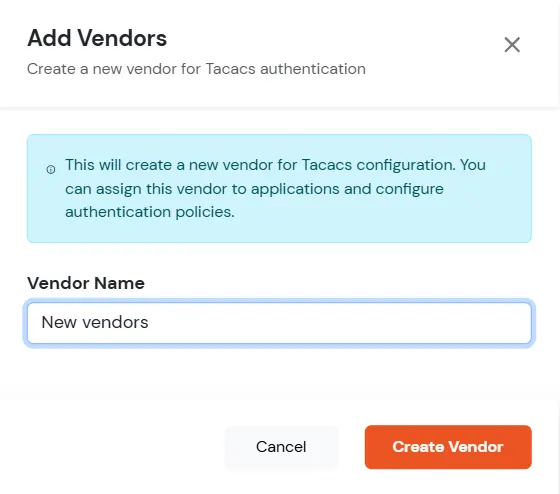
- Click on Create New Vendor button. The vendor will be added through a POST call, and a toast confirmation message will displayed.
- Click on Save button.
2. Tacacs Apps Configuration for Multiple IPS
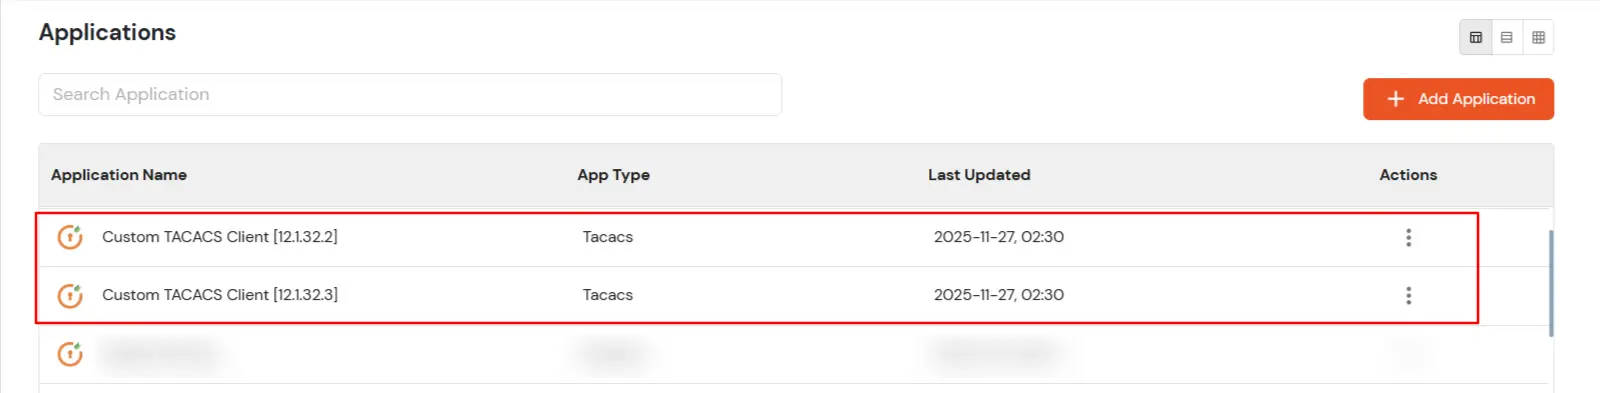
- In the Basic tab, the user can add multiple IPs for the same application using click on Add Client IP button. When saved, separate applications are created for each IP.

- In the case of multiple IPs, the Save button appears only when the user navigates to the Policies tab.
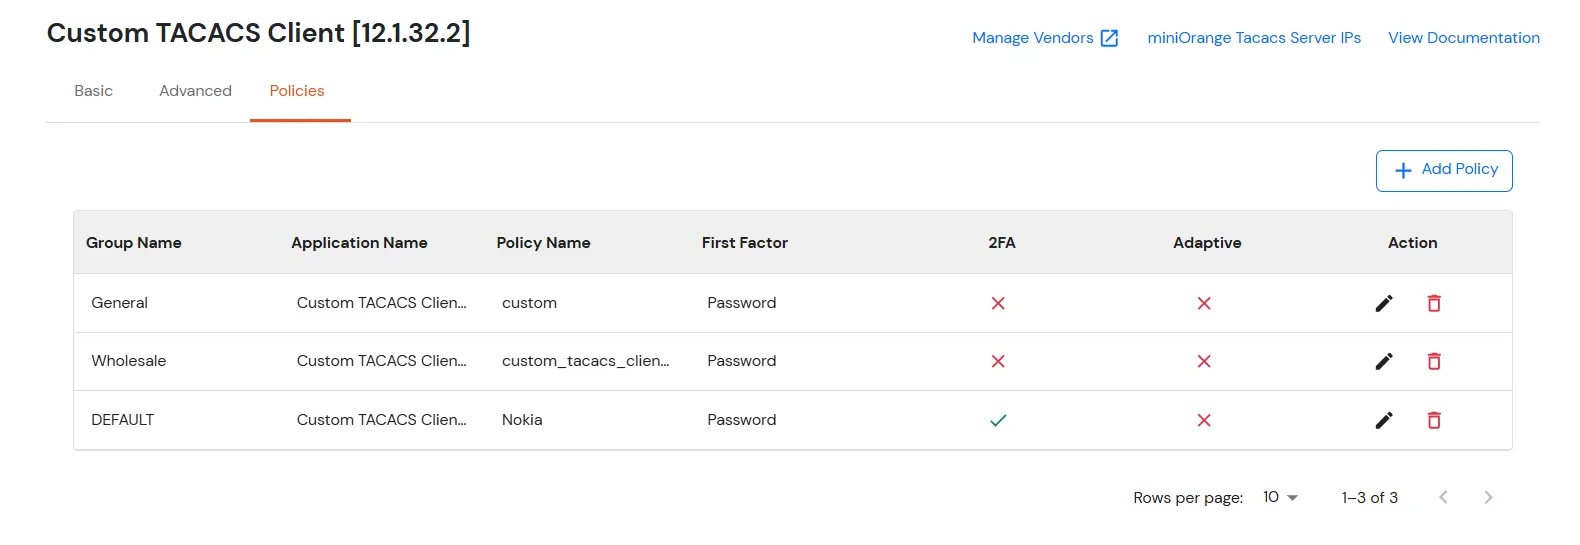
- If the user completes all mandatory fields in the Basic tab and moves to the Policies tab, an Add Policy button will appear. The user can add multiple policies here before saving the application.

- Click on the Add Policy.
-
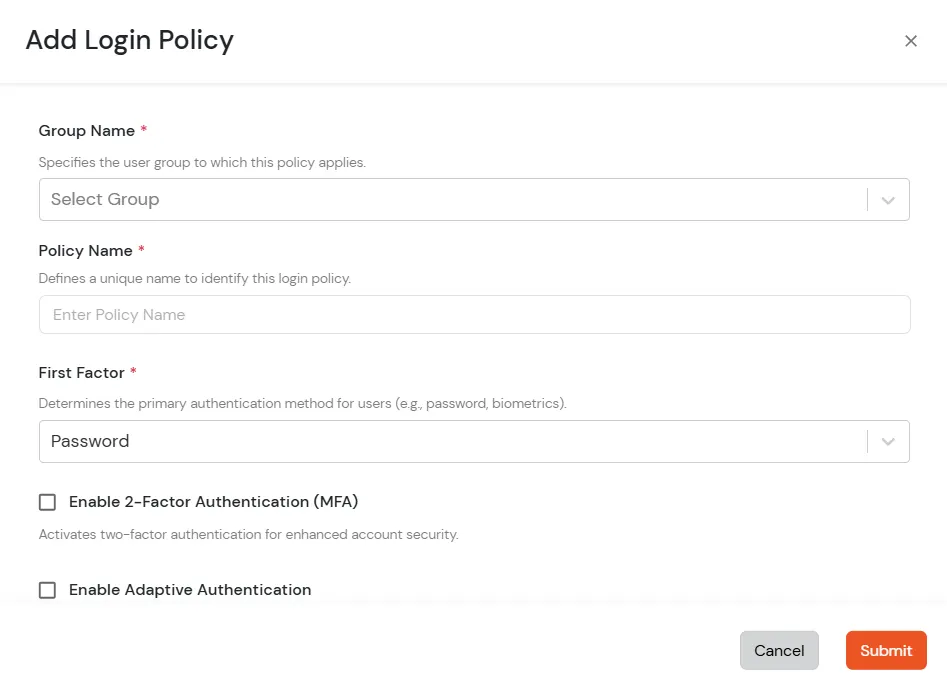
Configure the following Login Policy details for the TACACS Client.
| Group Name: |
Group for which the policy will apply. |
| Policy Name: |
Any Identifier that specifies policy name. |
| Login Method: |
Login Method for the users associated with this policy. |
| Enable 2-Factor Authentication |
Enables Second Factor during Login for users associated with this policy. |
| Enable Adaptive Authentication |
Enables Adaptive Authentication for Login of users associated with this policy. |
- Click on Submit.
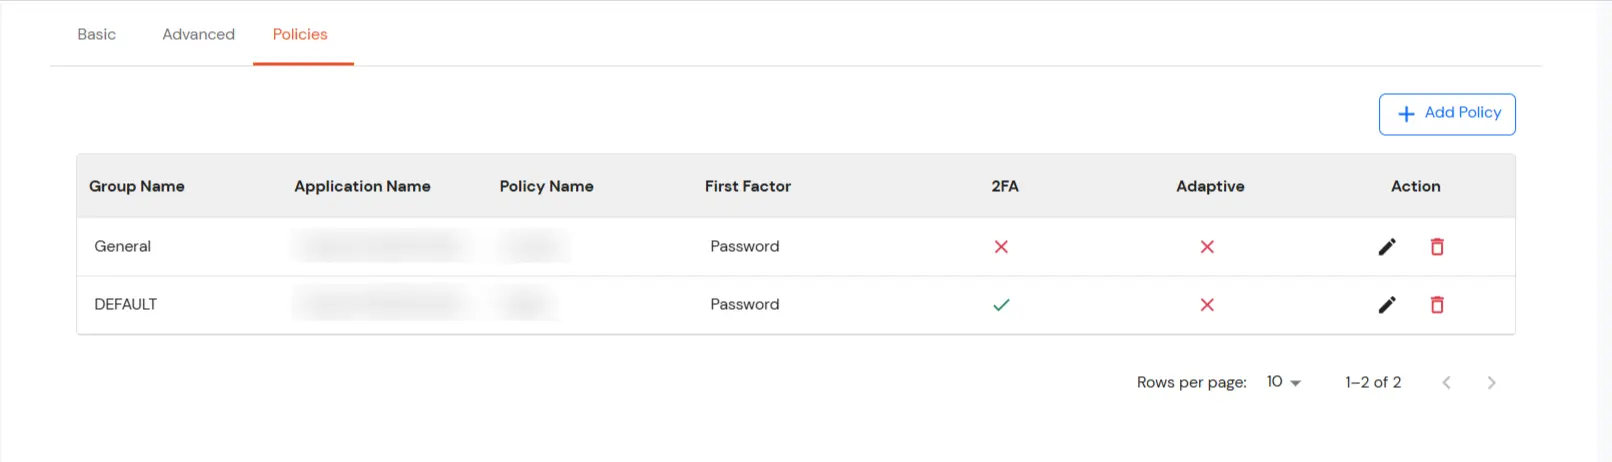
- You will see the policy listed once it’s successfully added.
- When the user clicks the Save button, multiple applications will be created based on the number of IPs, and all policies will be added to each application.
- When you go to edit, you will see all policies should show for each application.
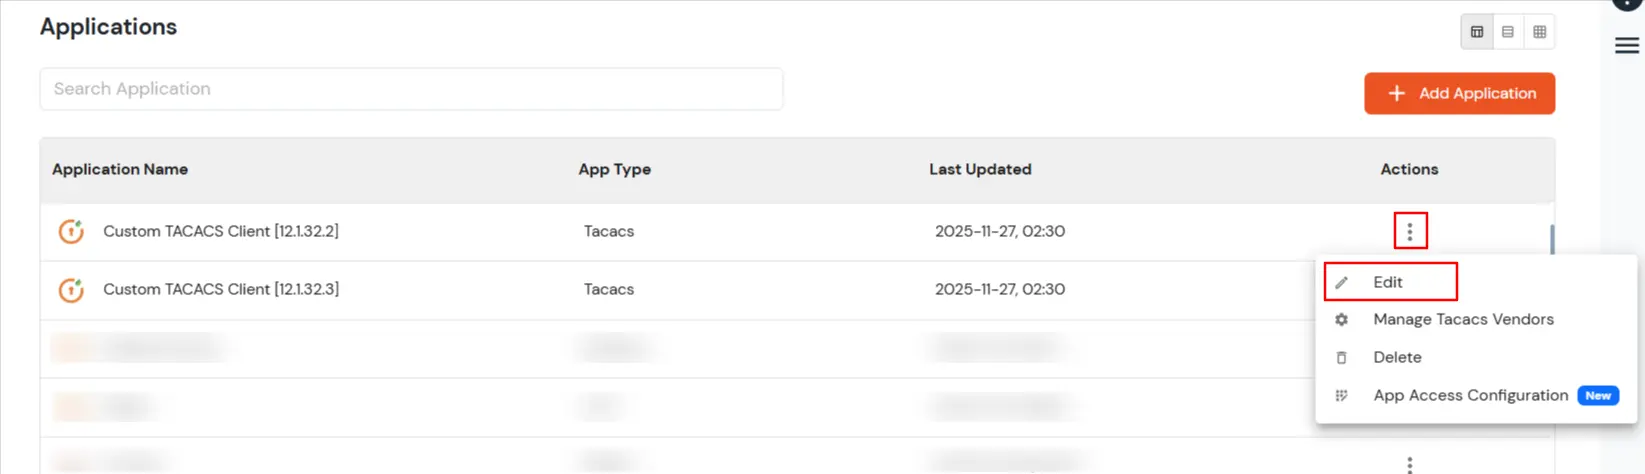
- See all policies added successfully for each application.
Further References
