Hello there!
Need Help? We are right here!
Need Help? We are right here!
Search Results:
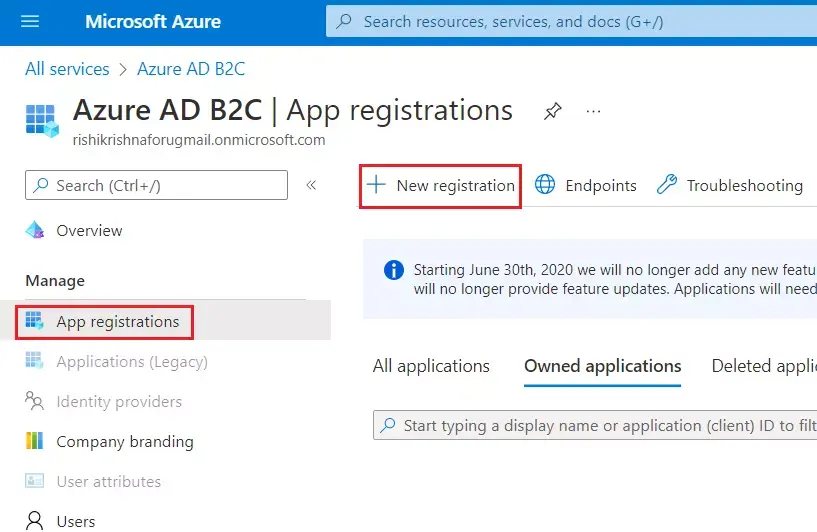
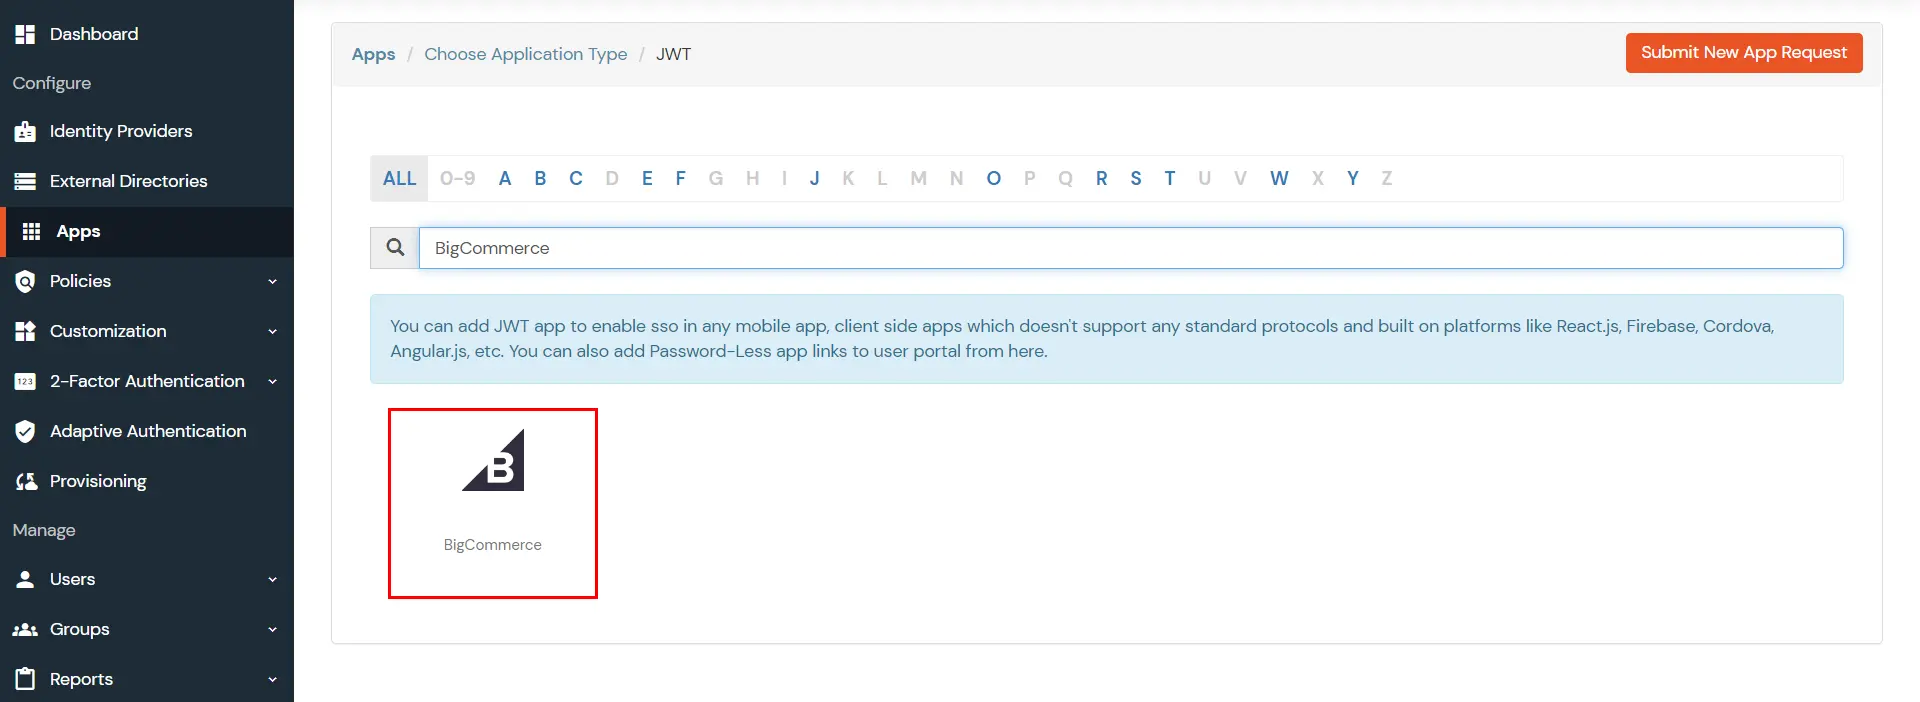
×miniOrange provides a ready to use Azure AD B2C solution for BigCommerce. This solution ensures that you are ready to roll out secure access to BigCommerce using Azure ad b2c within minutes. Azure Active Directory B2C provides business-to-customer identity service for your customers to use their preferred local account identities, social or enterprise to get Single Sign-On (SSO) access to your apps and APIs.
miniOrange offers free help through a consultation call with our System Engineers to Install or Setup BigCommerce SSO solution in your environment with 30-day free trial.
For this, you need to just send us an email at idpsupport@xecurify.com to book a slot and we'll help you in no time.
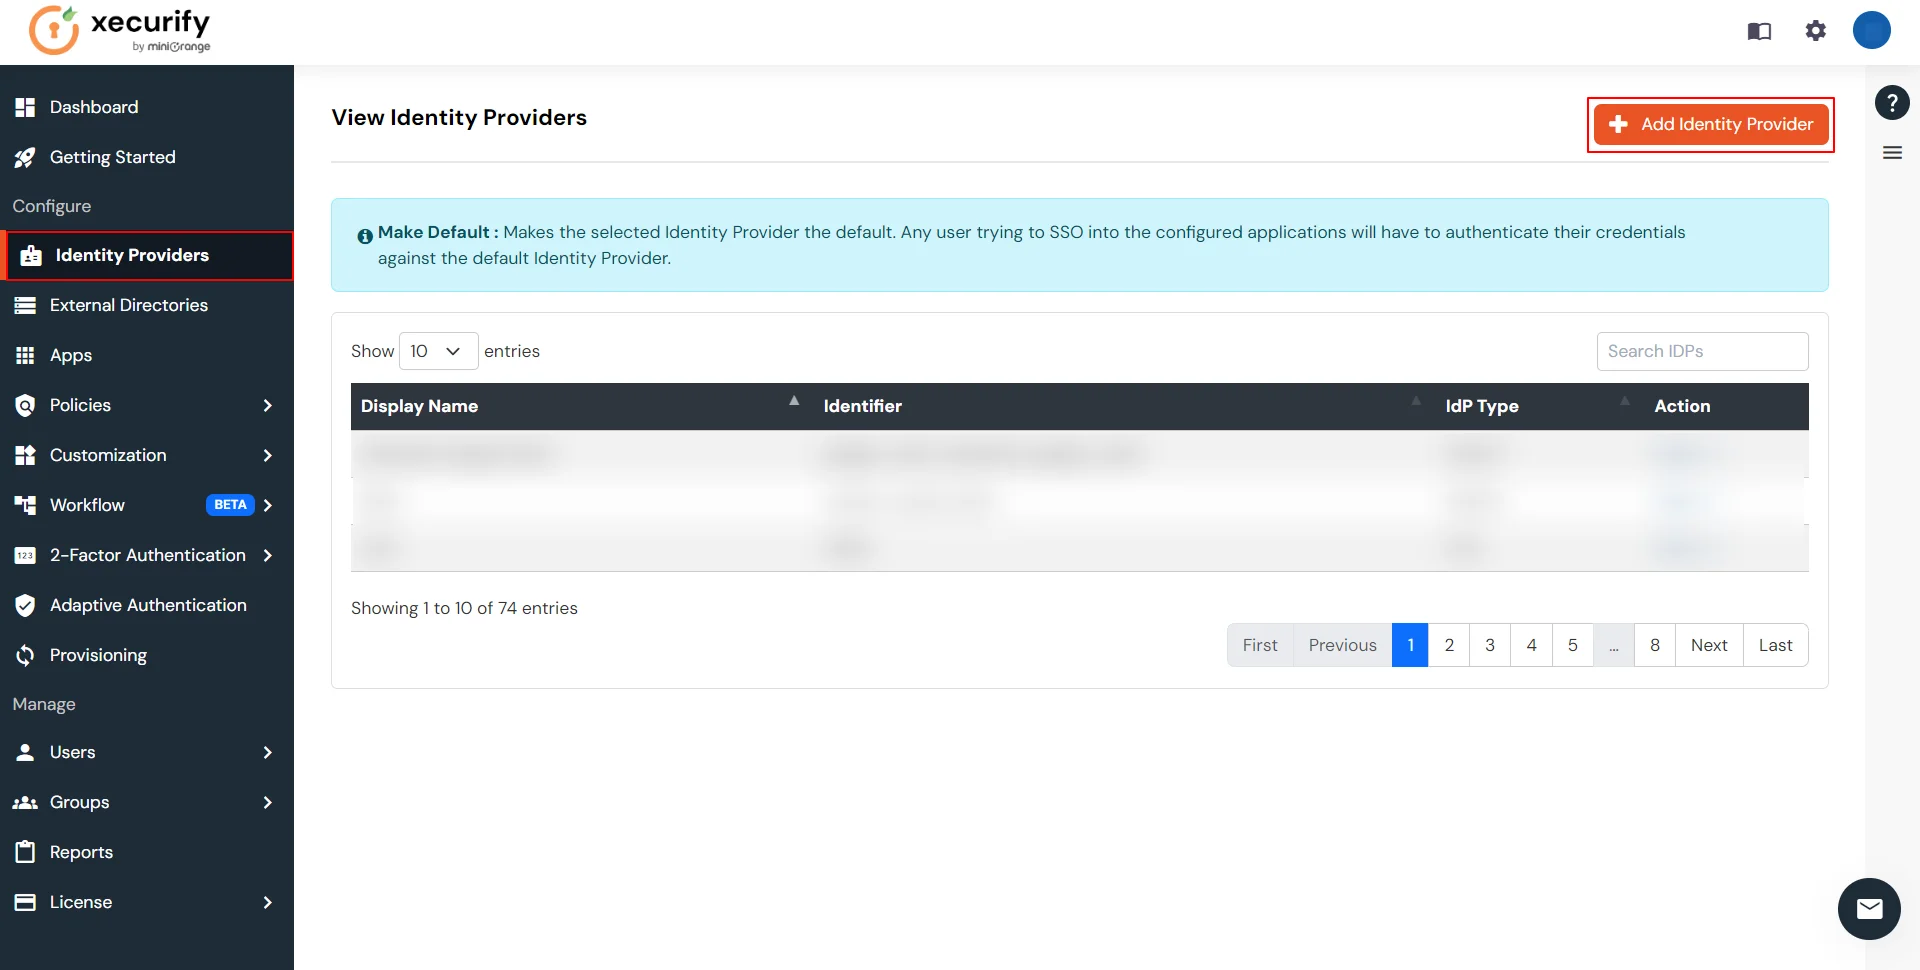
miniOrange provides user authentication from various external sources, which can be Directories (like ADFS, Microsoft Active Directory, OpenLDAP, AWS etc), Identity Providers (like Microsoft Entra ID, Okta, AWS), and many more. You can configure your existing directory/user store or add users in miniOrange.
Please make sure your organisation branding is already set under Customization >> Login and Registration Branding in the left menu of the dashboard.
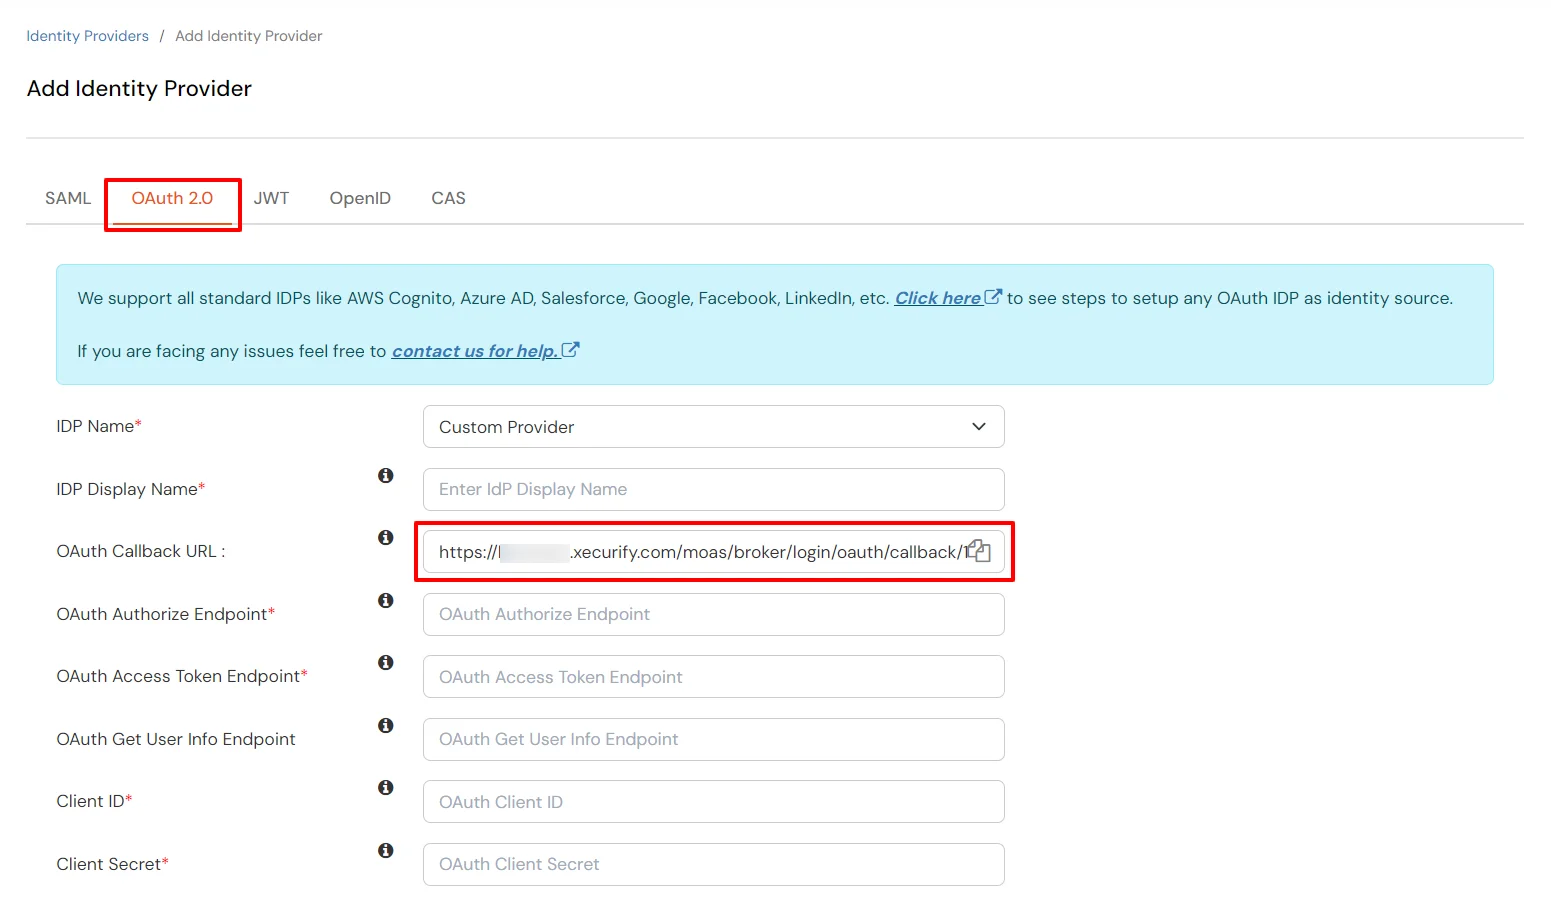

| IdP Name | Custom Provider |
| IdP Display Name | Choose appropriate Name |
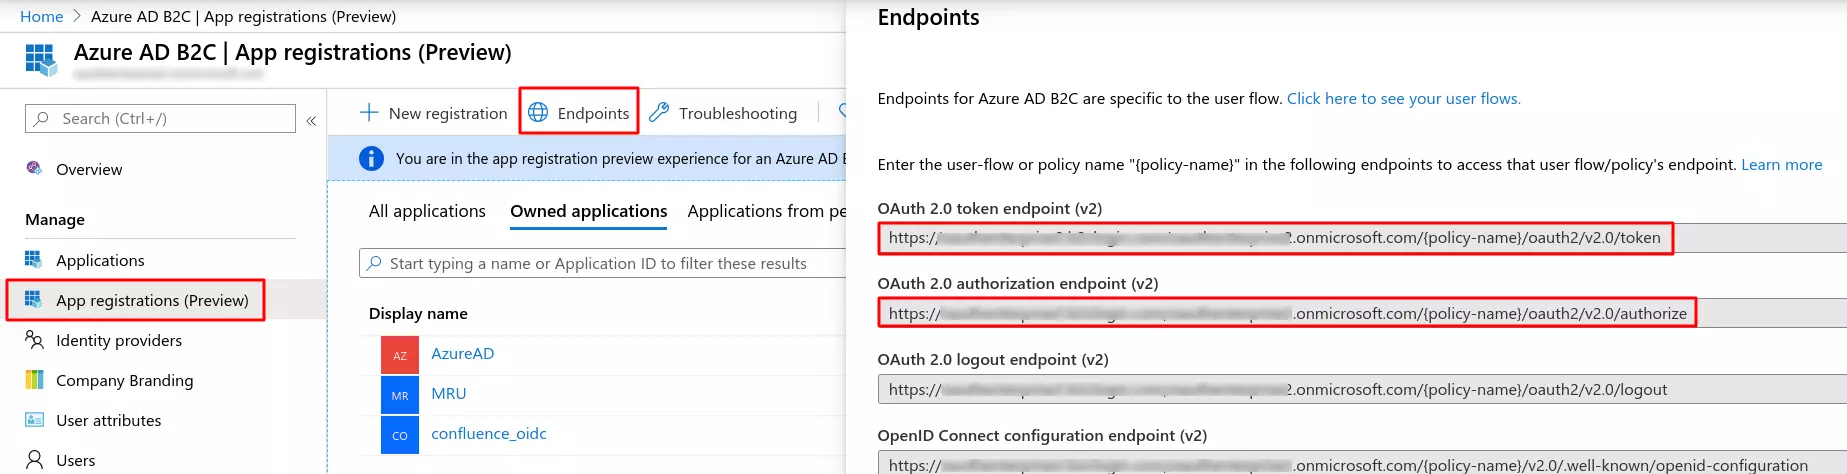
| OAuth Authorize Endpoint | From here | OAuth Access Token Endpoint | From here |
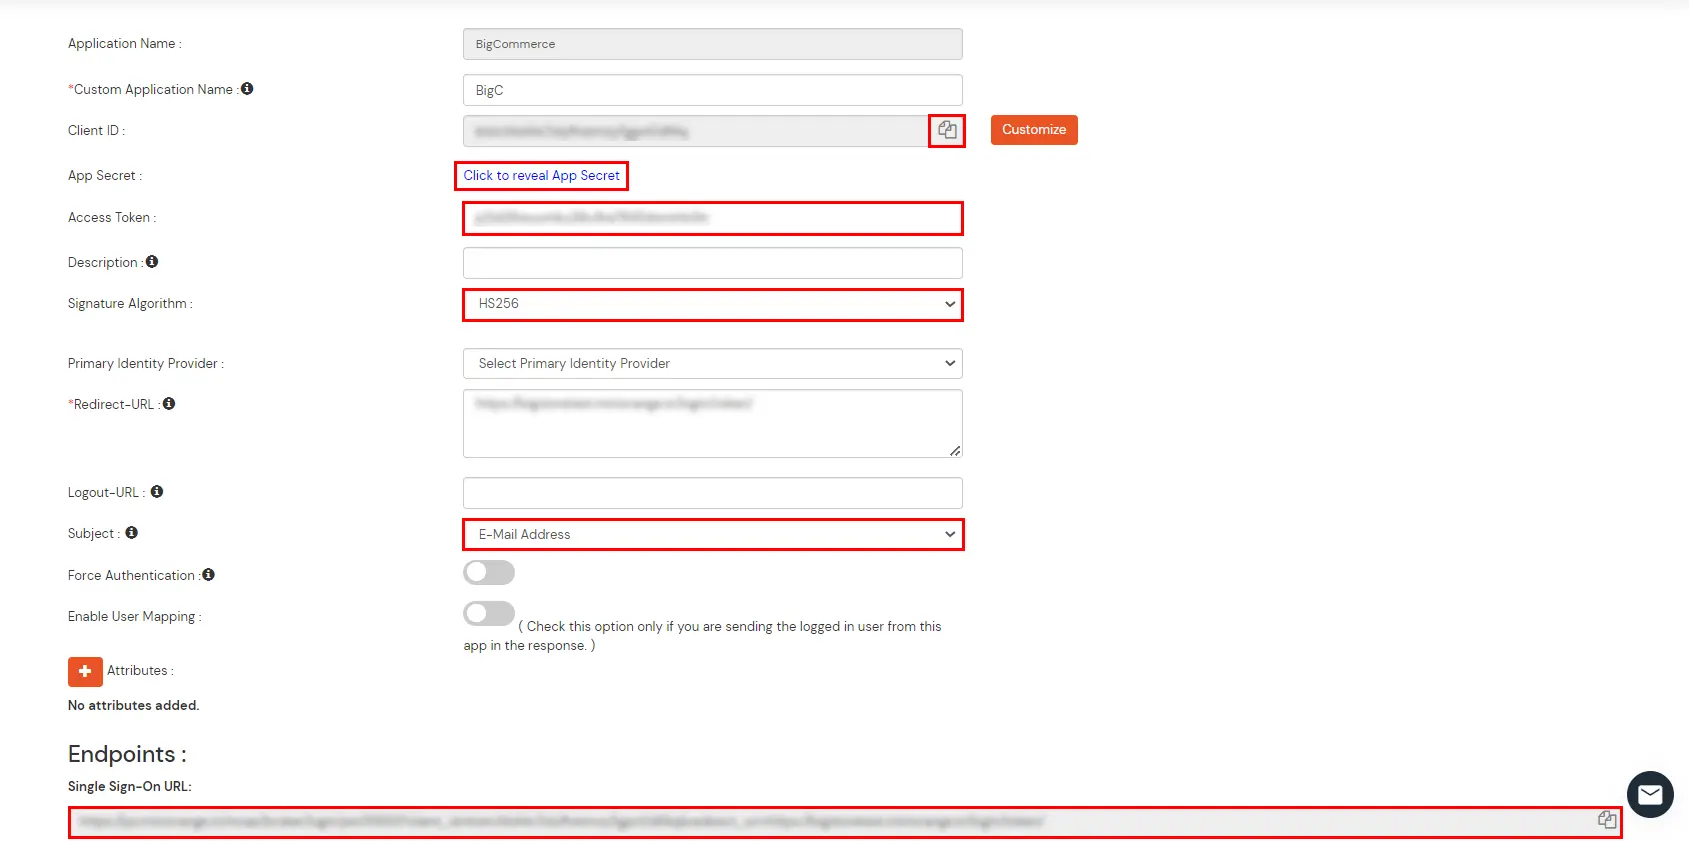
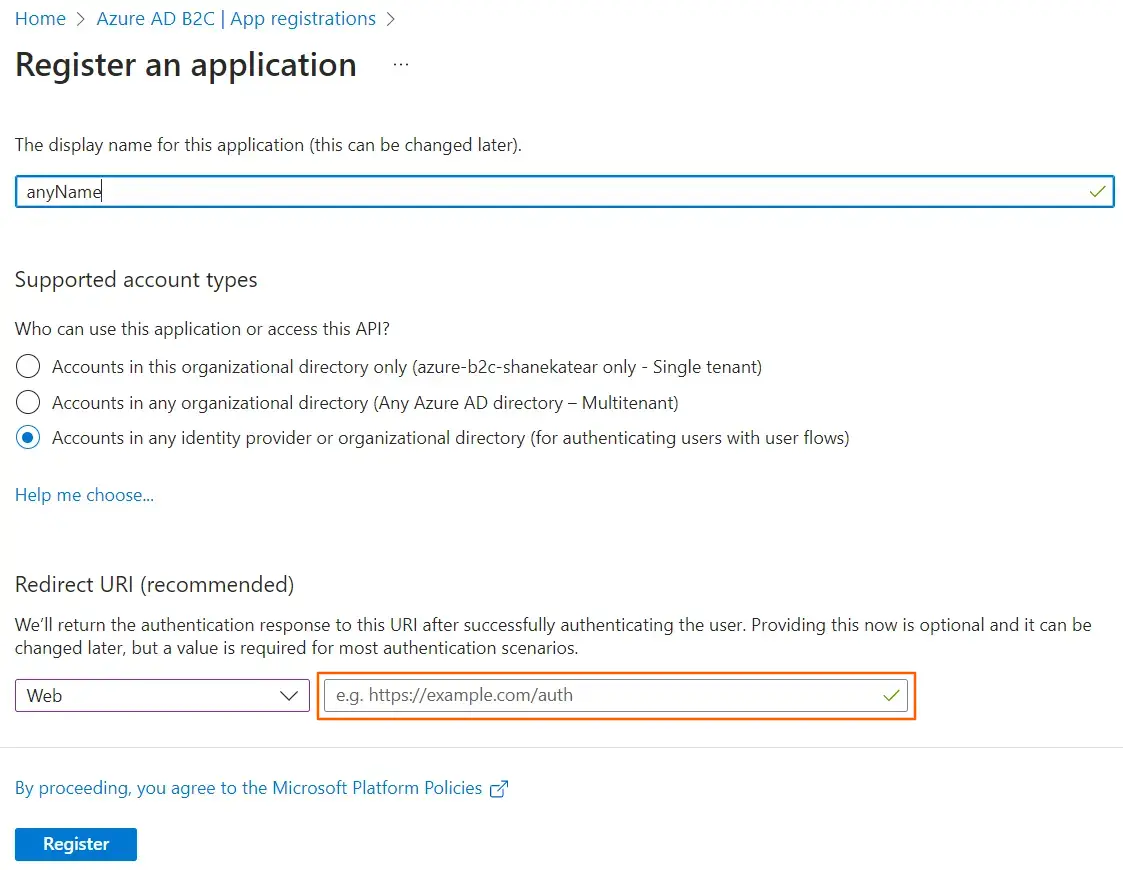
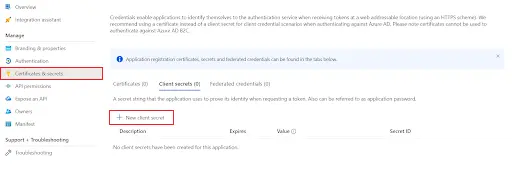
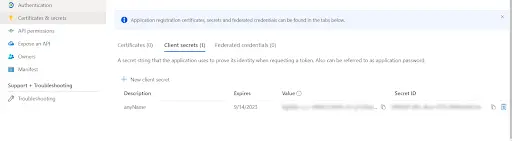
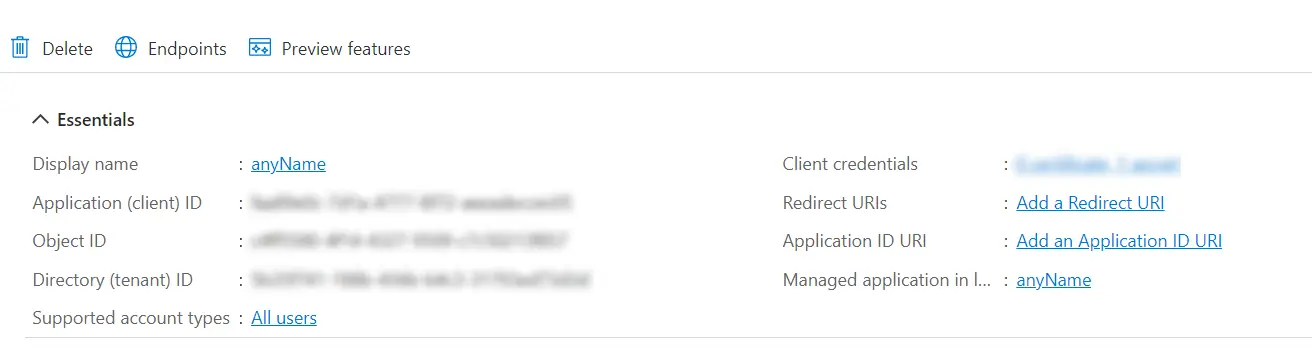
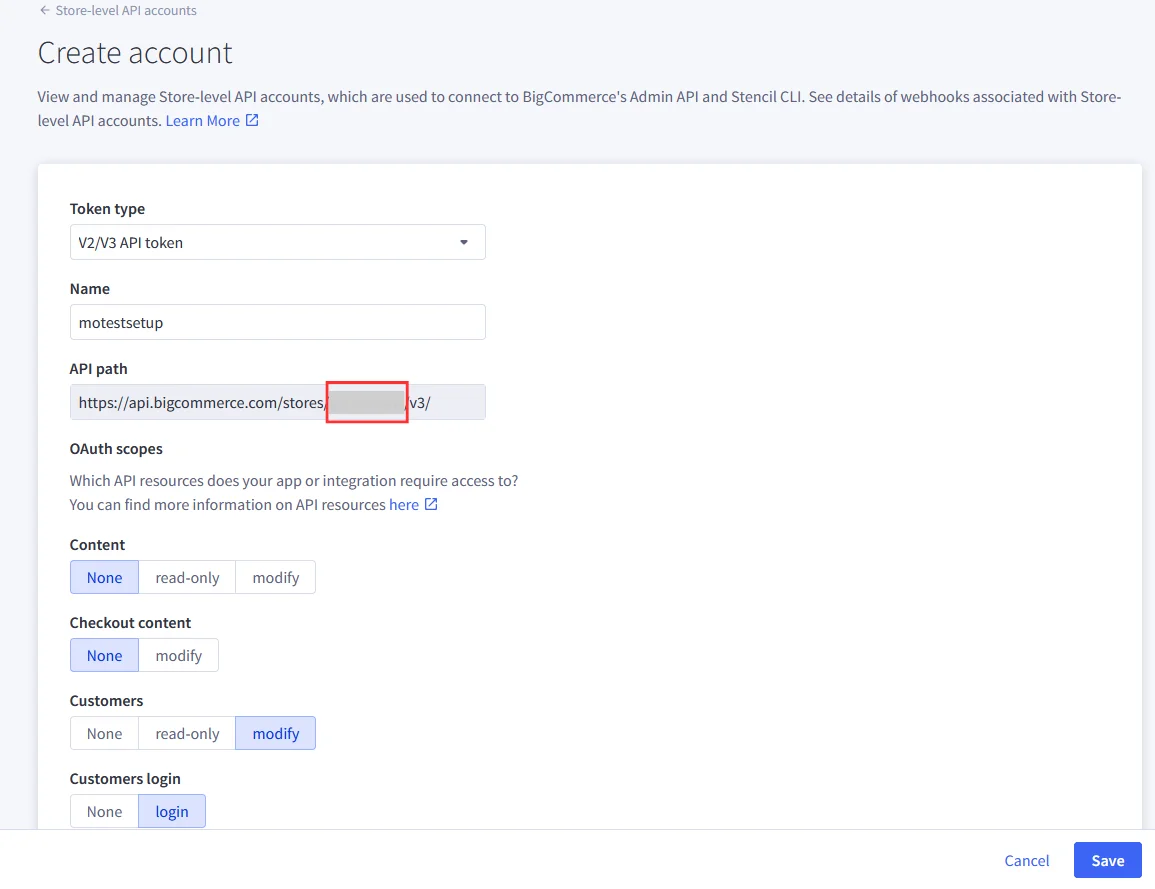
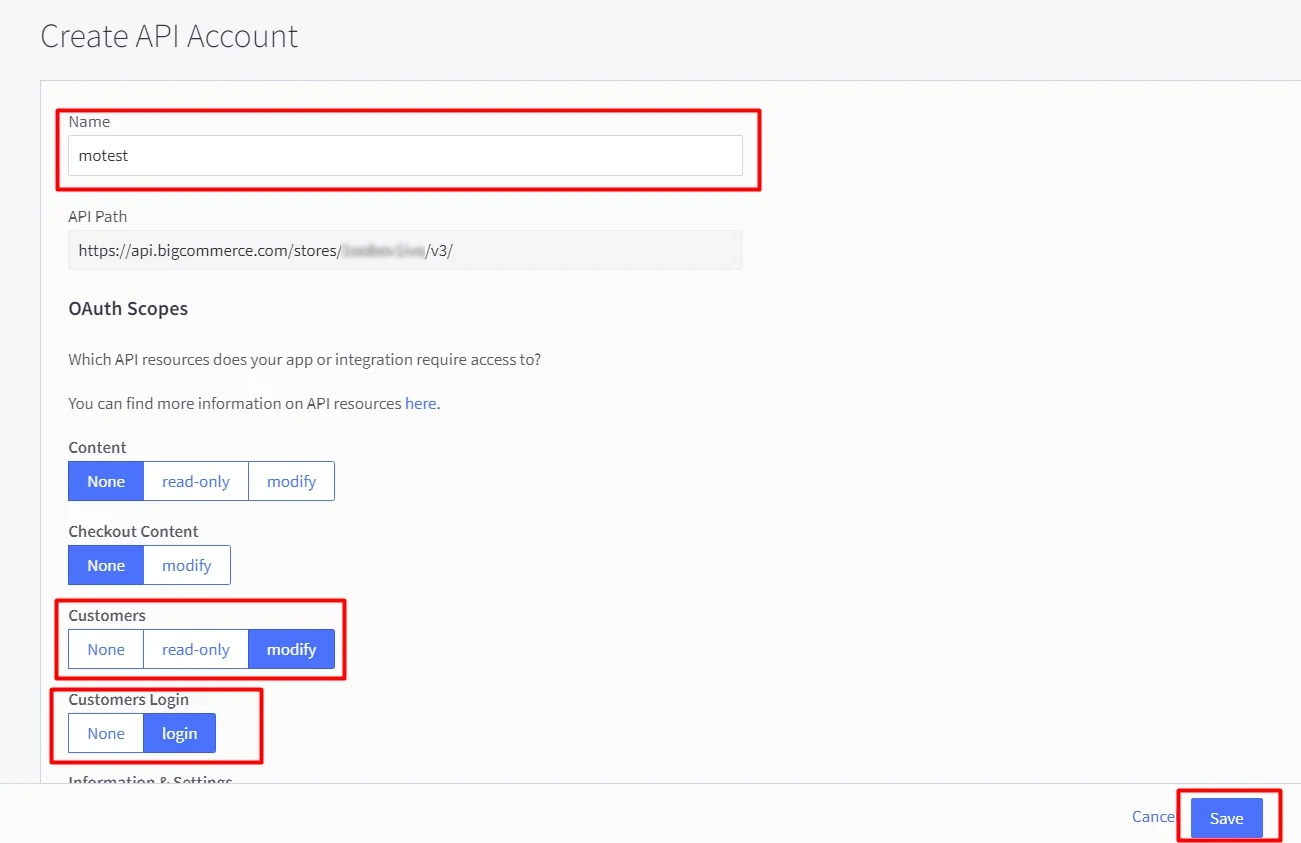
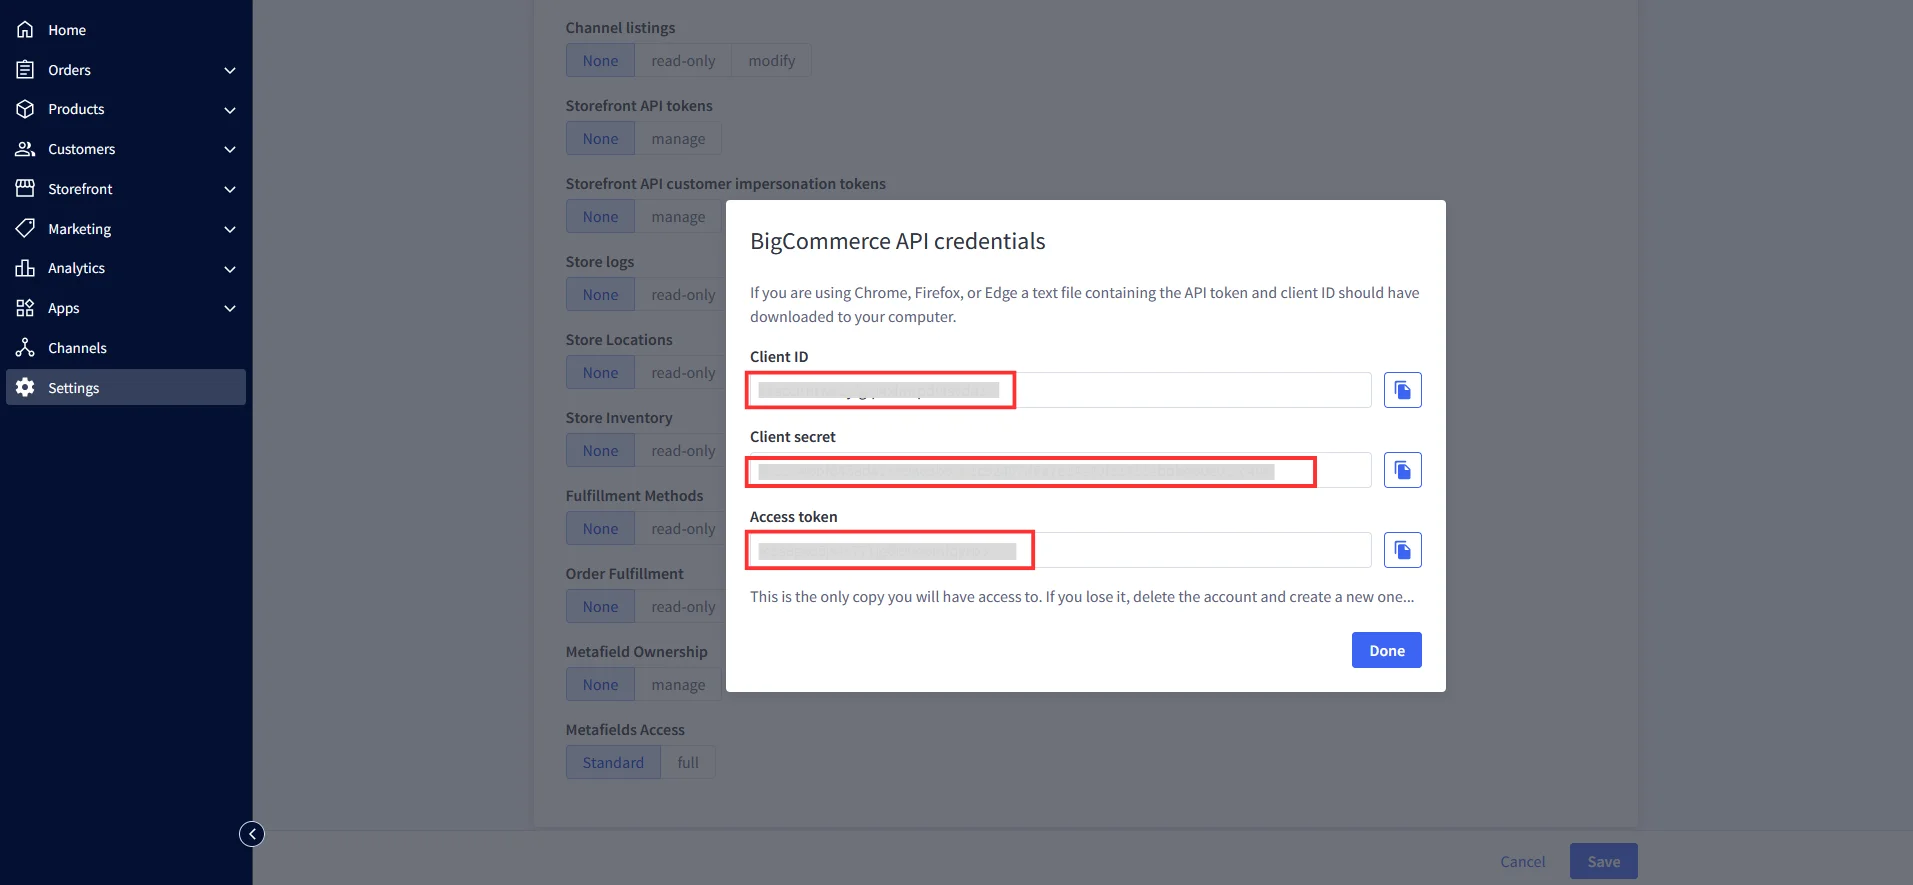
| Client ID | From step 1 |
| Client secret | From step 1 |
| Scope | auto |

BigCommerce (According to your choice)According to your choice Storefront URL, e.g. https://{{my-store}}.mybigcommerce.com/login/token/ https://{{my-store}}.mybigcommerce.com Enable if you want user to authenticate even if the user has a session The identity source against which user will be authenticated Enable if you are sending the logged-in user from this app in the response 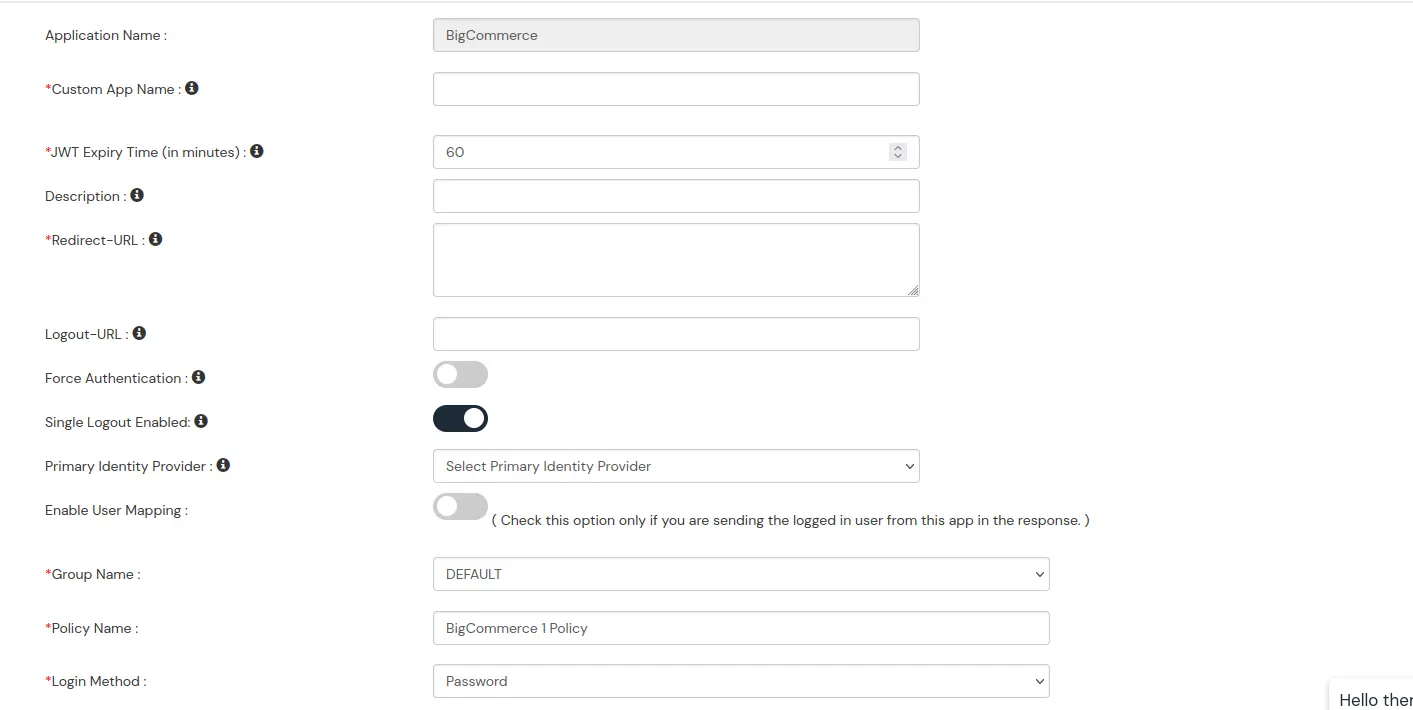
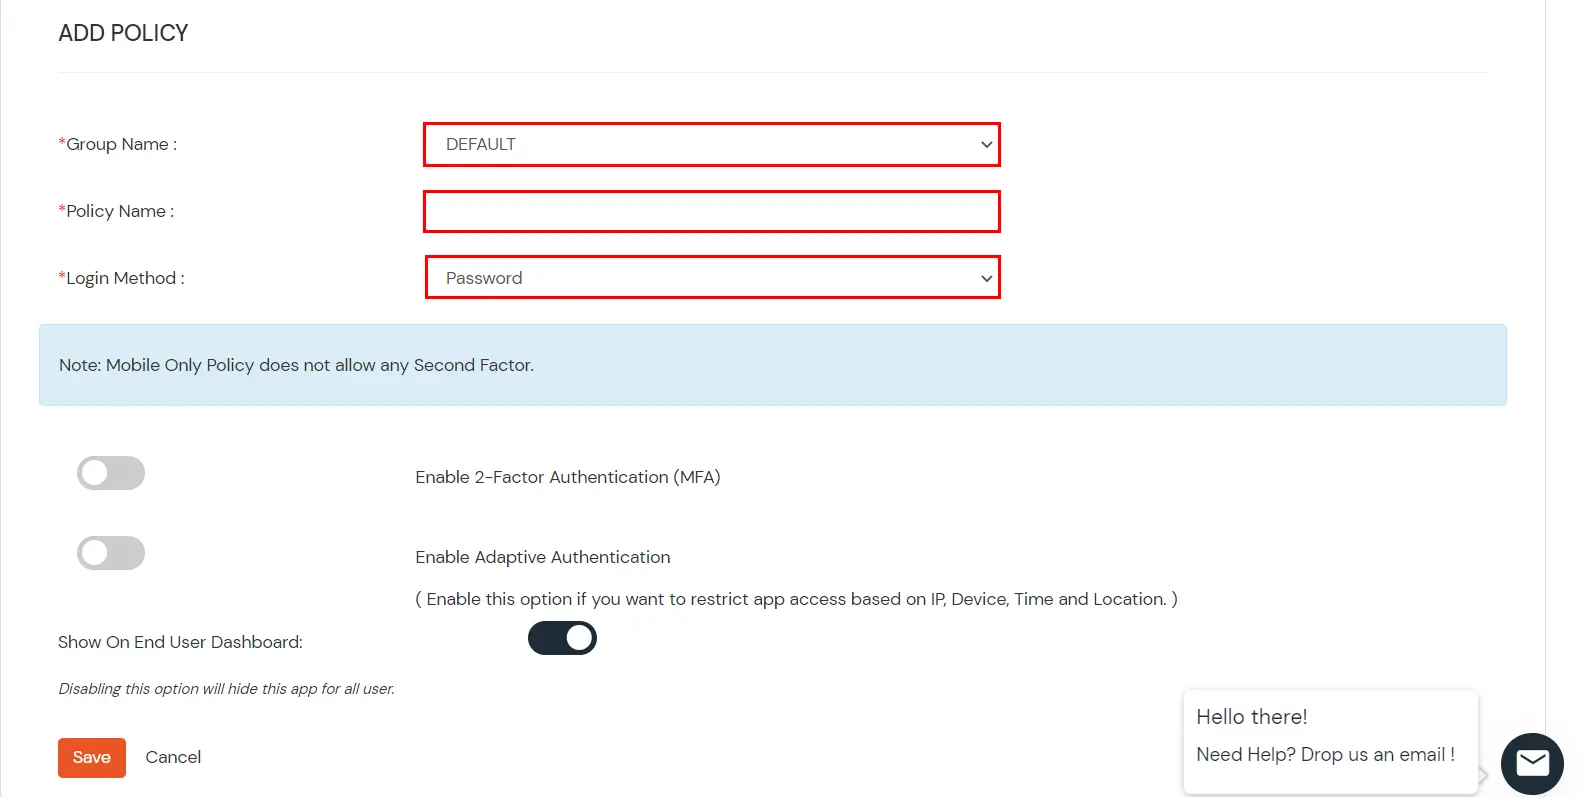
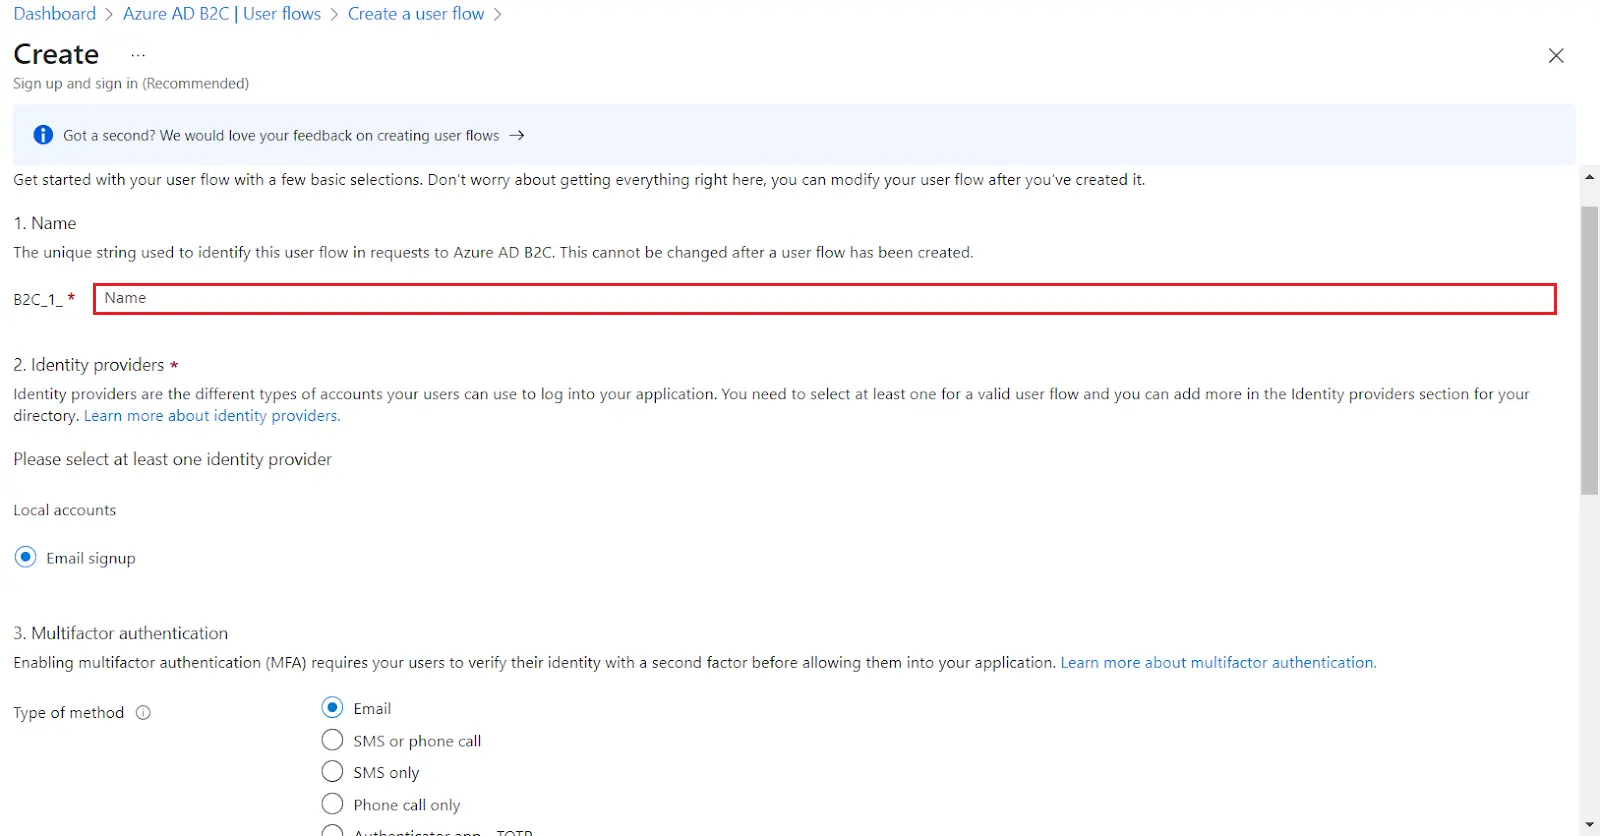
DefaultAdd policy name according to your Preference Password