Provisioning with Pingidentity
Provisioning with Pingidentity saves time when setting up new users and teams, and helps you manage access privileges through the user lifecycle. miniOrange can create, read, and update user accounts for new or existing users, remove accounts for deactivated users, and synchronize attributes across multiple user stores via Pingidentity.
Follow the steps given below to configure provisioning with miniOrange.
Connect with External Source of Users
miniOrange provides user authentication from various external sources, which can be Directories (like ADFS, Microsoft Active Directory, OpenLDAP, AWS etc), Identity Providers (like Microsoft Entra ID, Okta, AWS), and many more. You can configure your existing directory/user store or add users in miniOrange.
Follow the step-by-step guide given below for Pingidentity
1. Configure SCIM Client in miniOrange
- Login to miniOrange dashboard.
- Go to Apps section
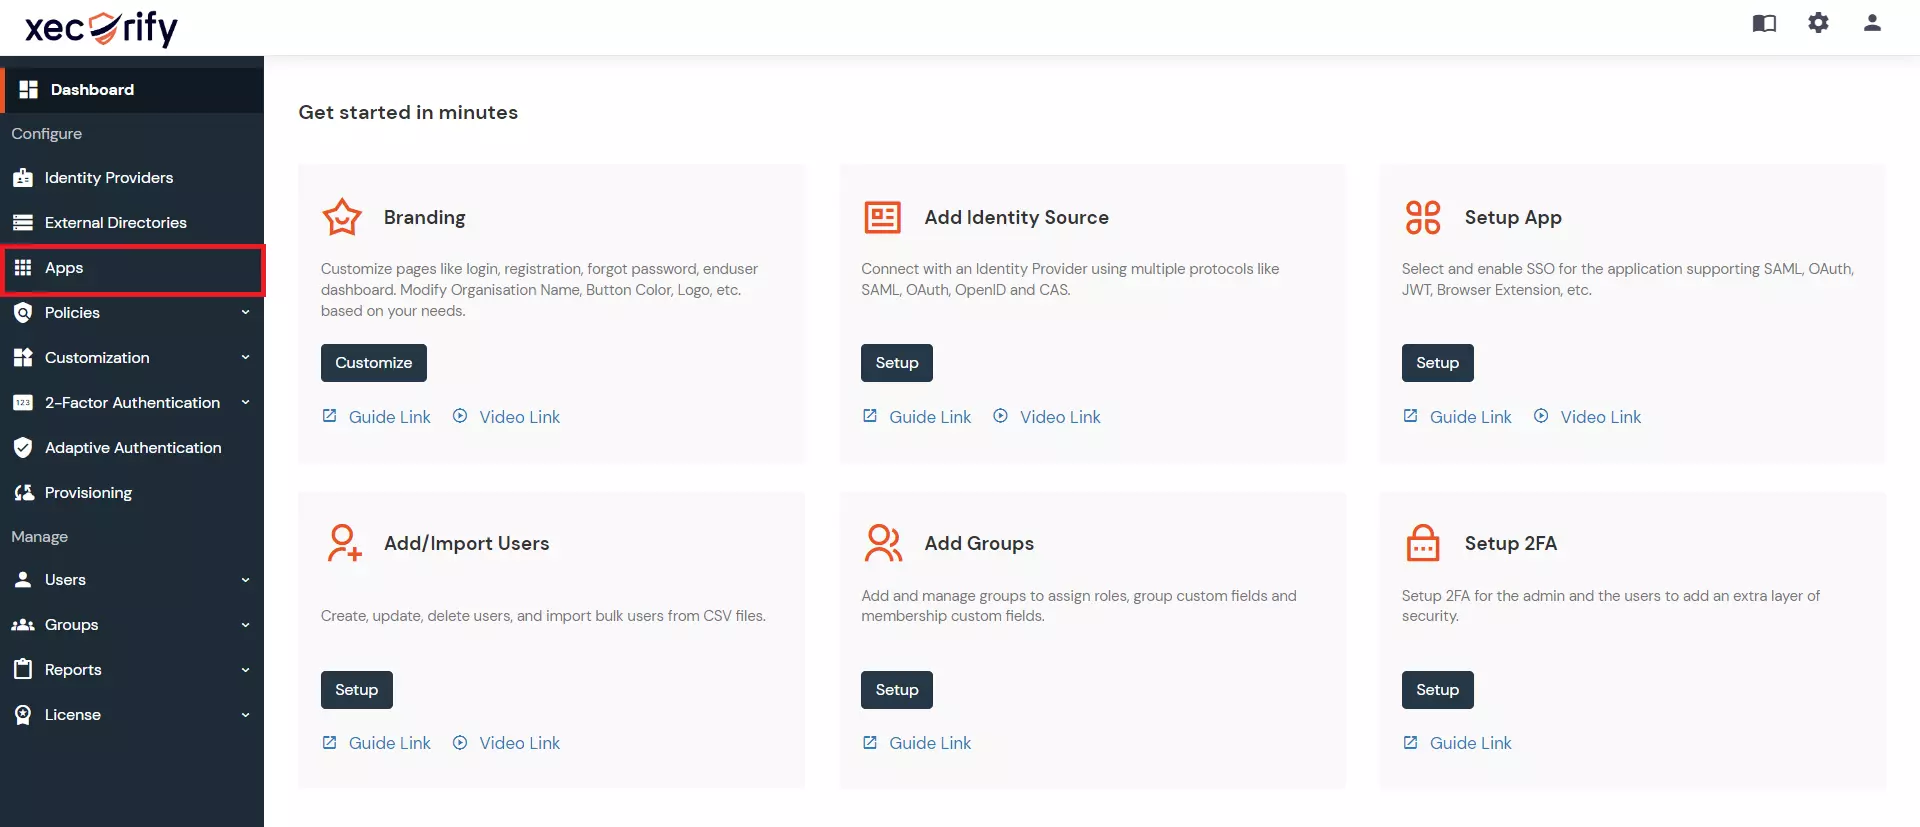
- Go to Apps > Add Application button.
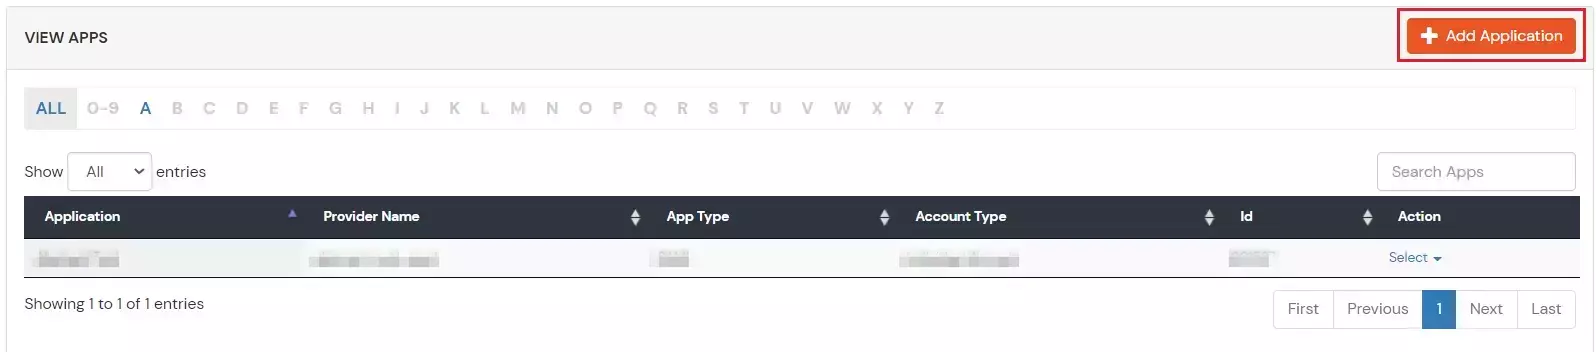
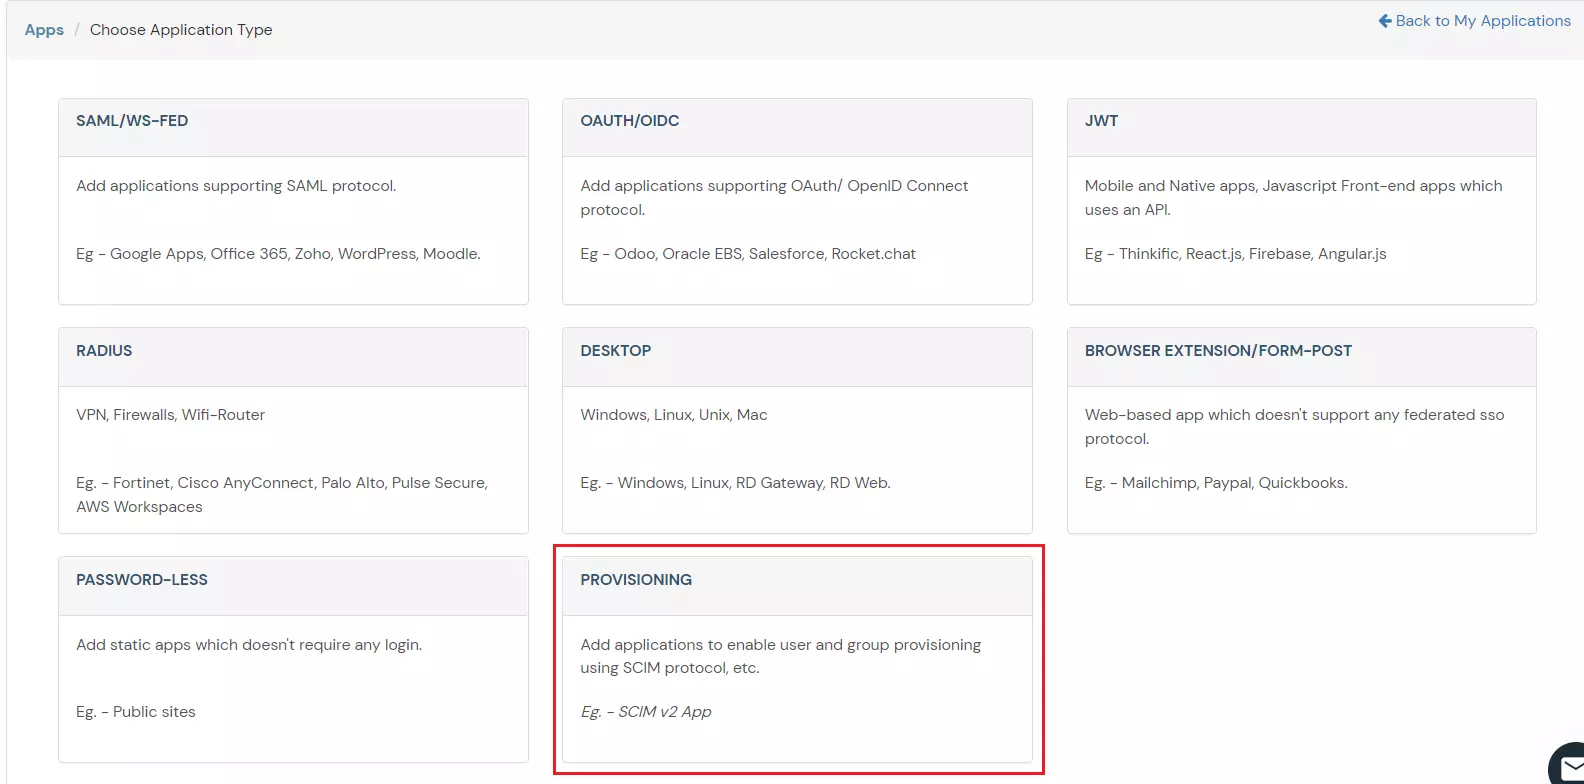
- Select Provisioning >> SCIM Client (source).
- Add the Custom Application Name
- Copy the Scim Base URL and Bearer Token and save it for further configuration.
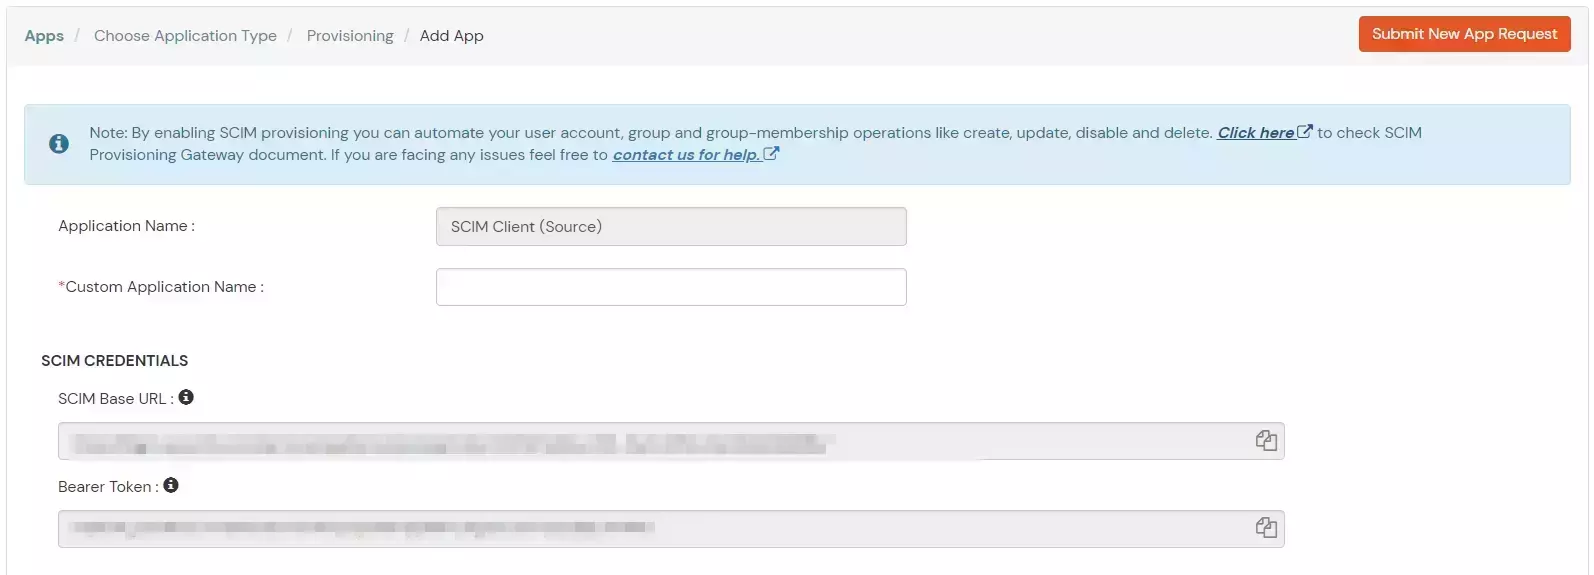
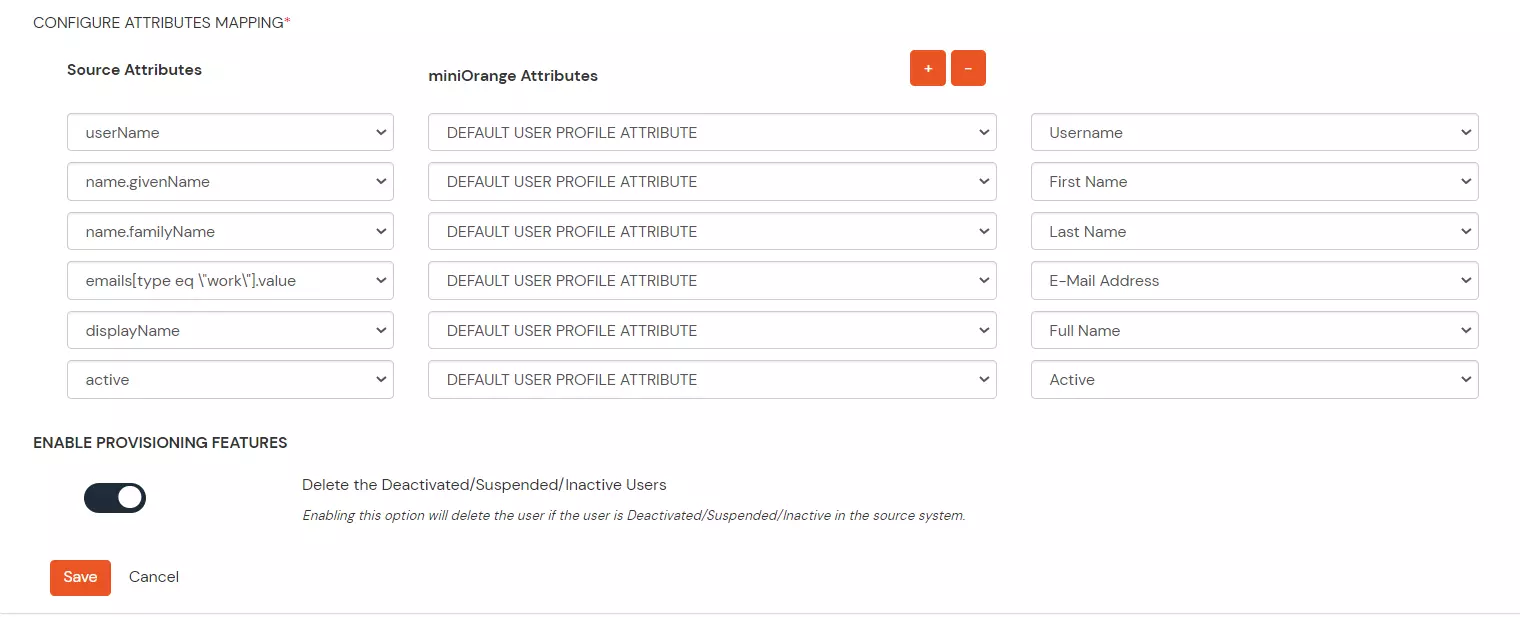
- Configure the attributes mappings and toggle on/off Enable Provisioning Features based on your requirements.
- SCIM base URL and Bearer Token can also be retrieved later by editing the app.
- If the provisioning feature “Delete the Deactivated users” is enabled then the unassigned/deleted users in source will be deprovisioned otherwise they will be disabled.
- Save the app.
2. Configure provisioning in Pingidentity
- Go to Connections → Provisioning.
- Click + and then click New connection.
- Under SCIM, click Select and then click Next.
- Enter a name and description for this provisioning connection. The connection name will appear in the list when you've completed and saved the connection.
- Click Next. On the Configure authentication screen, enter the following
- Authentication: Use Oauth 2 Bearer Token as authentication method
- Oauth Access Token: - Bearer token found in step 1 .
- Auth Type Header - Bearer.
- Click Test connection to verify that PingOne can establish a connection to the SCIM resource.
- If there are any issues with the connection, a Test connection failed message will appear. Click Continue to resume the setup with an invalid connection. You will not be able to use the connection for provisioning until you have established a valid connection to the SCIM resource. Click Cancel to modify the settings and try again.
- On the Configure preferences screen, enter the user filter and the action to take when deprovisioning users. The filtering parameters are optional.
- User filter expression. Determines how the connection uses the specified User Identifier to match existing users in the target identity store to the users being provisioned from the source identity store.
- User identifier. The identifier for the user filter expression.
- Custom Attribute Schema URNs (optional). A comma-delimited list of schema URNs to define a location for custom attributes. Use this option if the SCIM provider does not follow the standard naming convention for schema extensions in which custom attributes are defined. That is, URNs of the form
urn:ietf:params:scim:schemas:extension:<Organization Name>:2.0:User
- Allow users to be created. Determines whether to create a user in the target identity store when the user is created in the source identity store.
- Allow users to be updated. Determines whether to update user attributes in the target identity store when the user is updated in the source identity store.
- Allow users to be disabled. Determines whether to disable a user in the target identity store when the user is disabled in the source identity store.
- Allow users to be deprovisioned. Determines whether to deprovision a user in the target identity store when the user is deprovisioned in the source identity store.
- Remove action. The action to take when removing a user from the target identity store.
- Deprovision on rule deletion. Determines whether to deprovision users if the associated provisioning rule is deleted.
- Click Finish
3. Creating a rule
- Go to Connections > Provisioning.
- Click + and then click New rule.
- Enter a name and description for the rule. The rule name will appear in the list when you've completed and saved the rule.
- Click Create rule.
- On the Configuration tab, assign a source and target connection for the rule. Click the Source or Target icon. Under Available connections, click + to add a connection as a source or target.
Note - PingOne must be either the source or target connection. If you choose an external source connection, then PingOne will be selected automatically as the target connection, and vice versa.
- Click Save.
4. Adding attribute mapping
- Go to Connections > Provisioning.
- Click the Rules tab.
- Find the appropriate rule and click it to show the details panel.
- Click the Configuration tab.
- Click Attribute mapping.
- Click the pencil icon to edit the attribute mapping.
- Review the attribute mappings for the configured identity store. The default attribute mappings for a particular identity store are provided.
- To add an attribute mapping, click + Add . Enter the source and target attribute.
- To use the expression builder, click the gear icon.
- To delete a mapping, click the trash can icon.
- Click Save .
5. Adding a custom filter (optional)
- Go to Connections > Provisioning.
- Click the Rules tab.
- Find the appropriate rule and click it to show the rule details.
- Click the Configuration tab.
- Click Custom filter.
- Click the pencil icon to edit the filter.
- Define the filter that determines which identities are provisioned.
- Enter the first condition:
- Select All or Any to determine how the linked conditions will be evaluated: Boolean logical AND or OR.
- Attribute - The user attribute to filter on.
- Operator - Equals. Equals is the only operator supported at this time.
- Value - Enter the appropriate value.
- If needed, click Add + to add another condition or condition set.
- Continue adding conditions or condition sets as needed.
- Click Save.
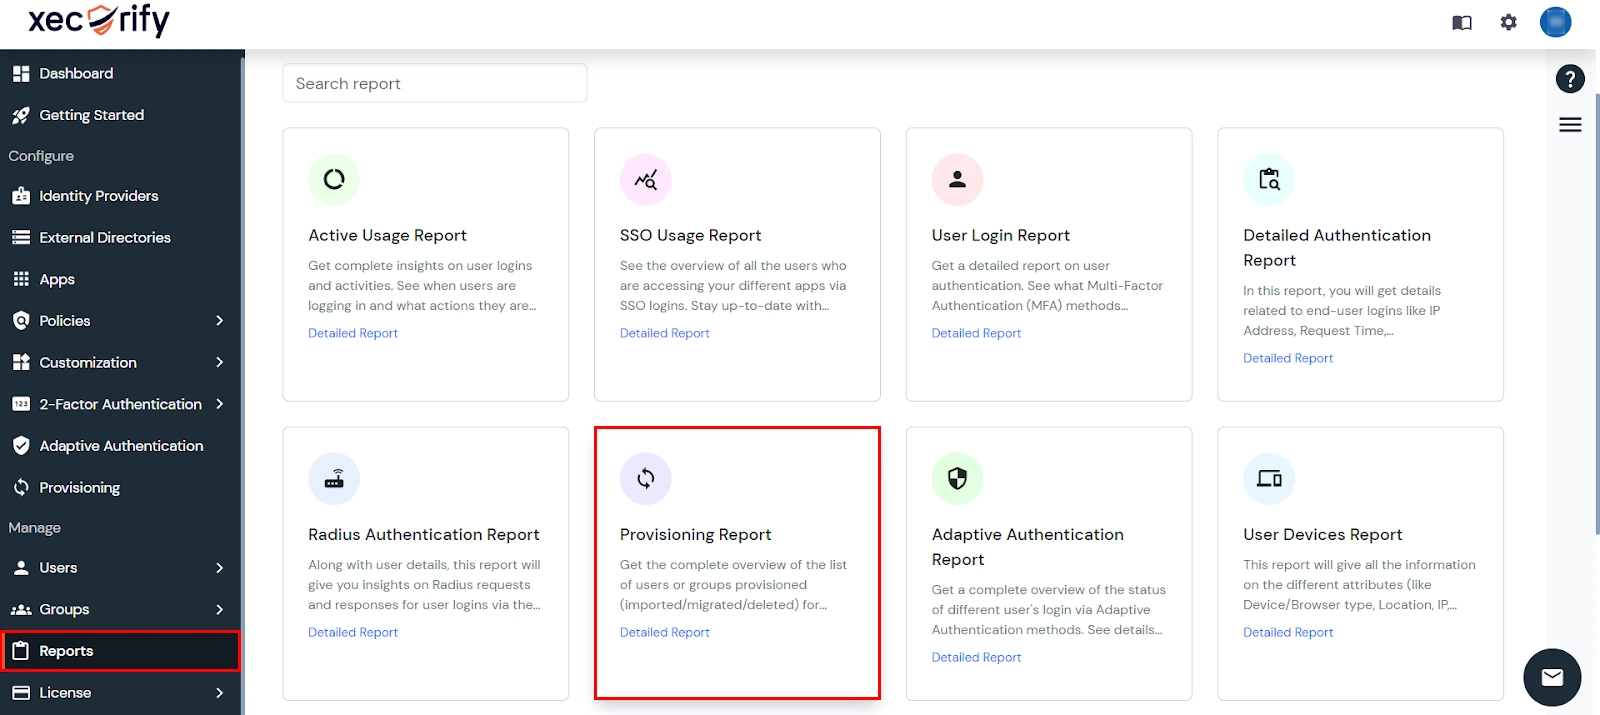
View Provisioning Reports
How to access Provisioning Reports?
- Navigate to Reports in the left-hand navigation pane, search for Provisioning, and select Provisioning Report.
- Filter the reports by specifying Enduser Identifier and Application Name criteria. Additionally, choose the desired timespan for the reports. Once done, click on the Search.
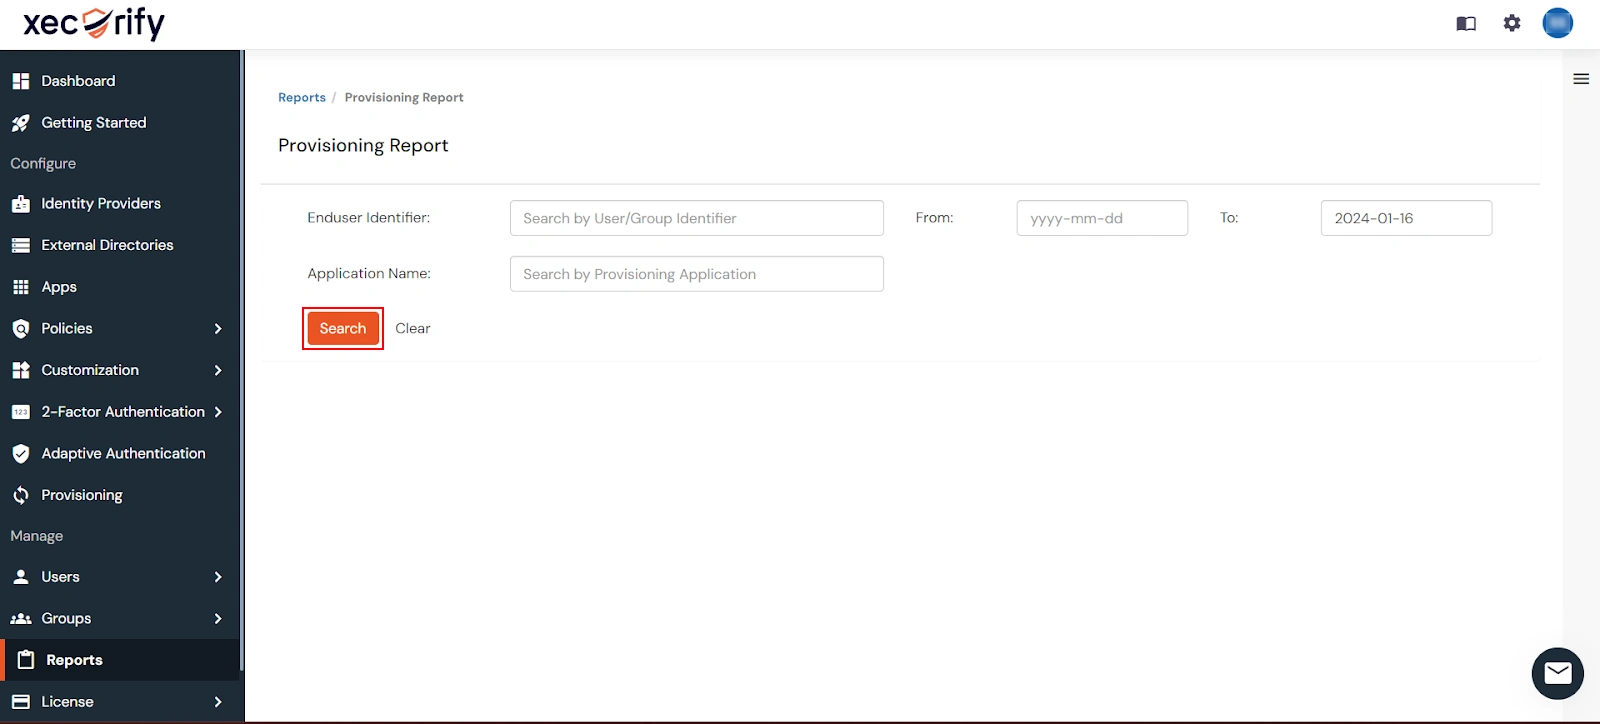
- Alternatively, you can directly click on Search to retrieve all provisioning reports based on time without applying any specific filters.
External References
