Import Machines from AD
This feature allows administrators to fetch computers and their associated users/accounts from Active Directory (AD) via LDAP. The imported machines can then be onboarded into PAM for centralized access and privilege management.
-
Import Machines
Enables scanning of machines from the Active Directory and fetching system details into PAM.
-
Auto Onboard Machines
When enabled, RDP machines discovered during import are automatically added to the PAM database without requiring manual onboarding.
-
Scheduled Imports
Administrators can configure one-time or periodic schedules for fetching machines from AD.
- Once: The import will run at the scheduled time only once.
- Periodic: The import will repeat automatically at defined intervals (daily, weekly, etc.), ensuring PAM stays up to date with newly added machines in AD.
Steps to Configure LDAP and Import Machines
1. Add AD Configuration and Set Up Import Machines
- Log in as Admin and open your PAM dashboard, and navigate to LDAP Configuration:
- From the left-hand menu, click Authentication.
- Under Authentication, select LDAP.
- Click + Add Configuration.
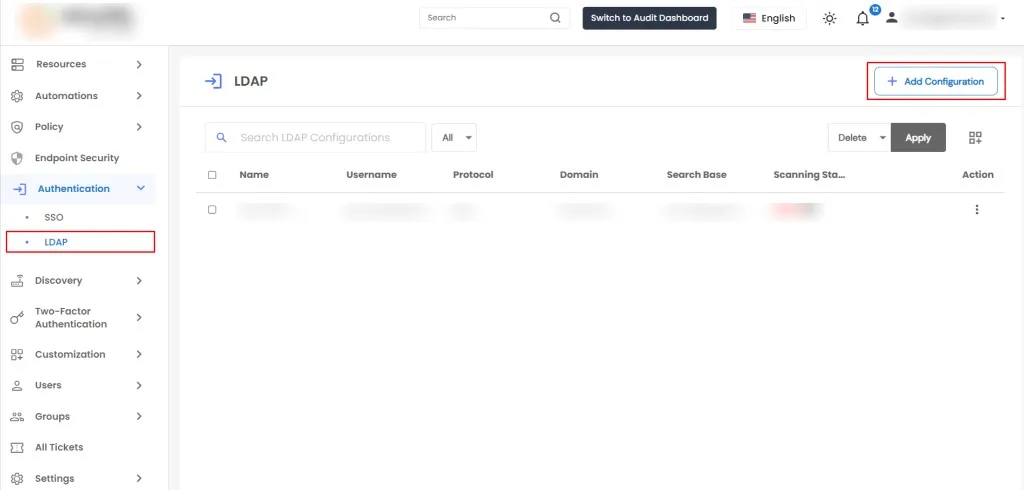
- Fill the required details on the Configuration tab:
| Field |
Description |
| Name |
A unique name used to identify this LDAP/Active Directory configuration in PAM. |
| LDAP Server URL |
The protocol and hostname or IP address of the LDAP server. |
| Bind Account Username |
The LDAP service account username used to authenticate and perform directory searches. |
| Bind Account Password |
The password for the bind account to securely connect to the LDAP server. |
| Search Base |
The base Distinguished Name (DN) from which LDAP objects such as users, groups, and machines are searched. |
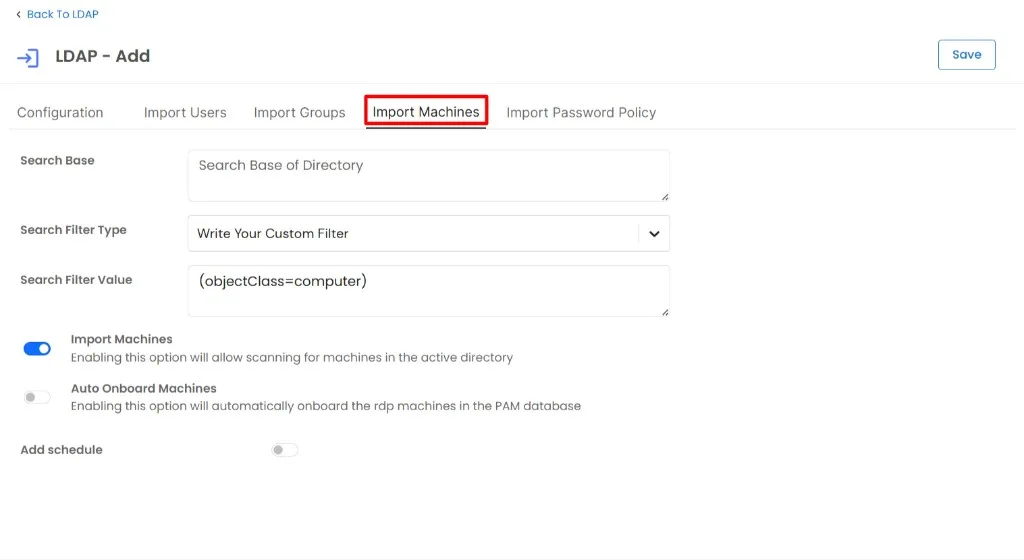
- Go to the Import Machines tab.
- Enable Import Machines to allow machine discovery.
- Optionally enable Auto Onboard Machines to automatically onboard discovered RDP machines into the PAM database.
-
Search Base (Optional)
Specify the directory path (OU/DN) where machines should be scanned in Active Directory.
-
Search Filter Type
Select the required Search Filter Type:
- Windows Machines – discovers only Windows-based systems.
- Linux Machines – discovers only Linux-based systems.
- Write Your Custom Filter – allows defining a custom LDAP filter.
-
Configure scheduling (Optional):
- Toggle Add schedule.
- Select Occurrence → Once (one-time import) or Periodic (recurring import).
- Define the Start From date and time.
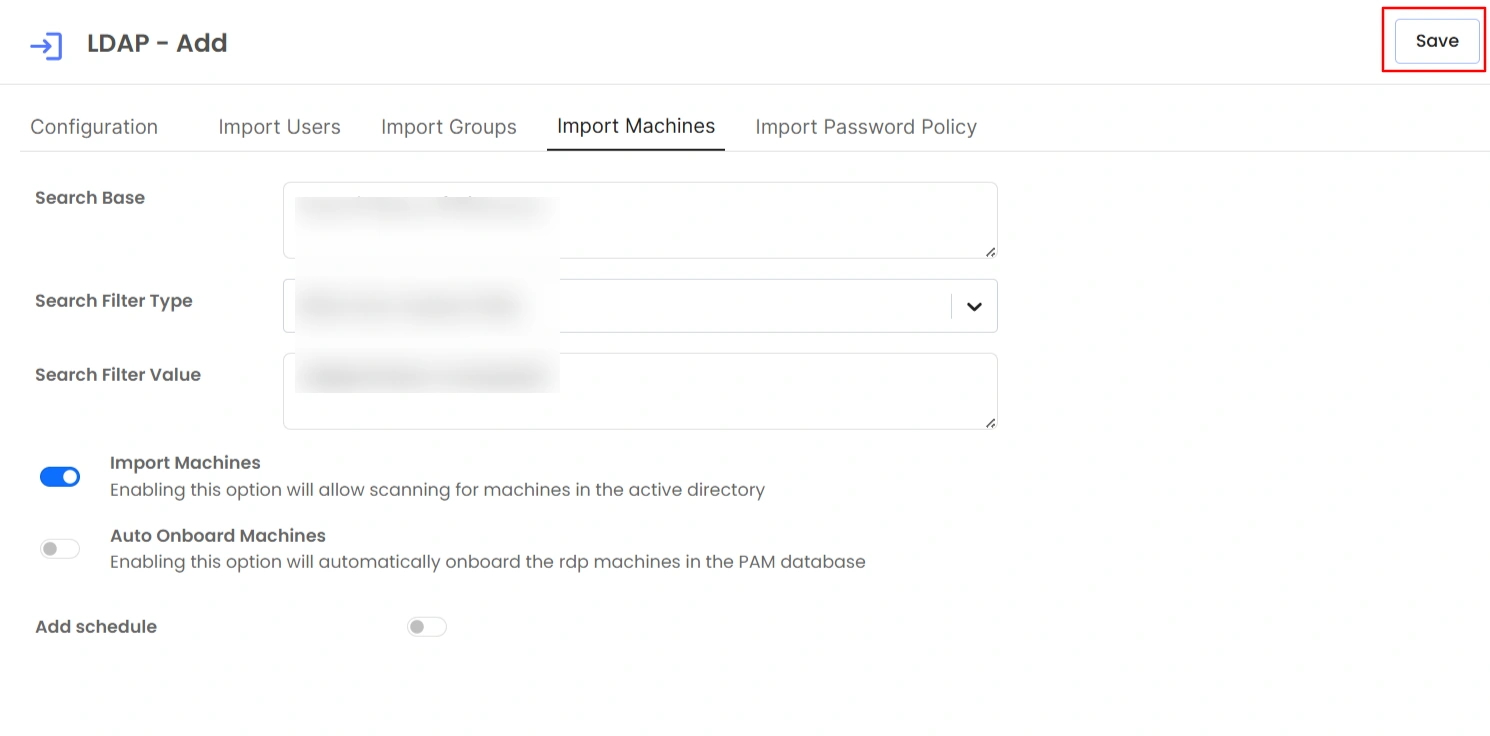
- Click Save to complete the configuration.
2. Perform Import and View Results
- Open the Action menu for your LDAP configuration and select Import Machines to manually trigger a scan of AD.
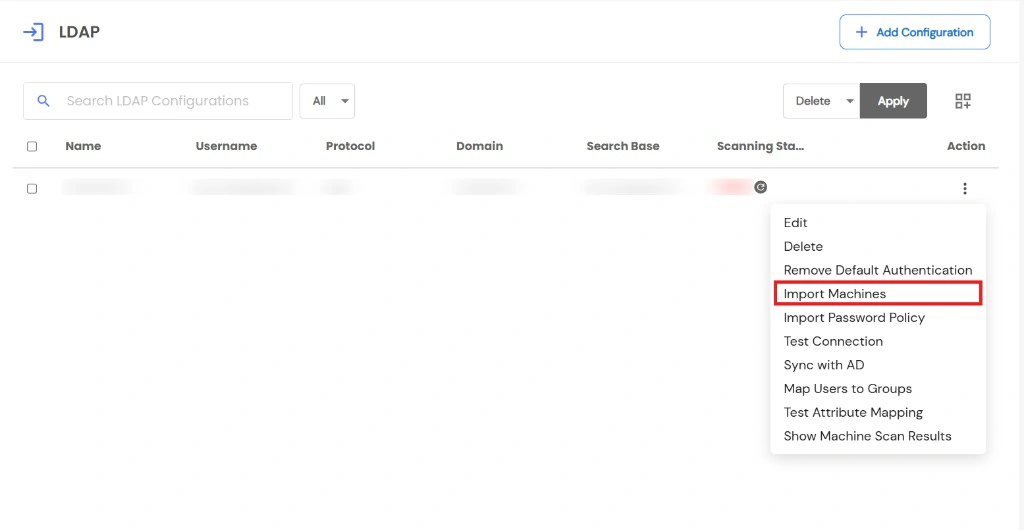
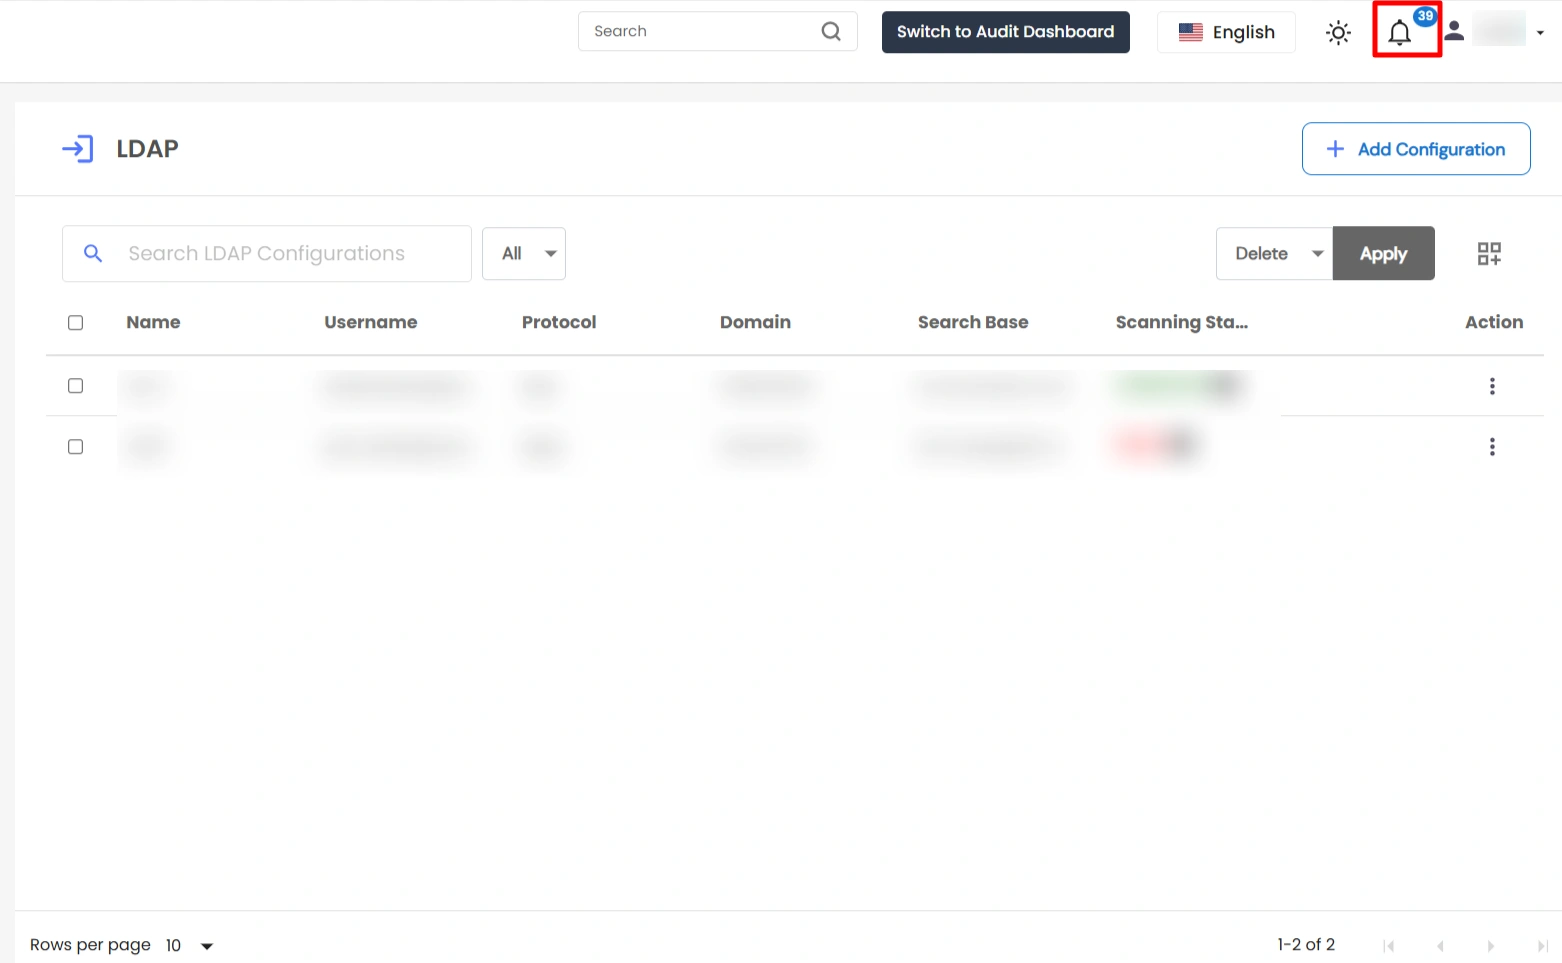
- Once the scan is complete, you will receive a notification and an email (if SMTP configured) with the import status.
3. View Imported Machines and System Users
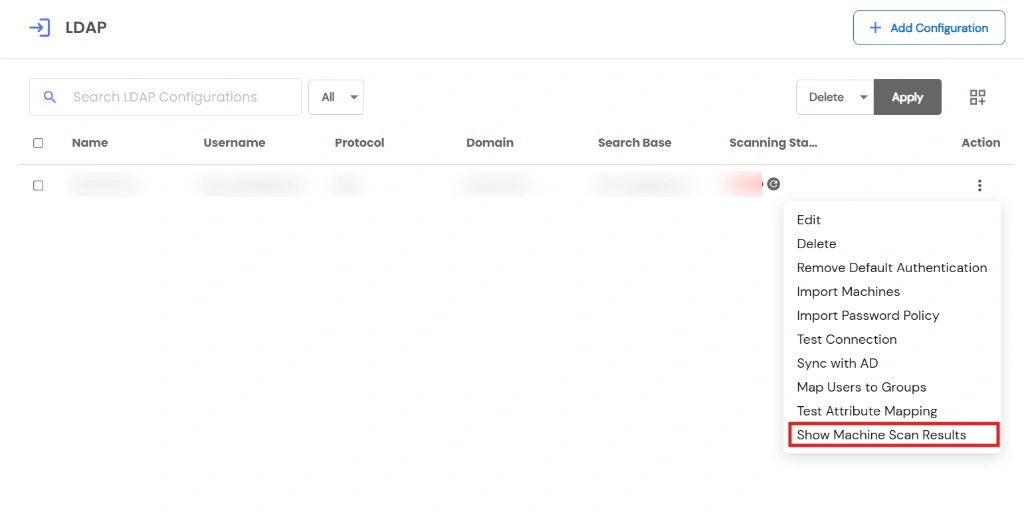
- From Action, select Show Machine Scan Results to view the list of imported machines.
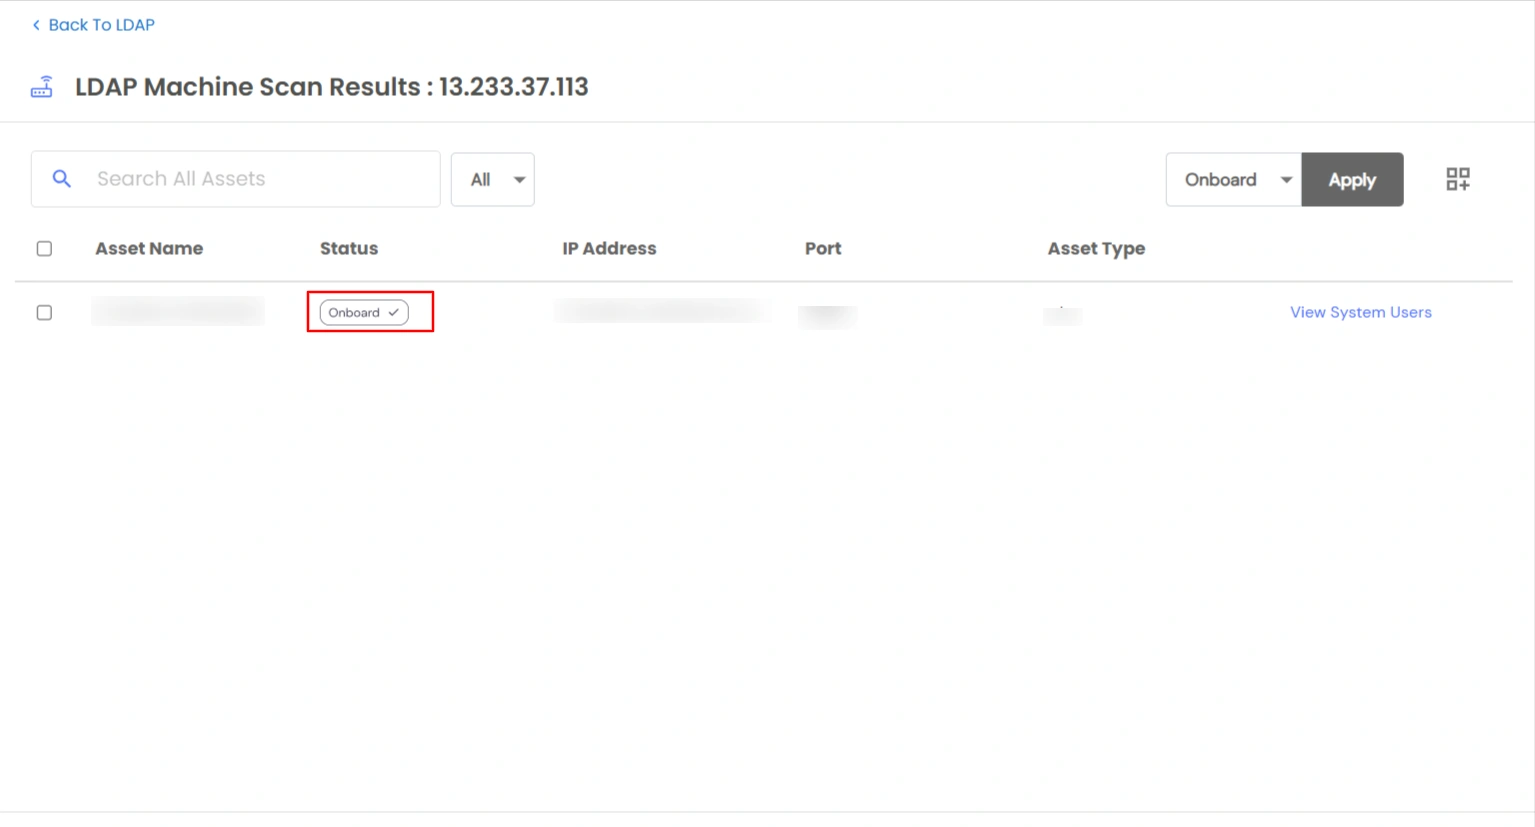
- Clicking Onboard allows you to import the machines.
- Use View System Users to see the system users associated with each machine.
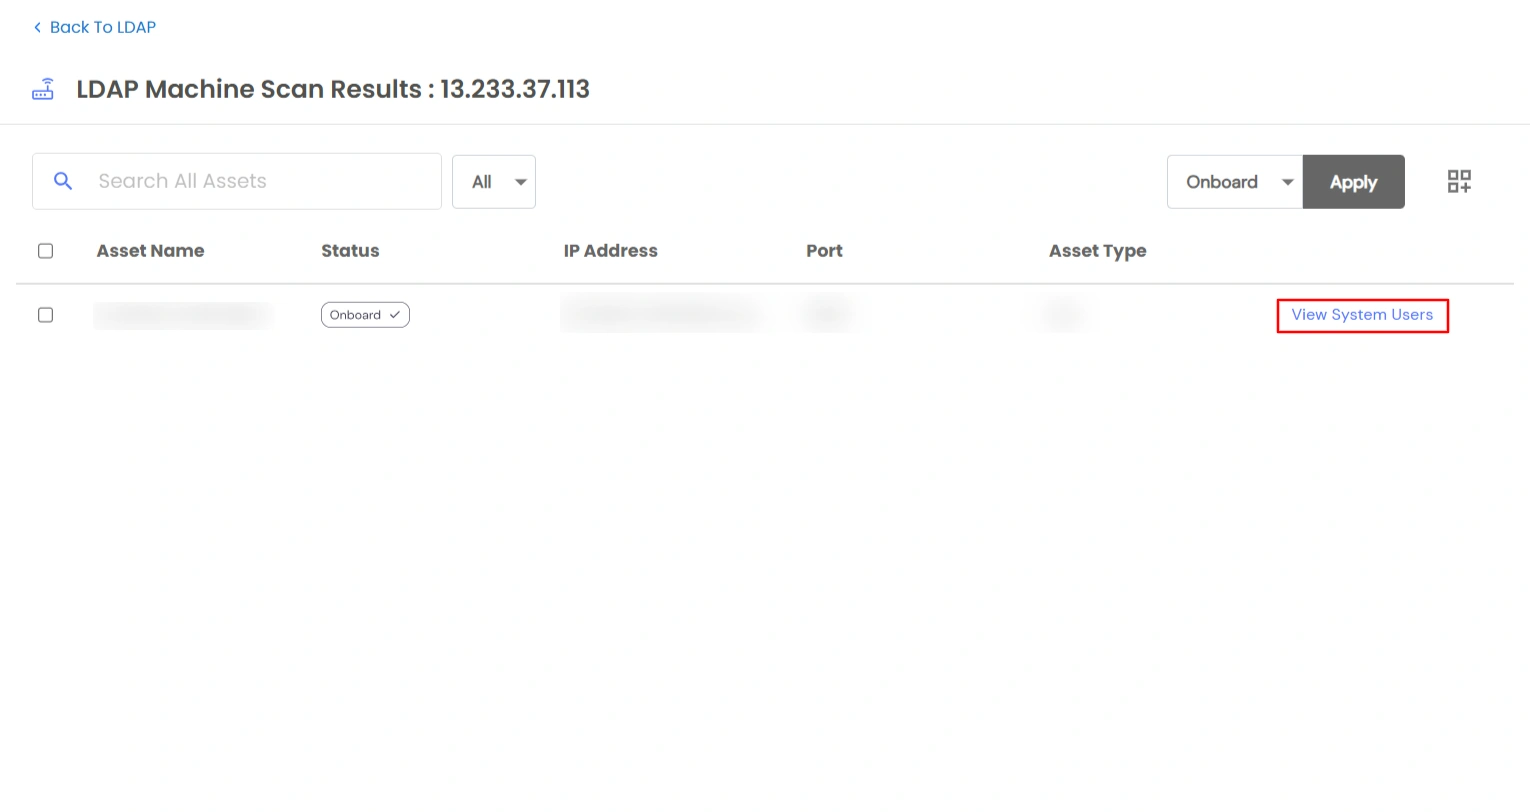
Note: Bulk onboarding for Machine/System Users can be done by selecting multiple values and clicking on the Apply button from the top right.
- To onboard a system user, click View System Users, then select Onboard next to the desired system user.

