Hello there!
Need Help? We are right here!
Need Help? We are right here!
Search Results:
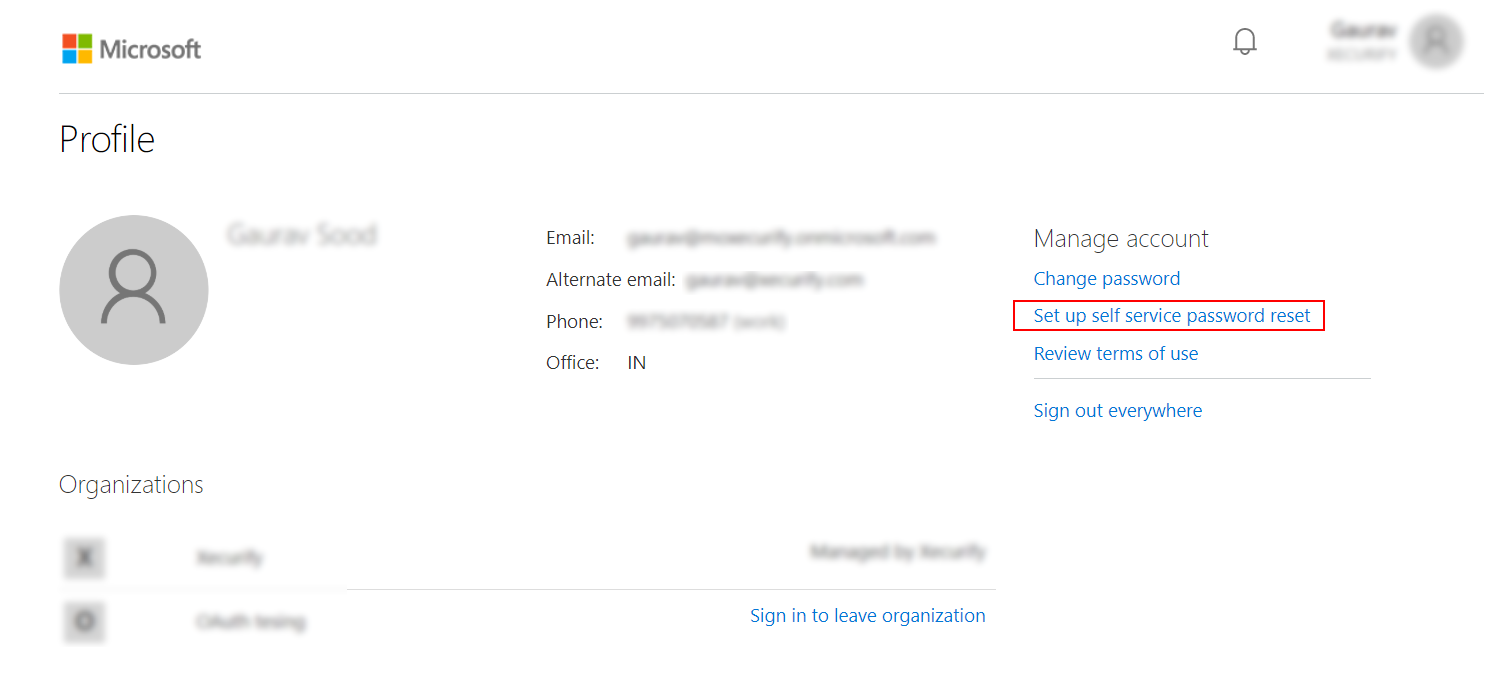
×Microsoft Entra is Microsoft’s cloud-based Identity and Access Management (IAM) service, which helps your employees sign in and access resources. miniOrange provides a solution where existing identities in Microsoft Entra Services can be leveraged for Single Sign-On (SSO) into different cloud and on-premise applications. Microsoft Entra supports standard authentication and authorization protocols such as LDAPS, SAML 2.0 and OAUTH 2.0.
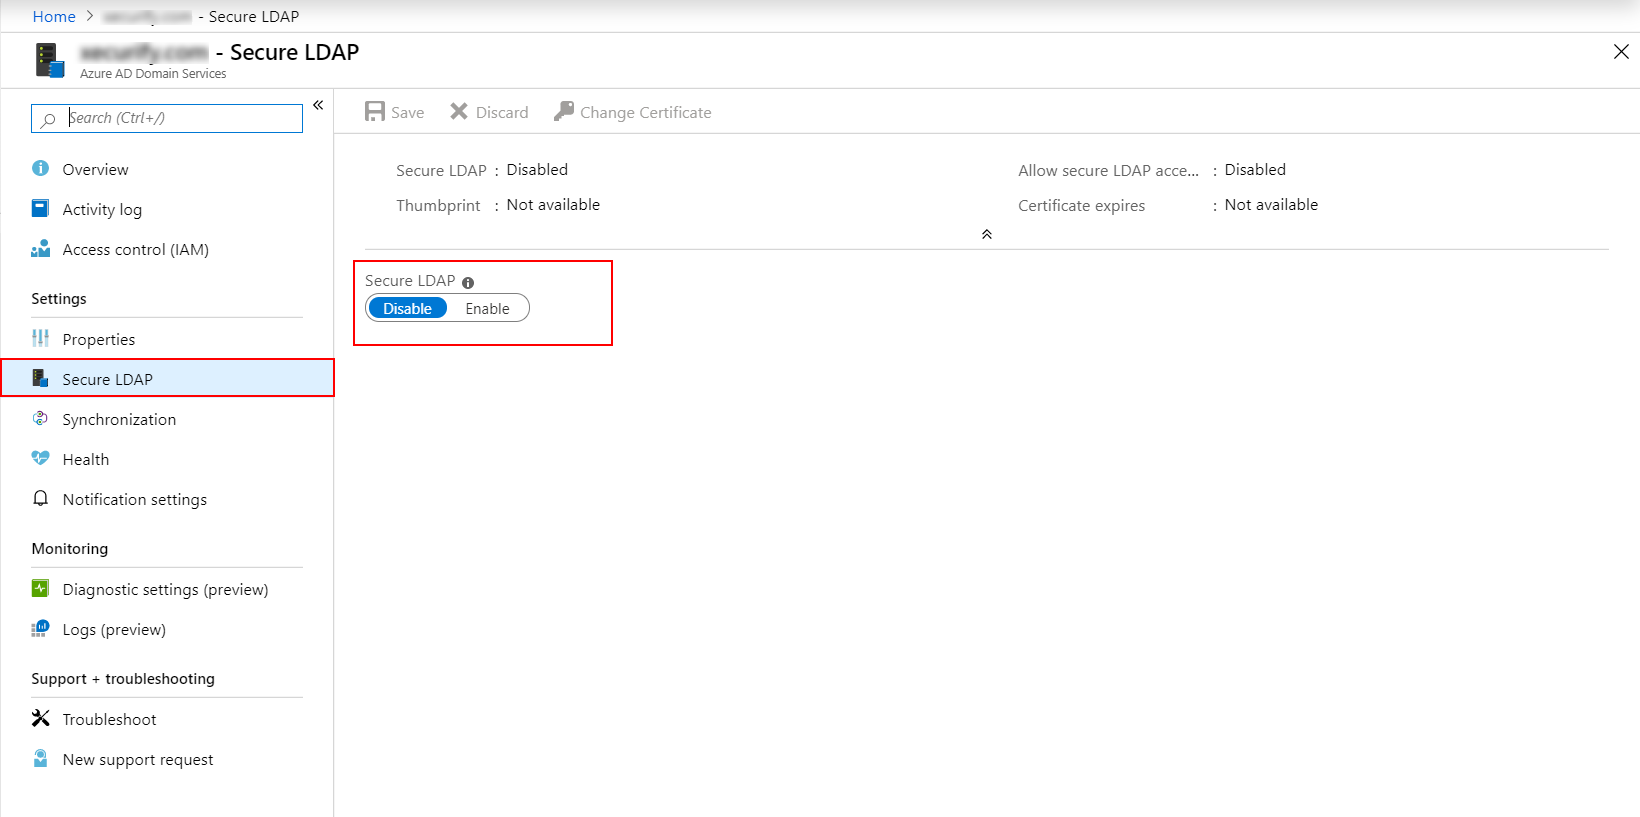
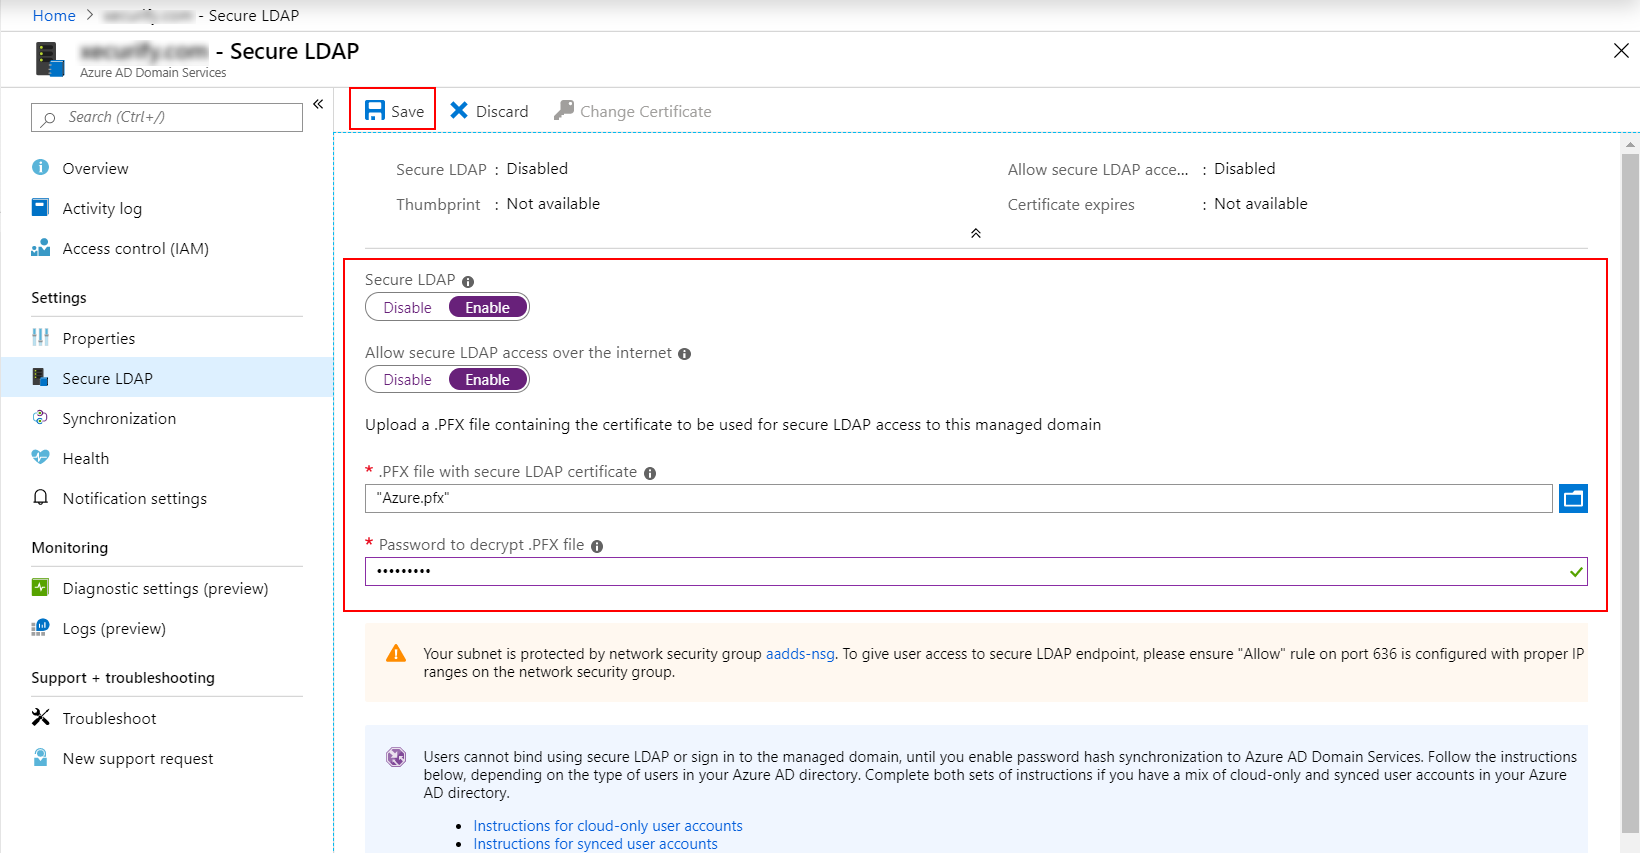
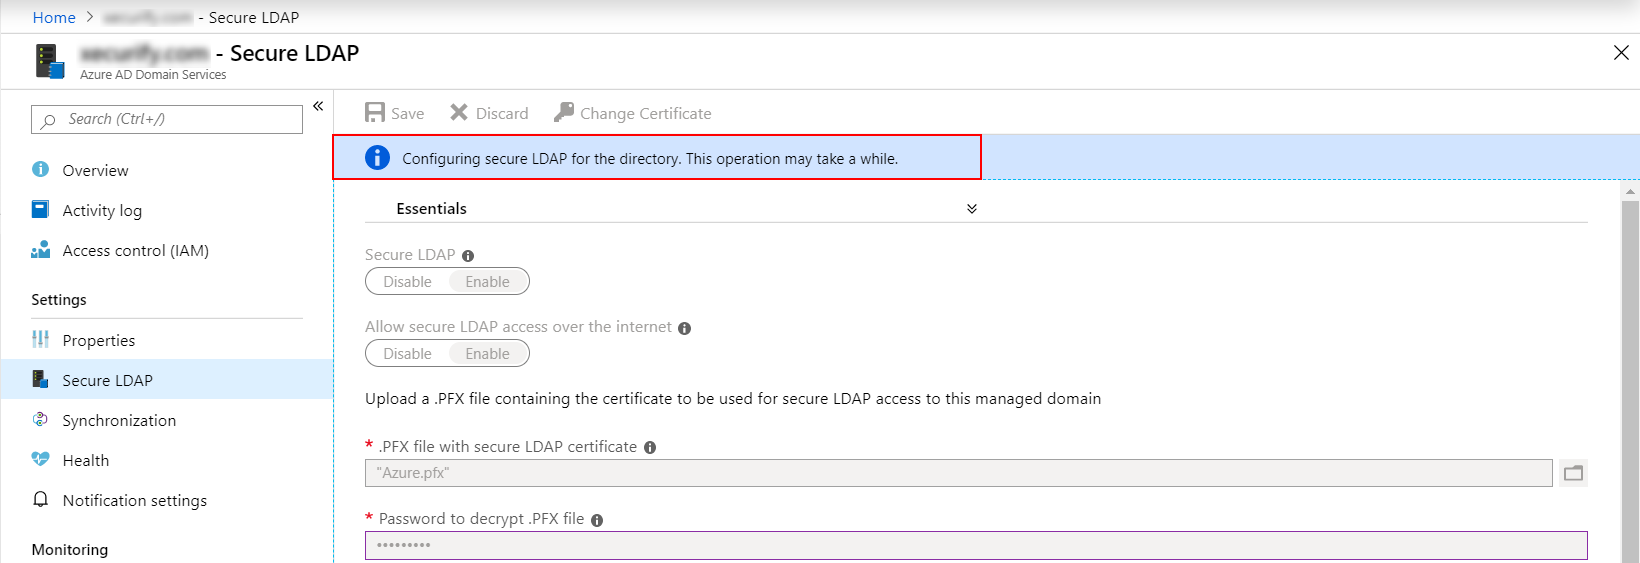
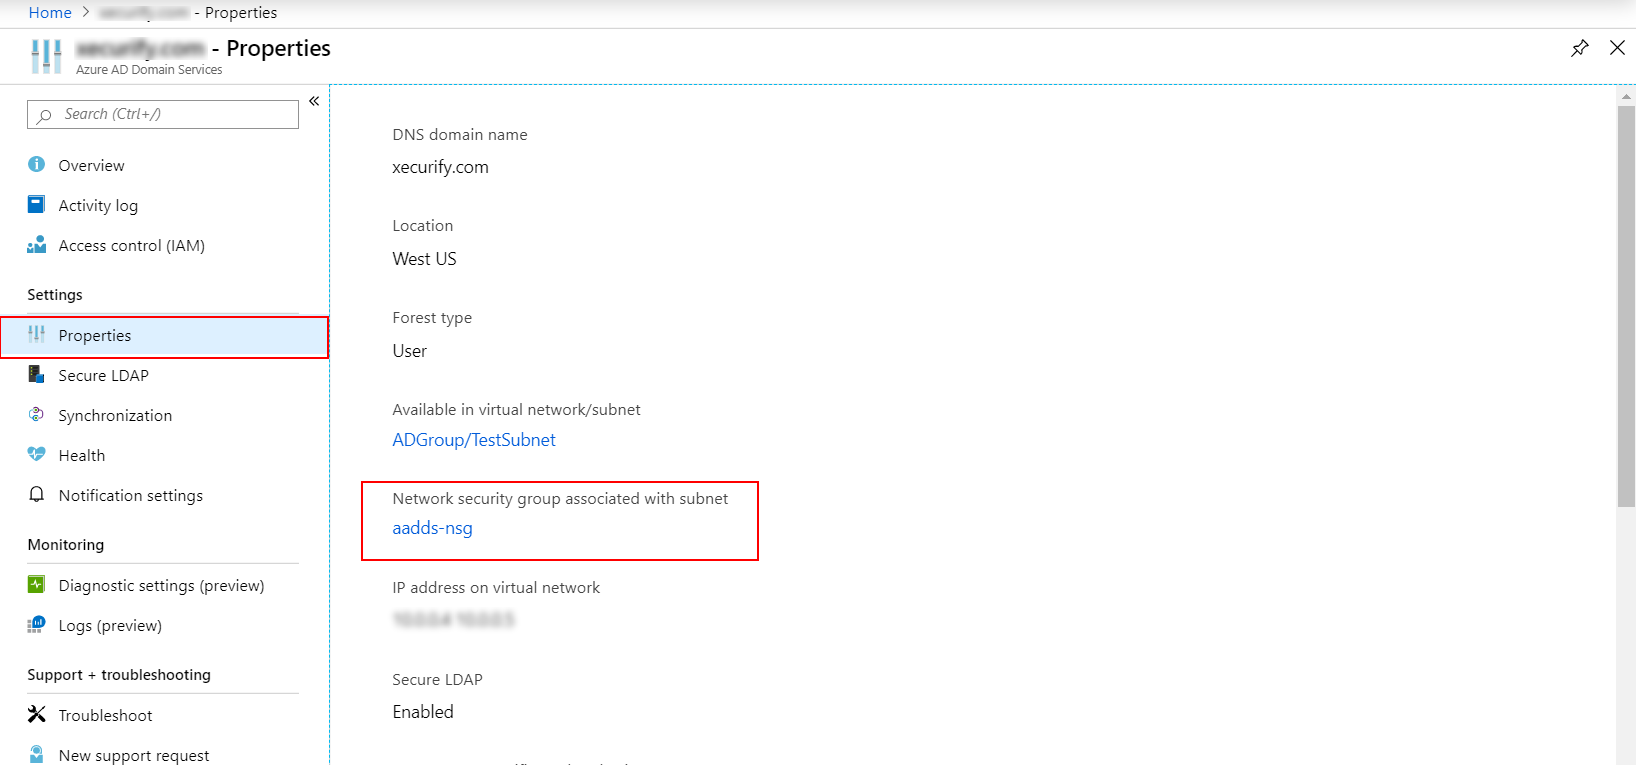
To interact with your Microsoft Entra Domain Services managed domain, the Lightweight Directory Access Protocol (LDAP) is mostly used. By default, the LDAP traffic isn't encoded, which is a security concern for many environments. With Microsoft Entra Domain Services, you can configure the managed domain to use secure Lightweight Directory Access Protocol (LDAPS). When you use secure LDAP, the traffic is encrypted. Secure LDAP is also known as LDAP over Secure Sockets Layer (SSL).

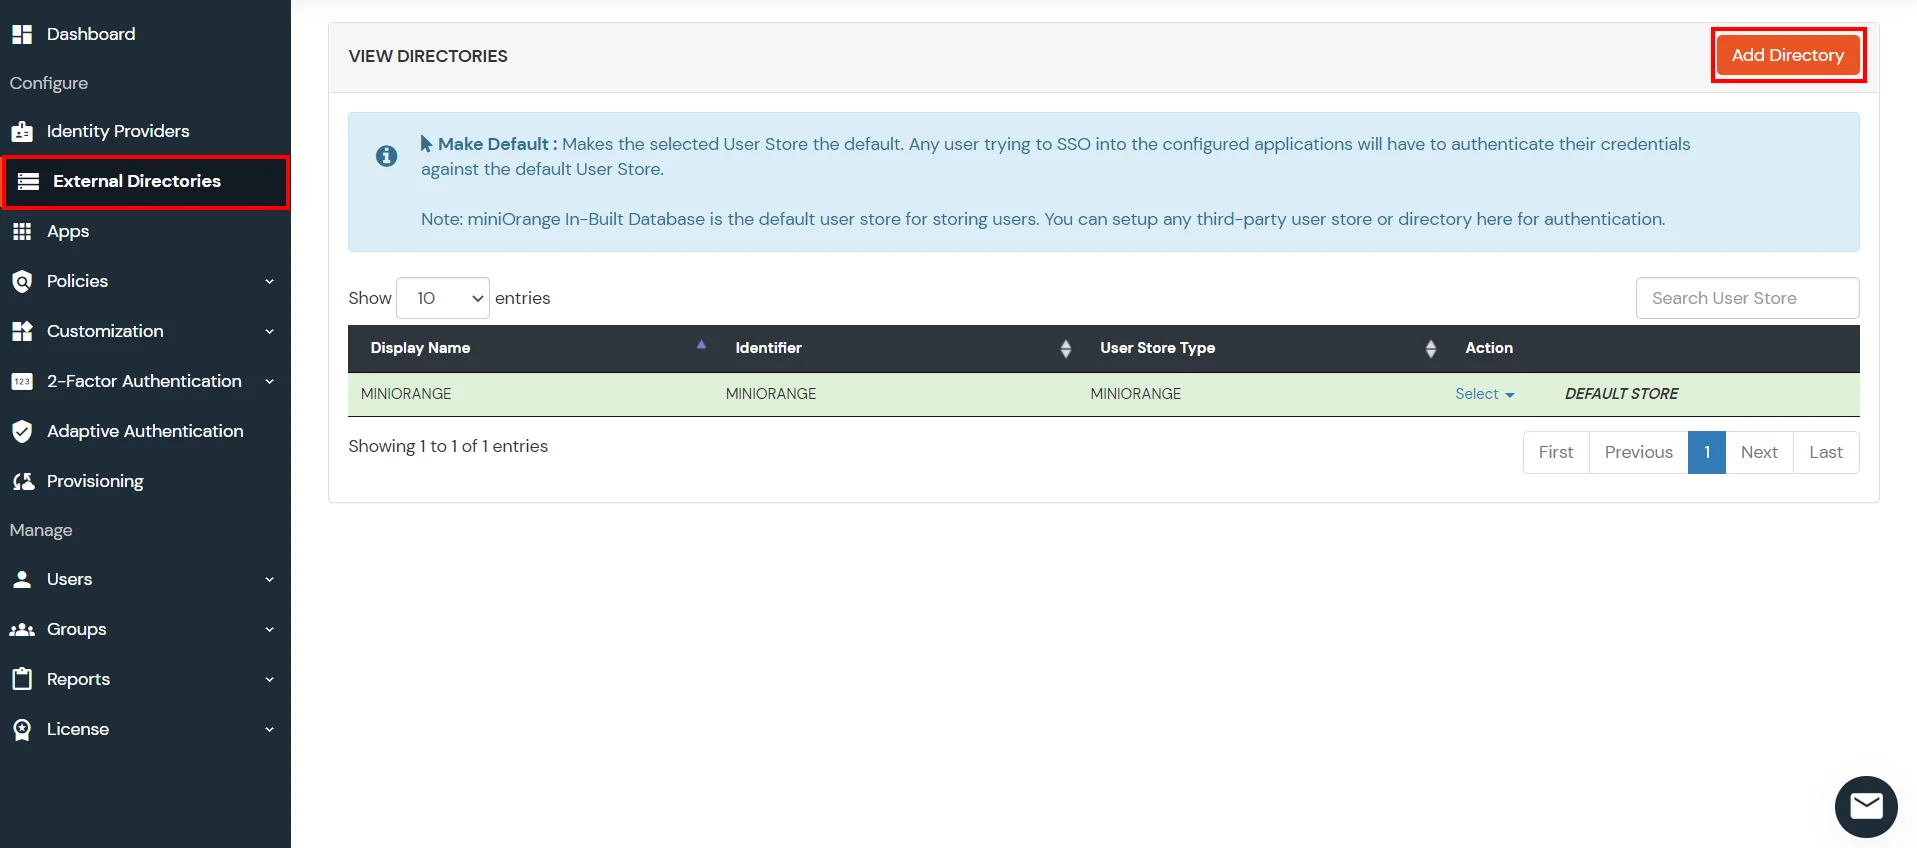
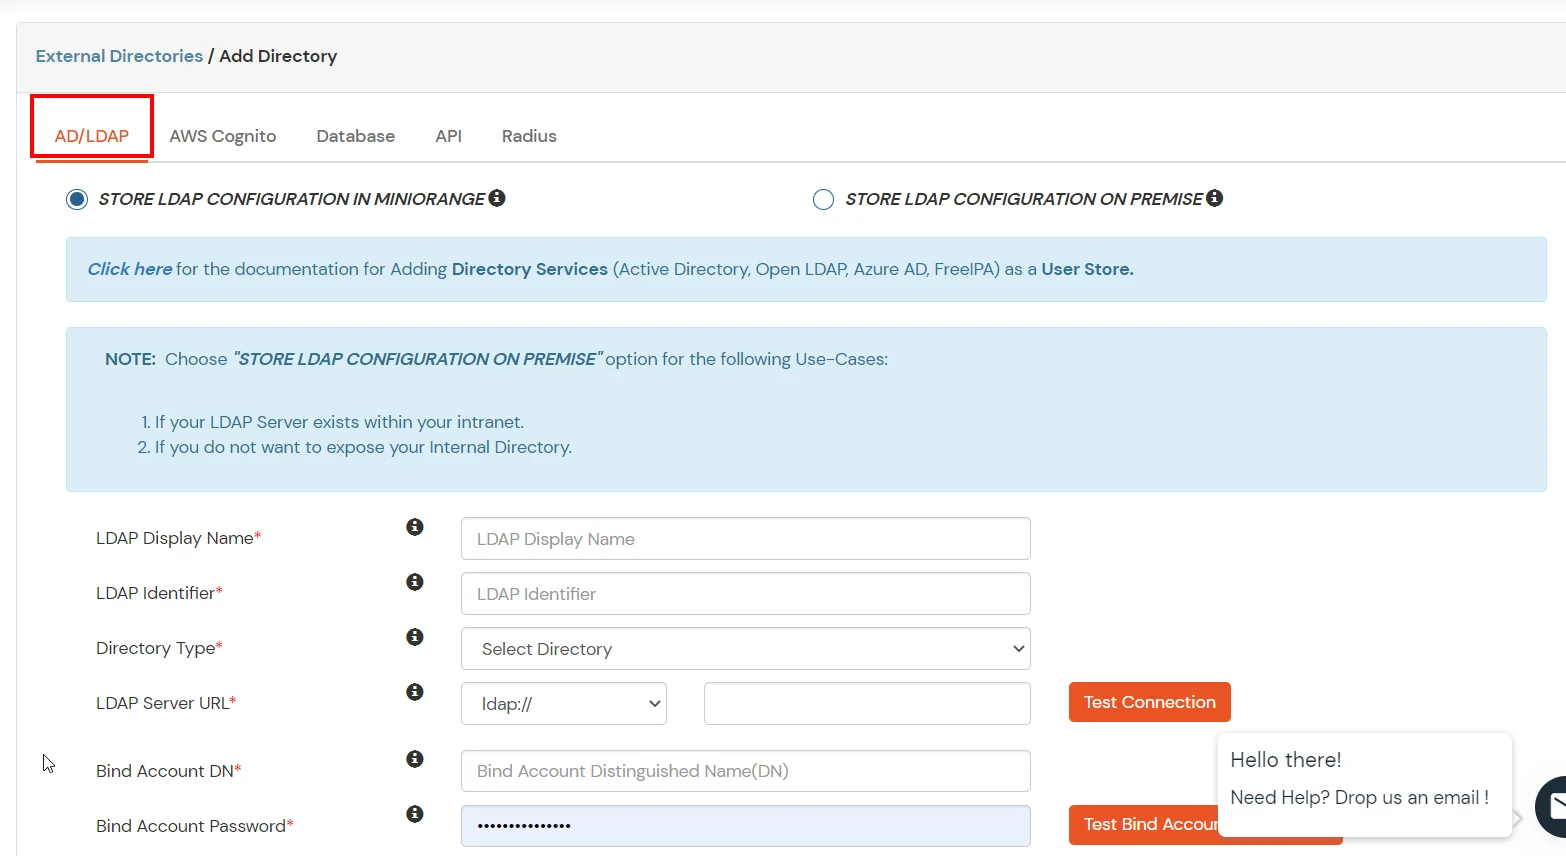
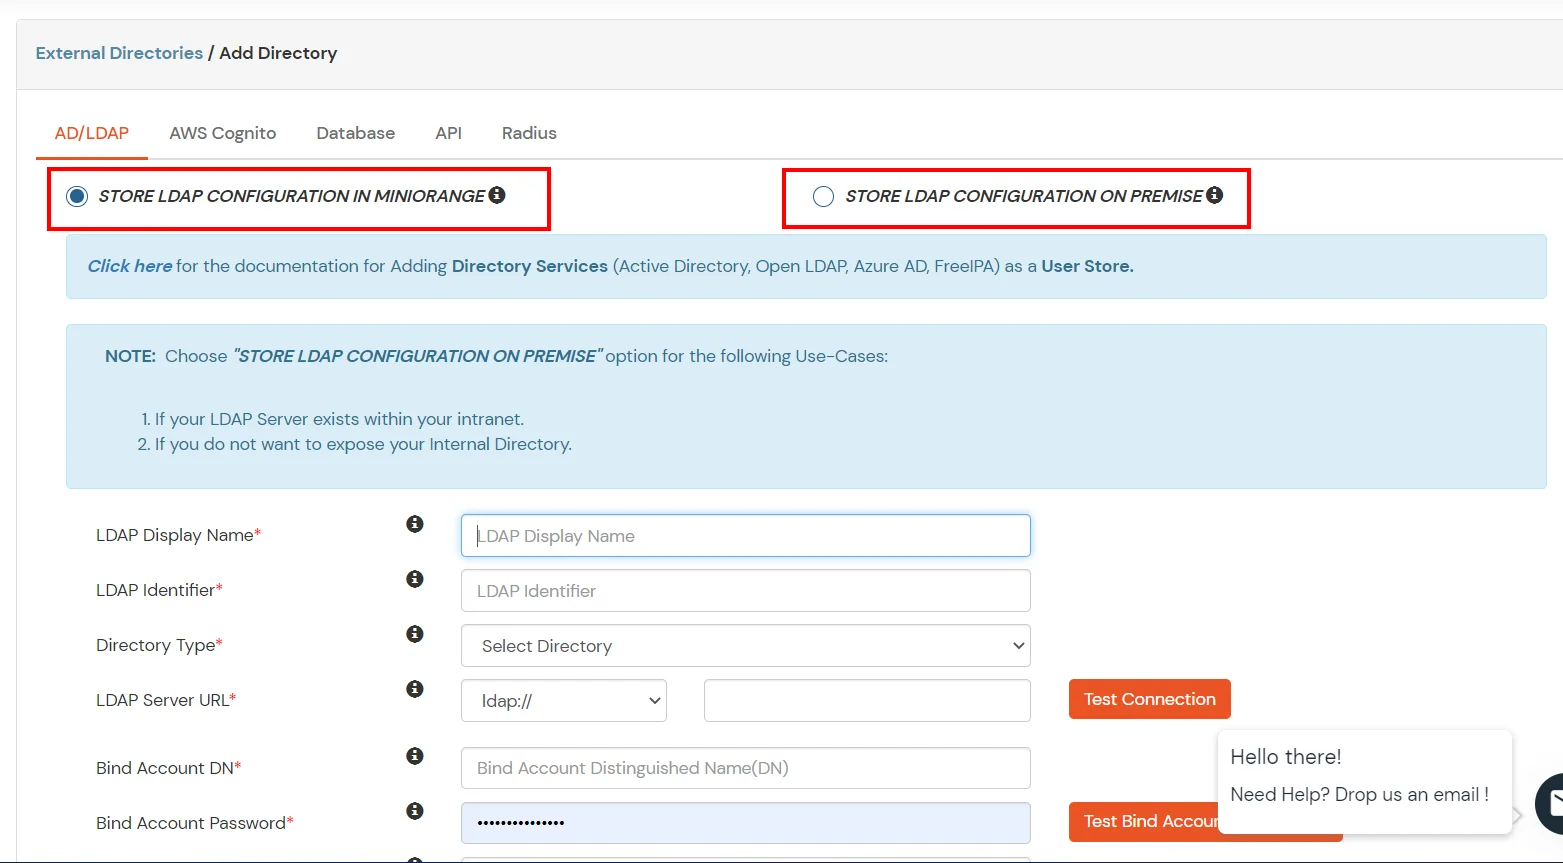
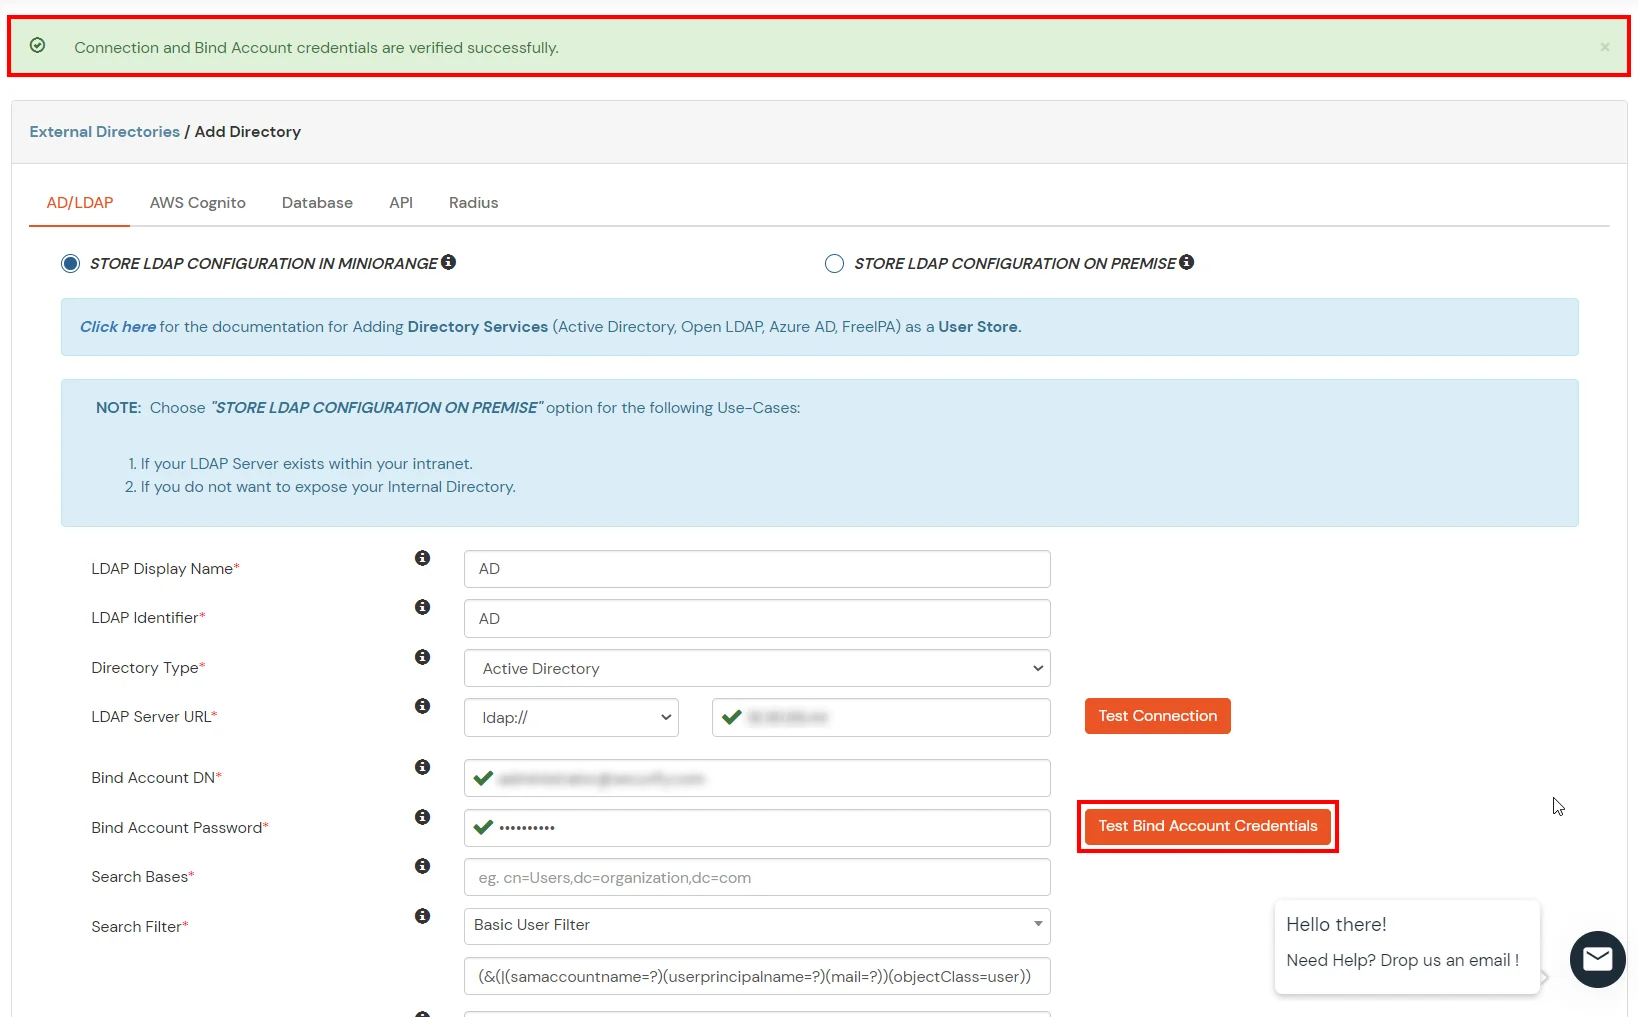
miniOrange provides user authentication from various external sources, which can be Directories (like ADFS, Microsoft Active Directory, OpenLDAP, AWS etc), Identity Providers (like Microsoft Entra ID, Okta, AWS), and many more. You can configure your existing directory/user store or add users in miniOrange.
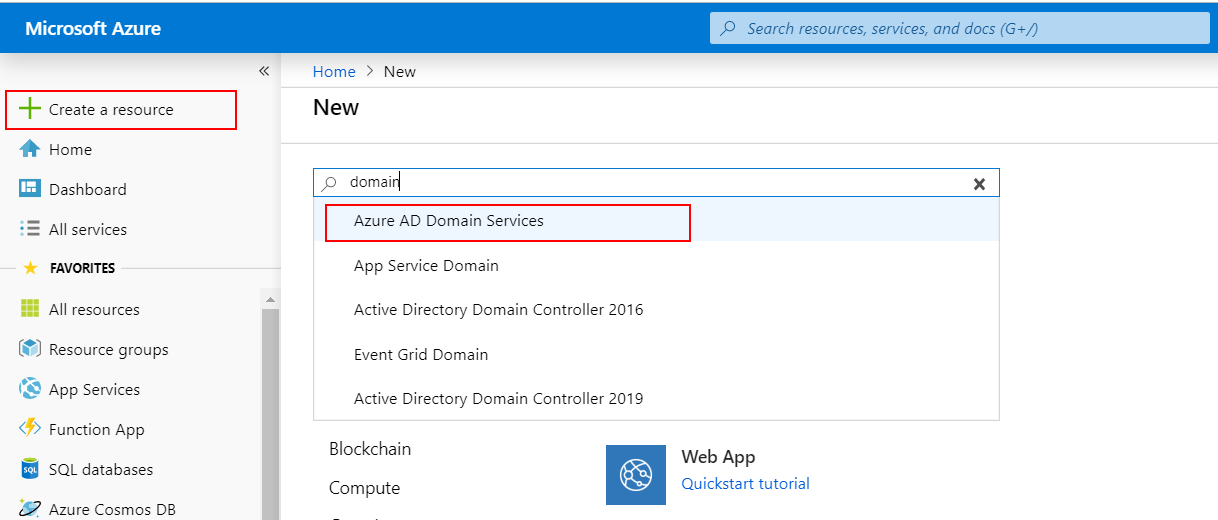
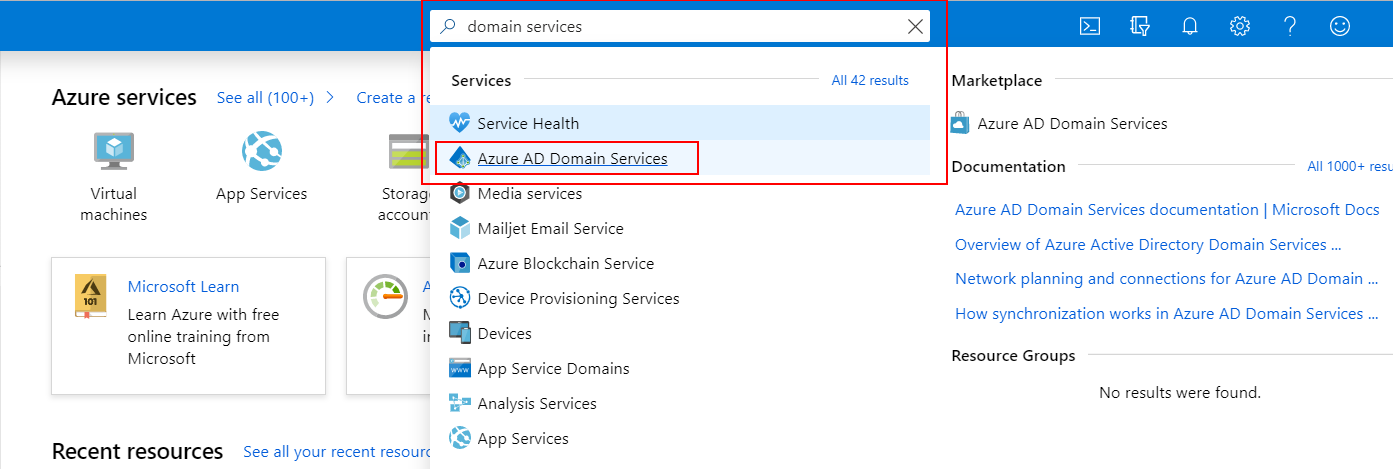
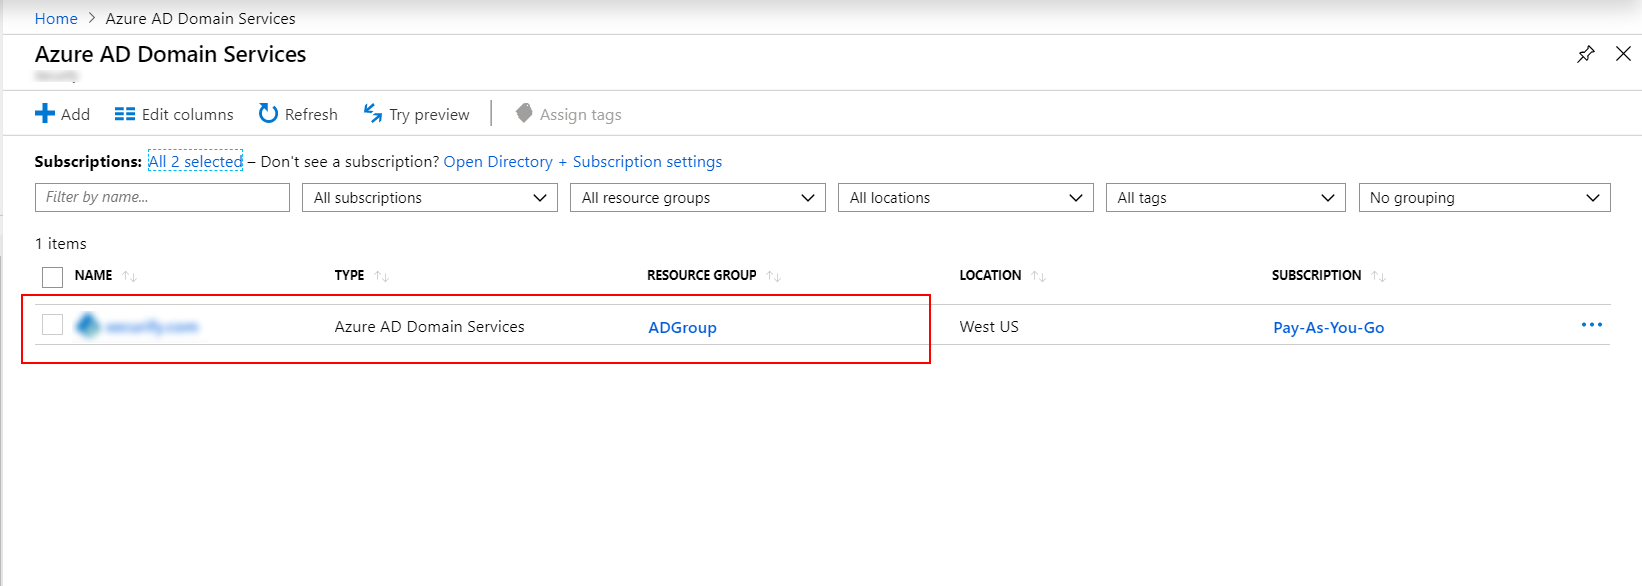
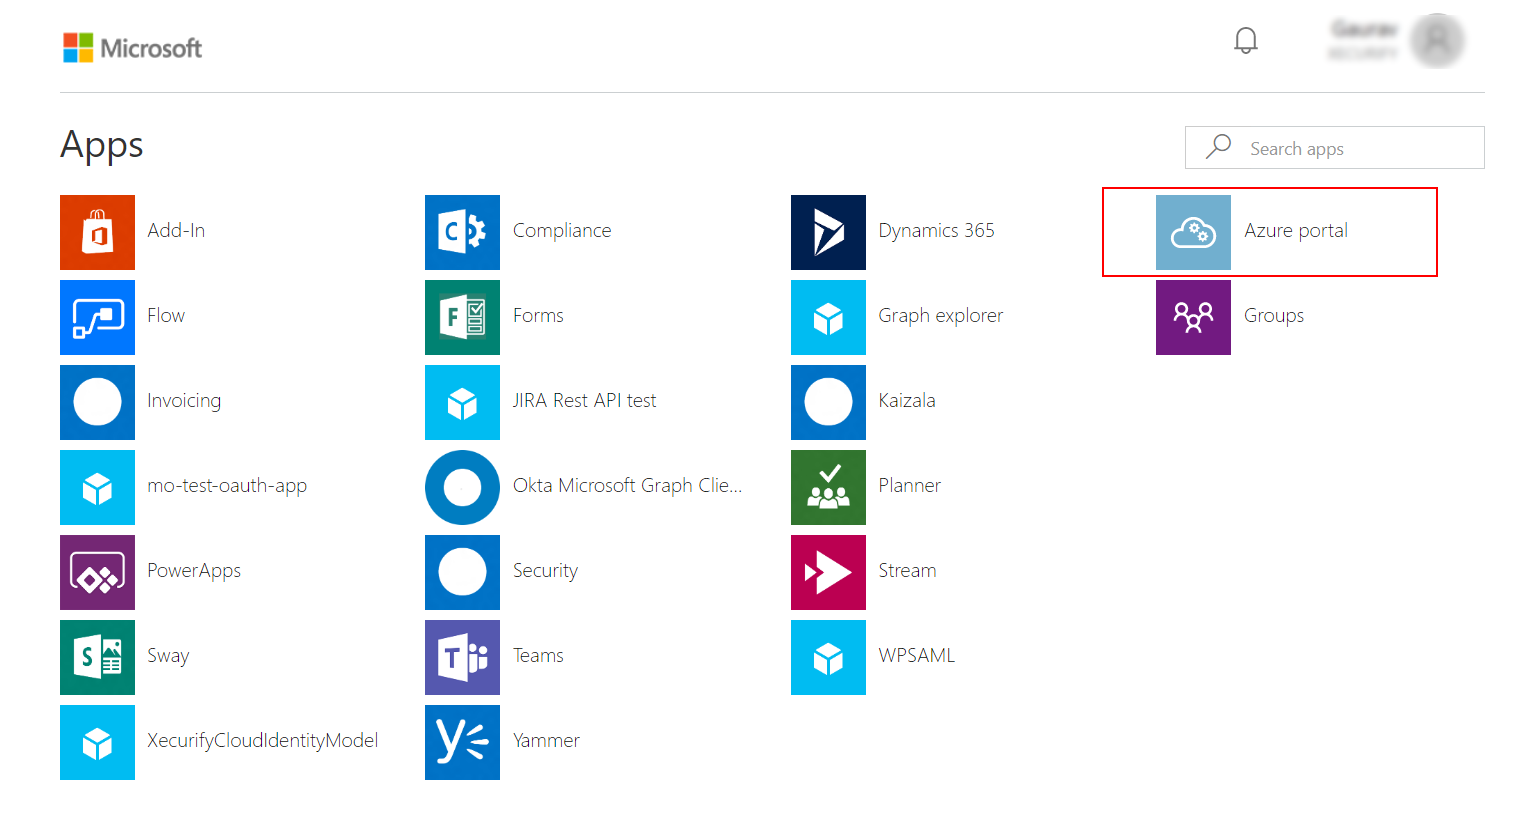
(Skip this if you have already configured a AADDS instance for a subscription)
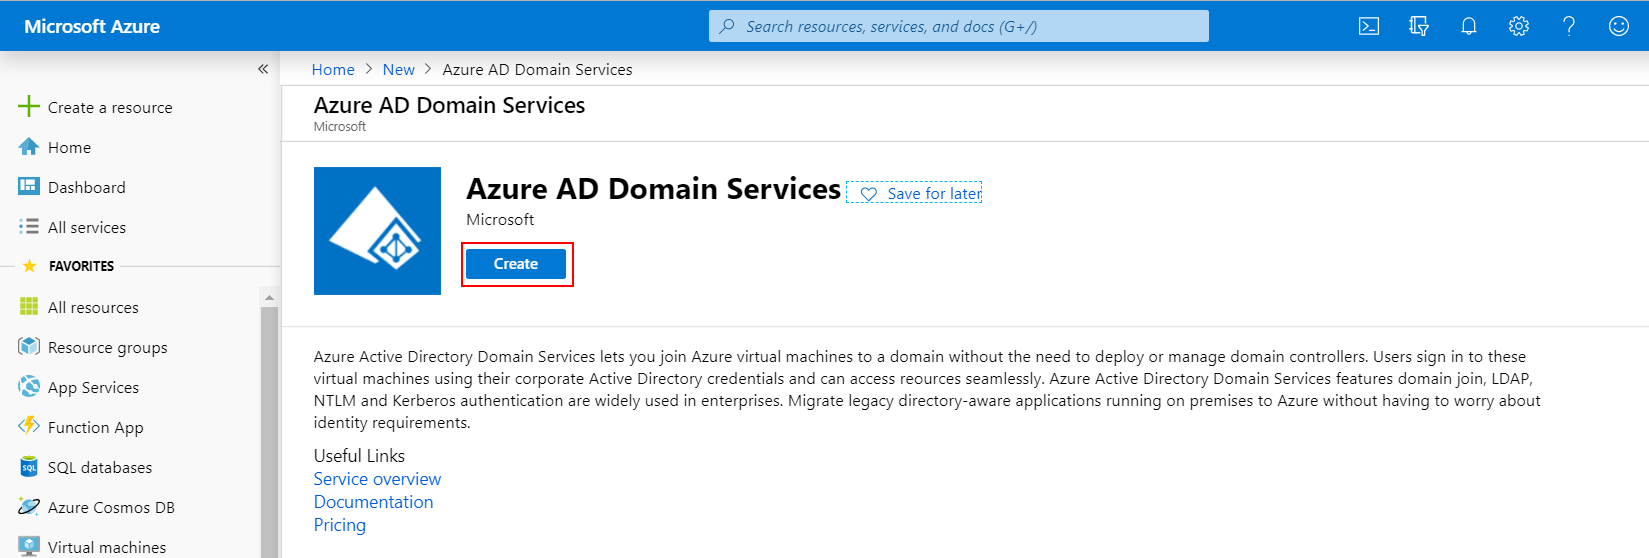
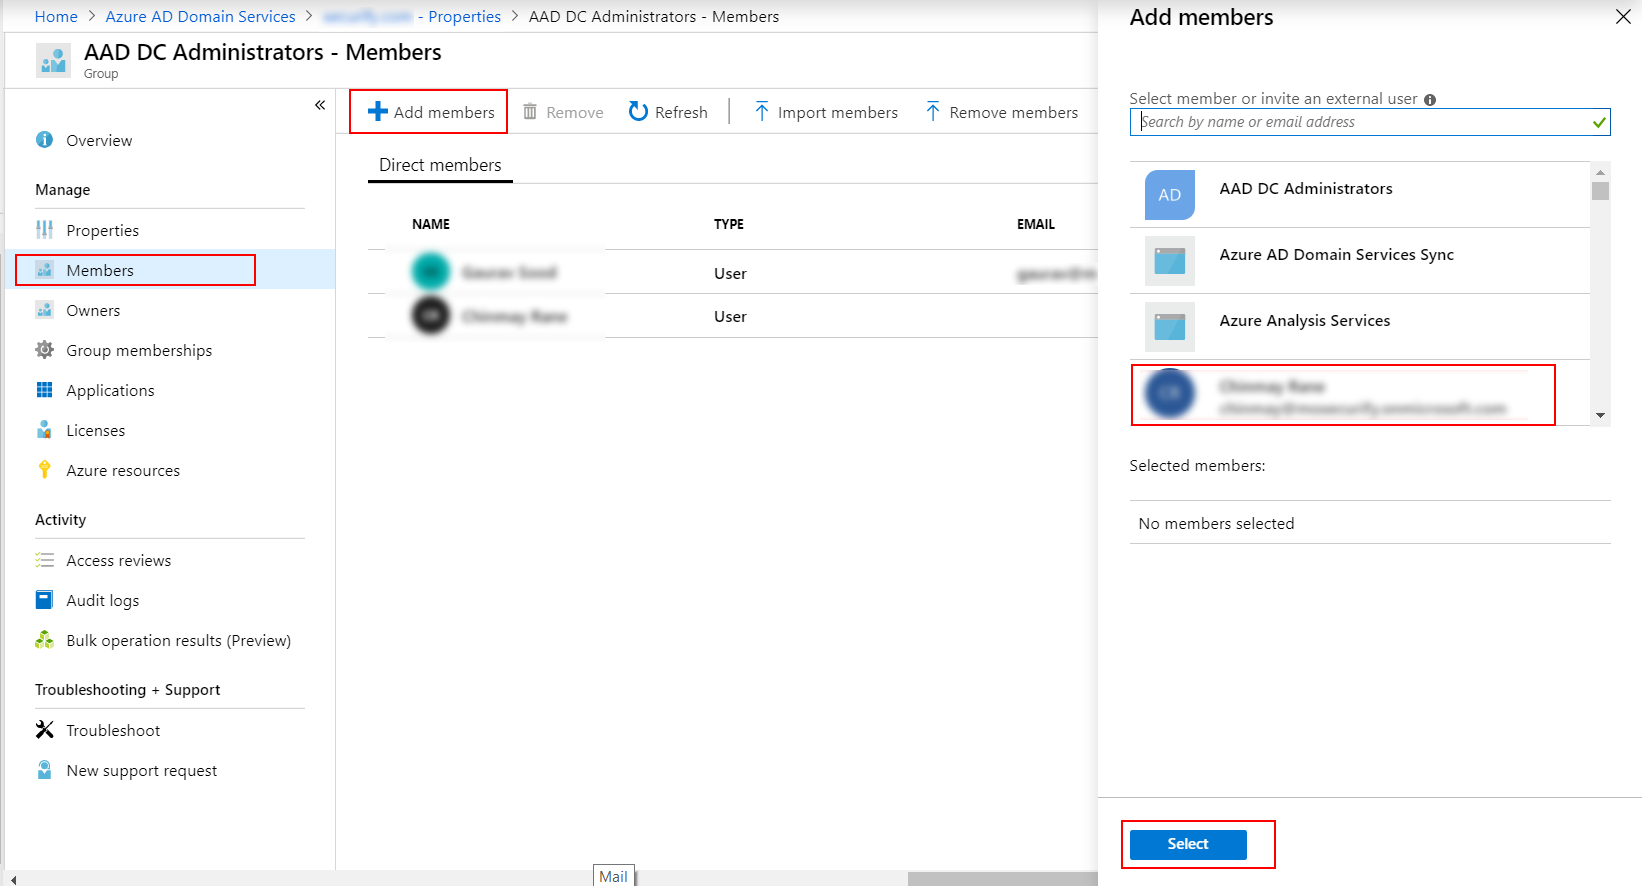
NOTE: During the provisioning process, Microsoft Entra DS creates two Enterprise Applications named Domain Controller Services and AzureActiveDirectoryDomainControllerServices in your directory. These Enterprise Applications are needed to service your managed domain. It's imperative that these applications are not deleted at any time.
    # Define your own DNS name used by your Microsoft Entra DS managed domain
    $dnsName="exampledomain.com"

    # Get the current date to set a one-year expiration
    $lifetime=Get-Date

    # Create a self-signed certificate for use with Microsoft Entra DS
    New-SelfSignedCertificate -Subject *.$dnsName `
      -NotAfter $lifetime.AddDays(365) -KeyUsage DigitalSignature, KeyEncipherment `
      -Type SSLServerAuthentication -DnsName *.$dnsName, $dnsName

| Settings | Value |
|---|---|
| Source | Any |
| Source port ranges | * |
| Destination | Any |
| Destination port ranges | 636 |
| Protocol | TCP |
| Action | Allow |
| Priority | 401 |
| Name | AllowLDAPS |
| Settings | Value |
|---|---|
| Source | IP Addresses |
| Source IP addresses / CIDR ranges | Valid IP address or range for your environment. |
| Source port ranges | * |
| Destination | Any |
| Destination port ranges | 636 |
| Protocol | TCP |
| Action | Allow |
| Priority | 401 |
| Name | AllowLDAPS |

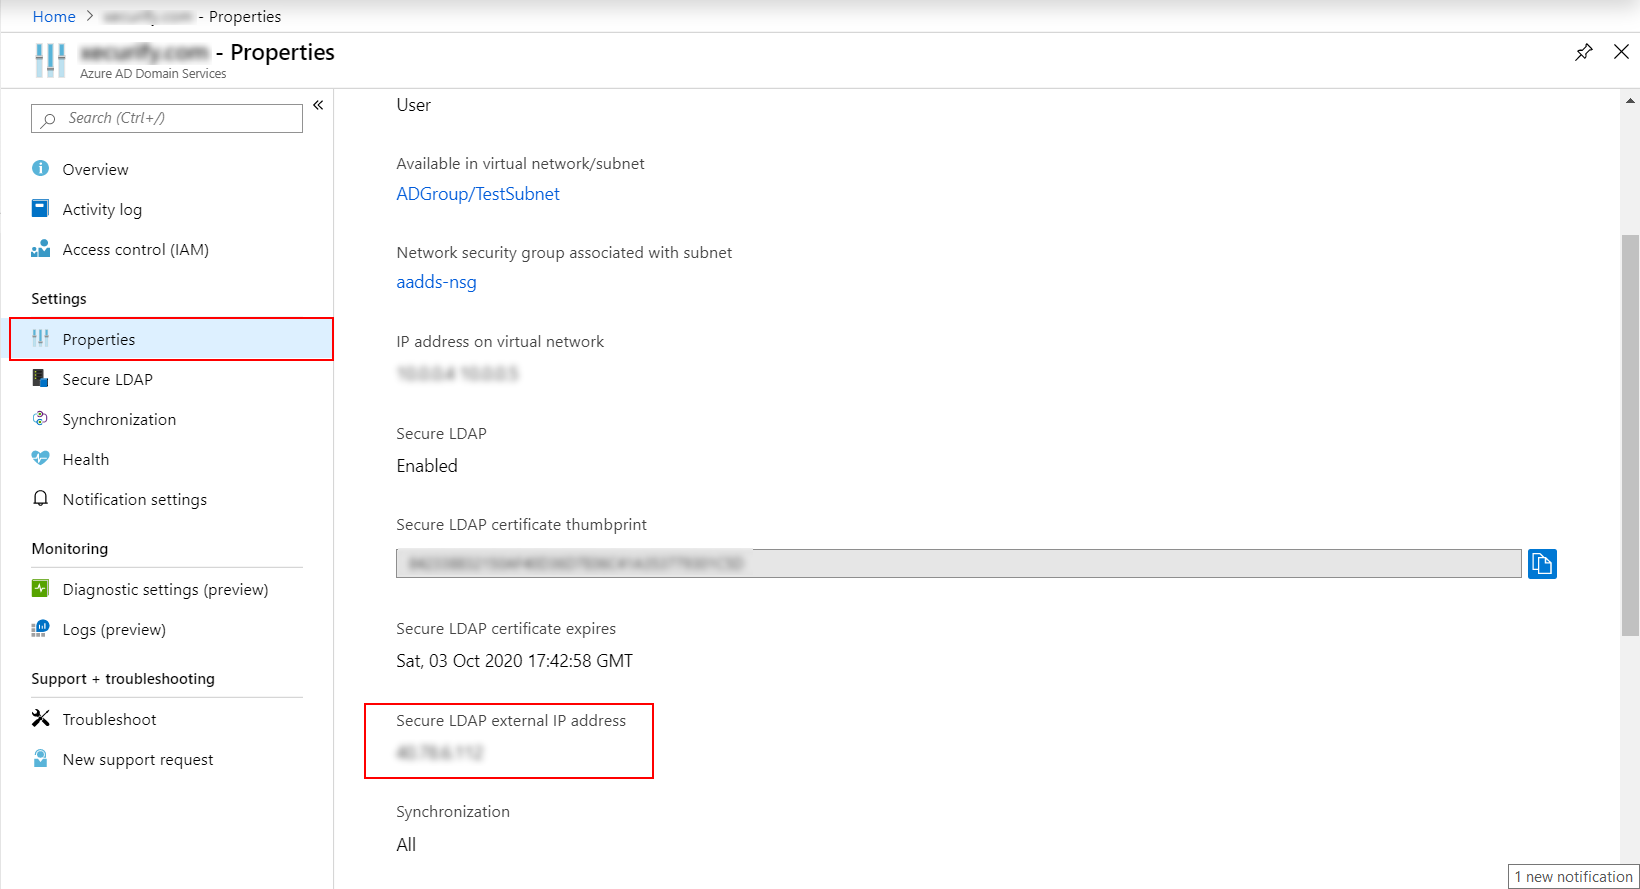
<Secure LDAP external IP address>ldaps.<domainname>

Replace <Secure LDAP external IP address> with the IP we get from azure portal and replace
&l;tdomainname> with the domain name for which the certificate was created.(Value used in $dnsName)

Eg: 99.129.99.939 ldaps.exampledomain.com


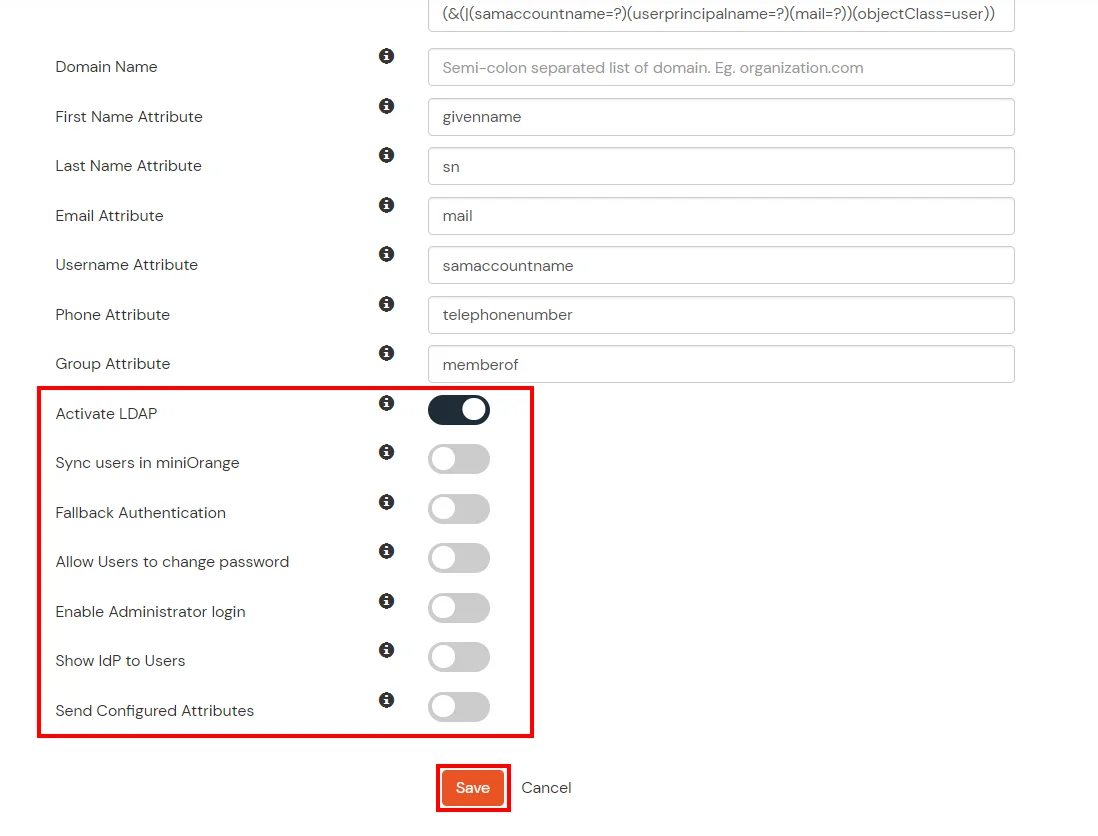
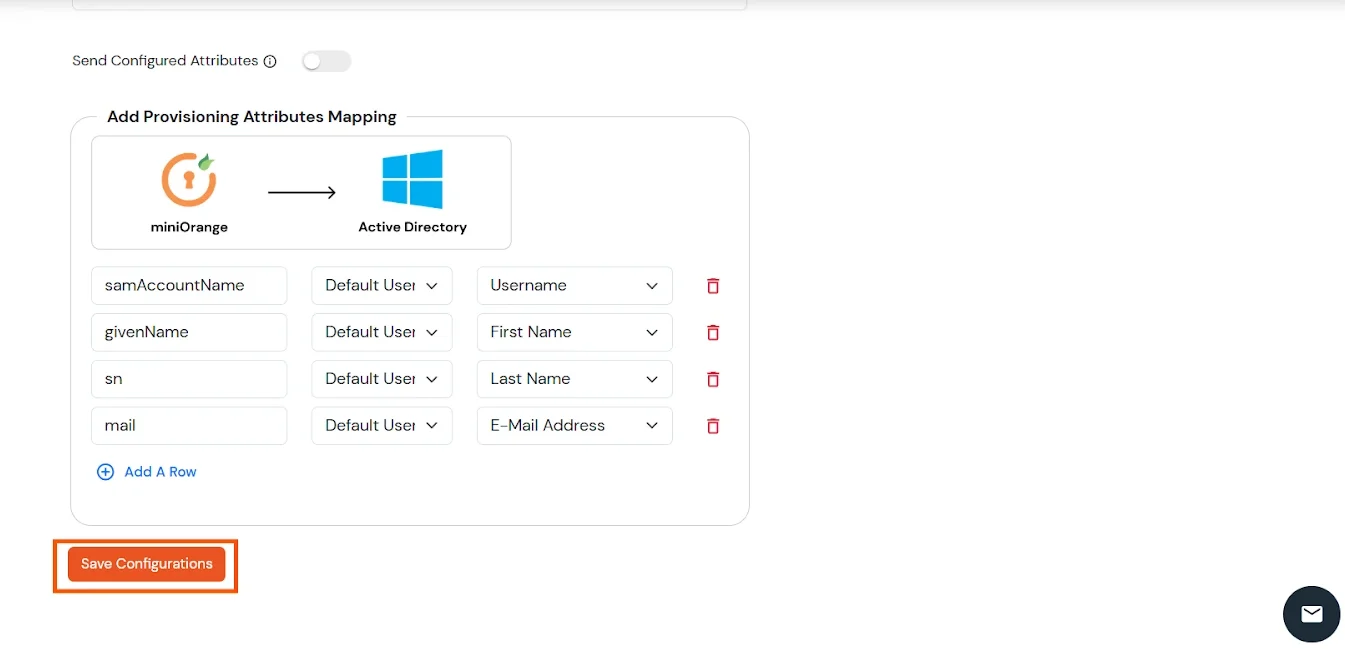
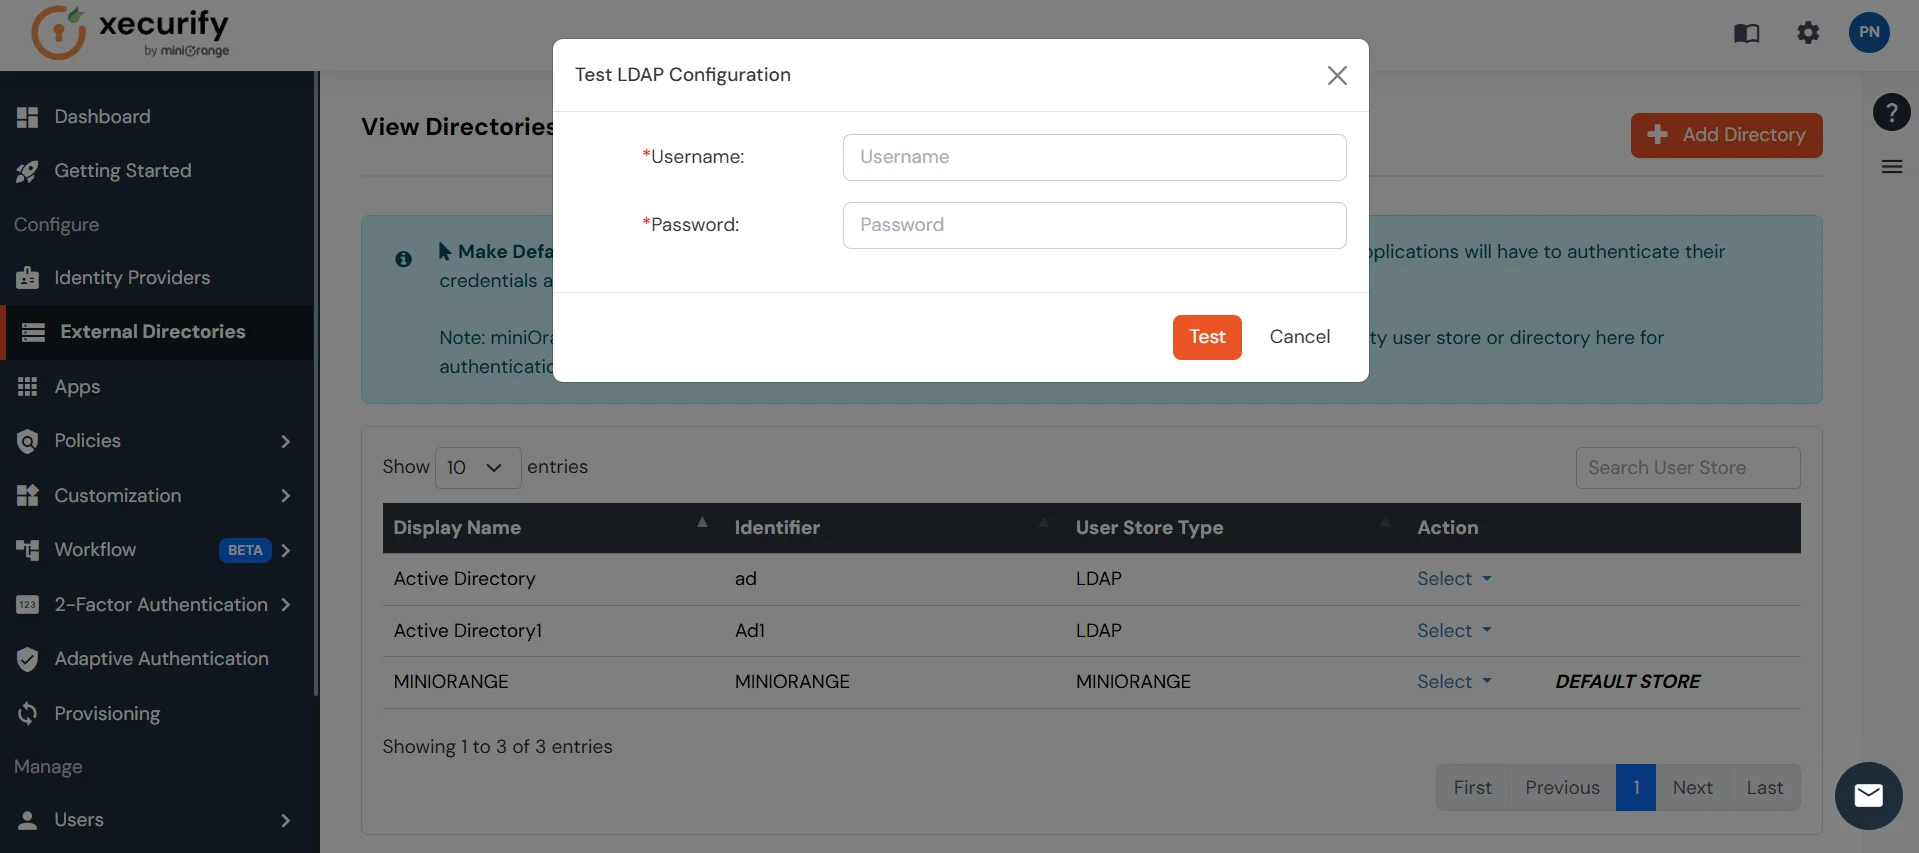
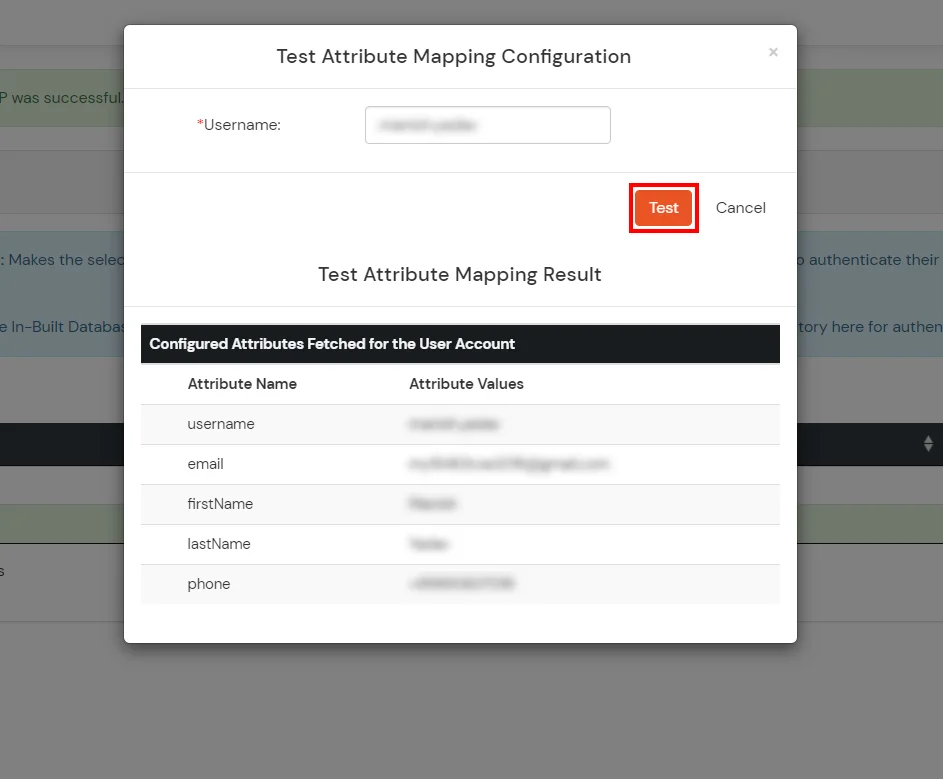
Here's the list of the attributes and what it does when we enable it. You can enable/disable accordingly.
| Attribute | Description |
|---|---|
| Activate LDAP | All user authentications will be done with LDAP credentials if you Activate it |
| Fallback Authentication | If LDAP credentials fail then user will be authenticated through miniOrange |
| Enable administrator login | On enabling this, your miniOrange Administrator login authenticates using your LDAP server |
| Show IdP to users | If you enable this option, this IdP will be visible to users |
| Sync users in miniOrange | Users will be created in miniOrange after authentication with LDAP |
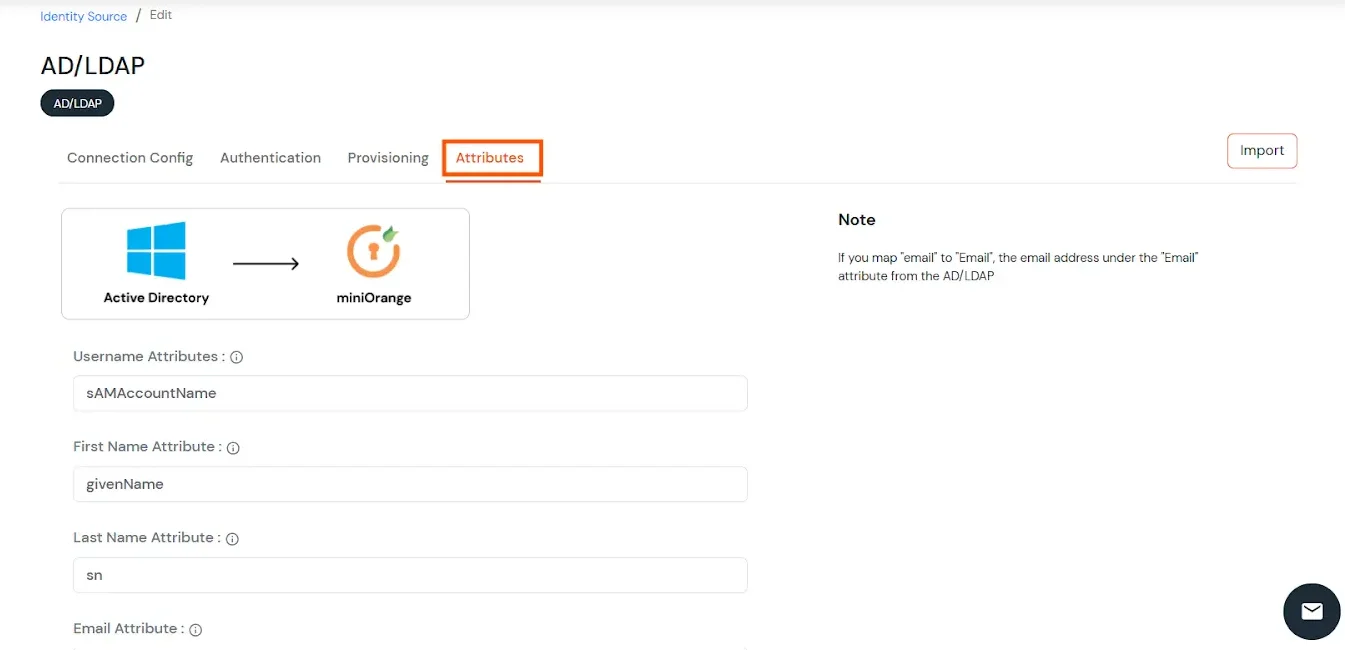
Attribute Name sent to SP = organization
Attribute Name from IDP = company
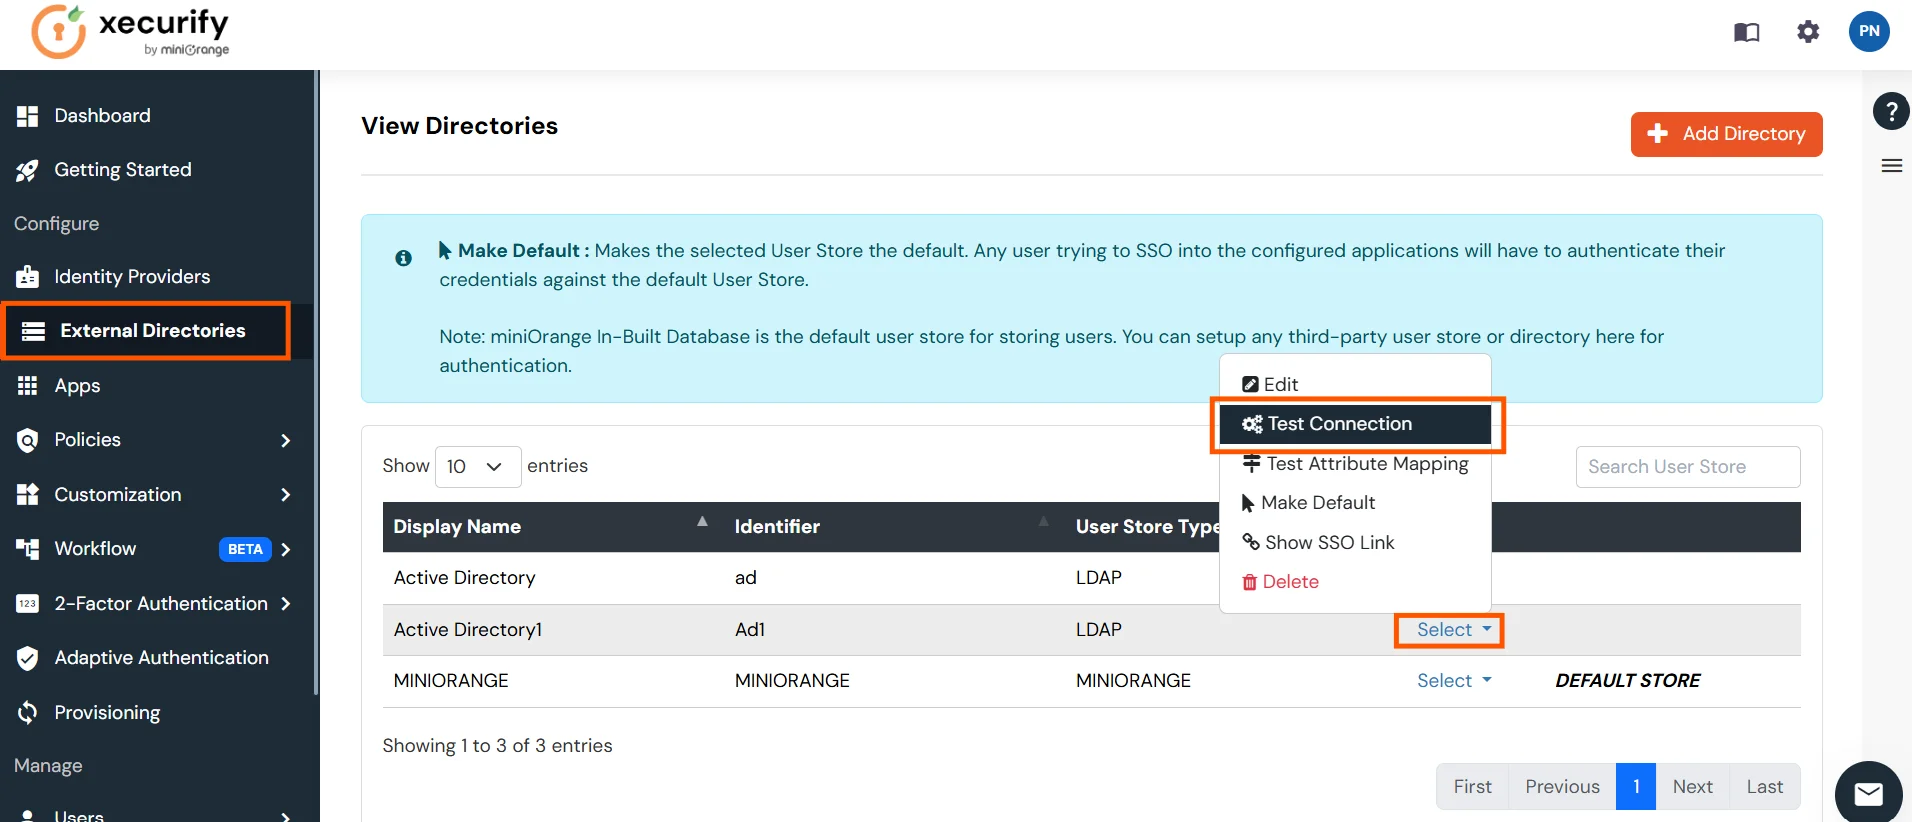
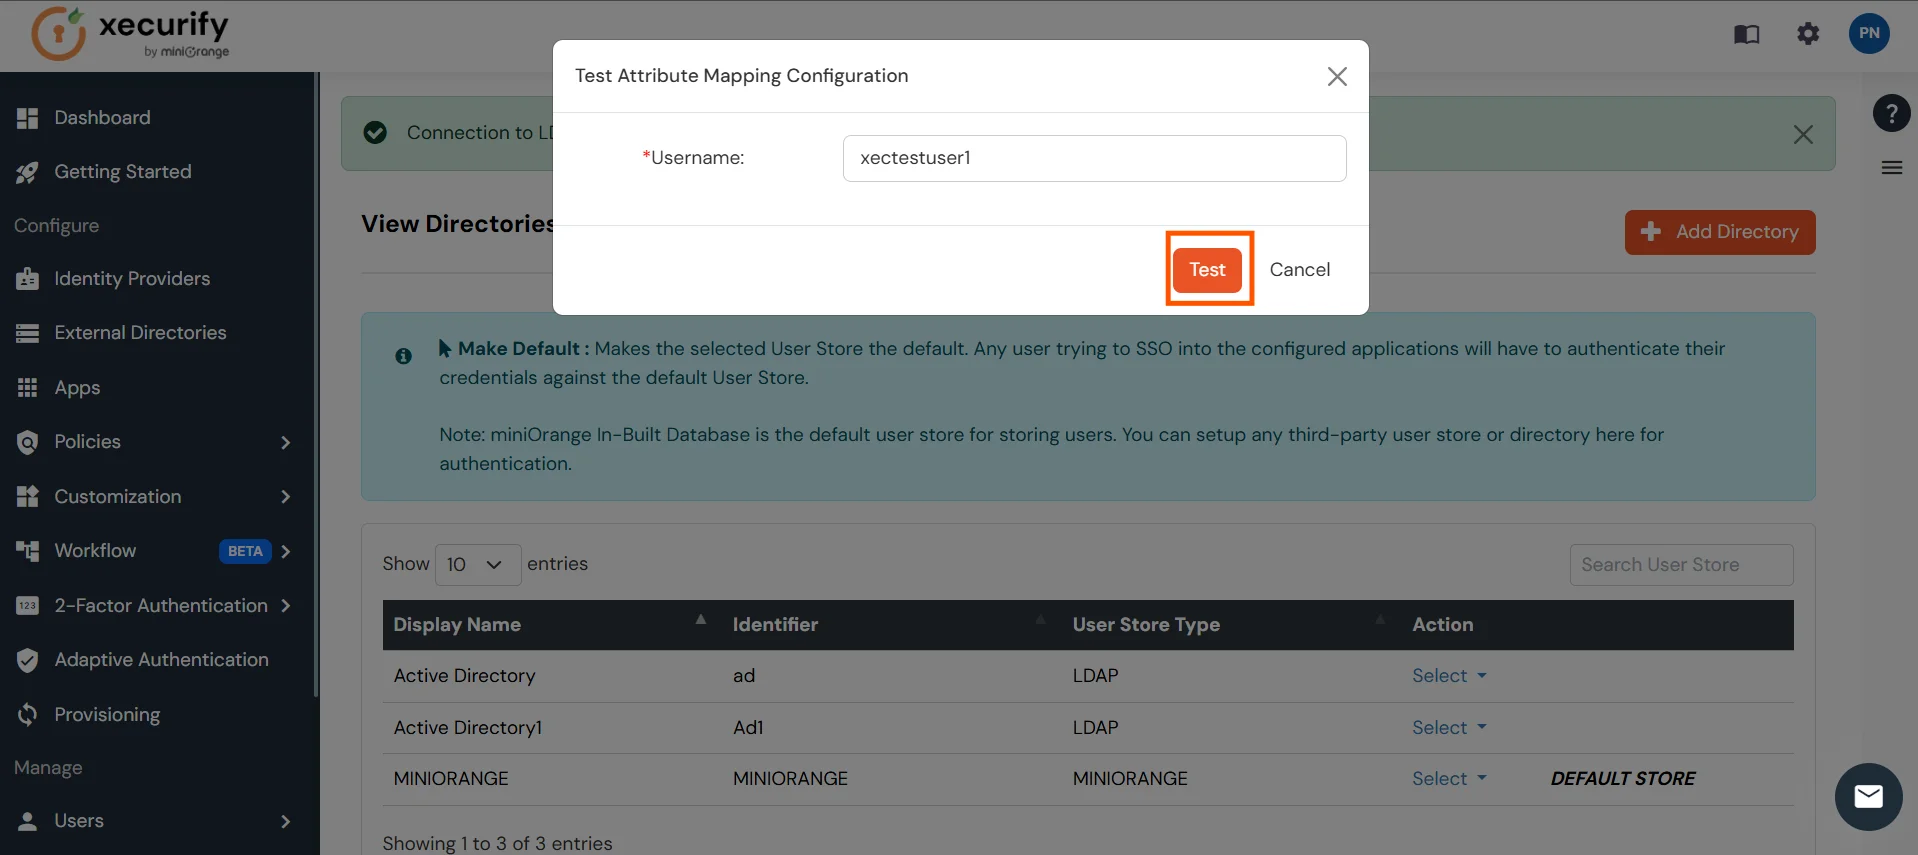
Set up AD as External Directory configuration is complete.
Note: Refer our guide to setup LDAP on windows server.
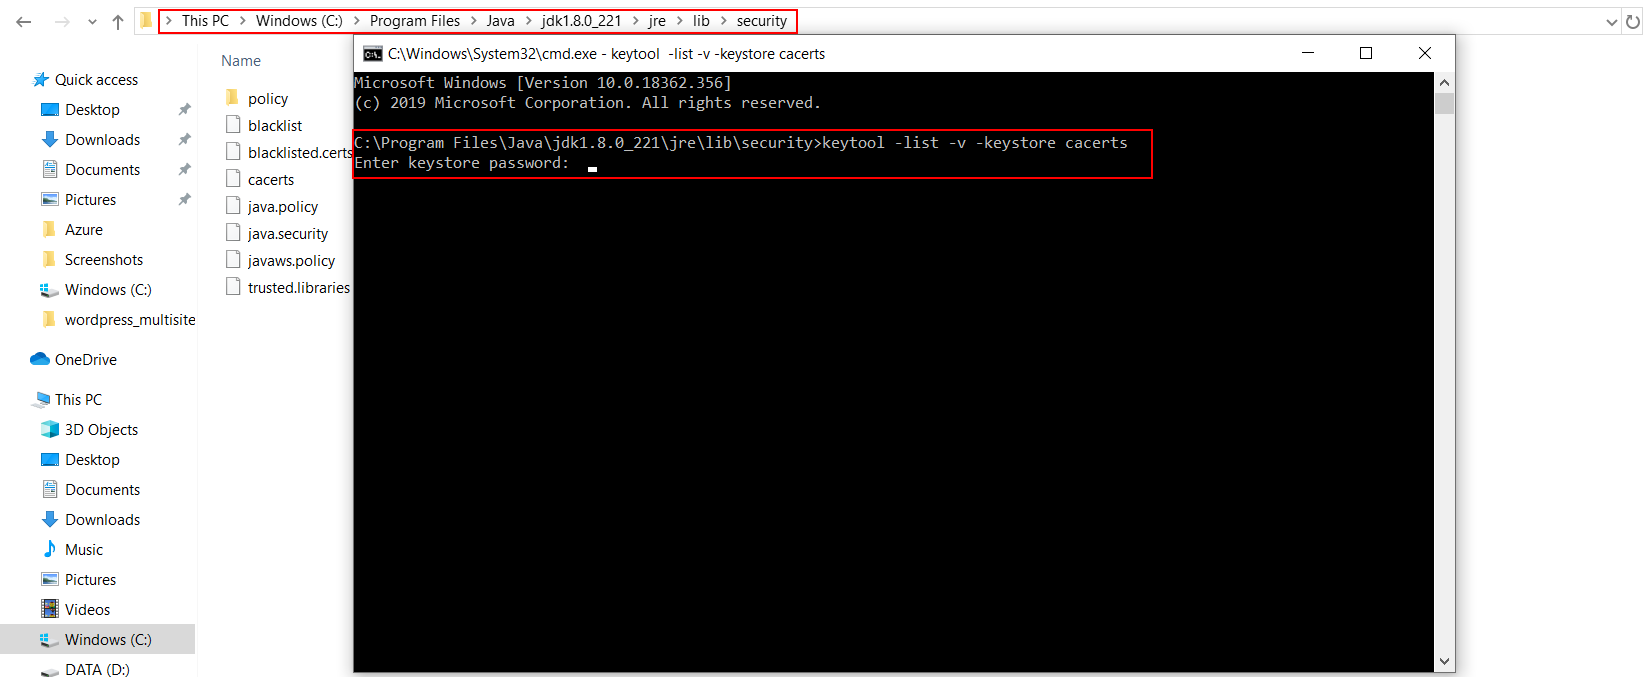
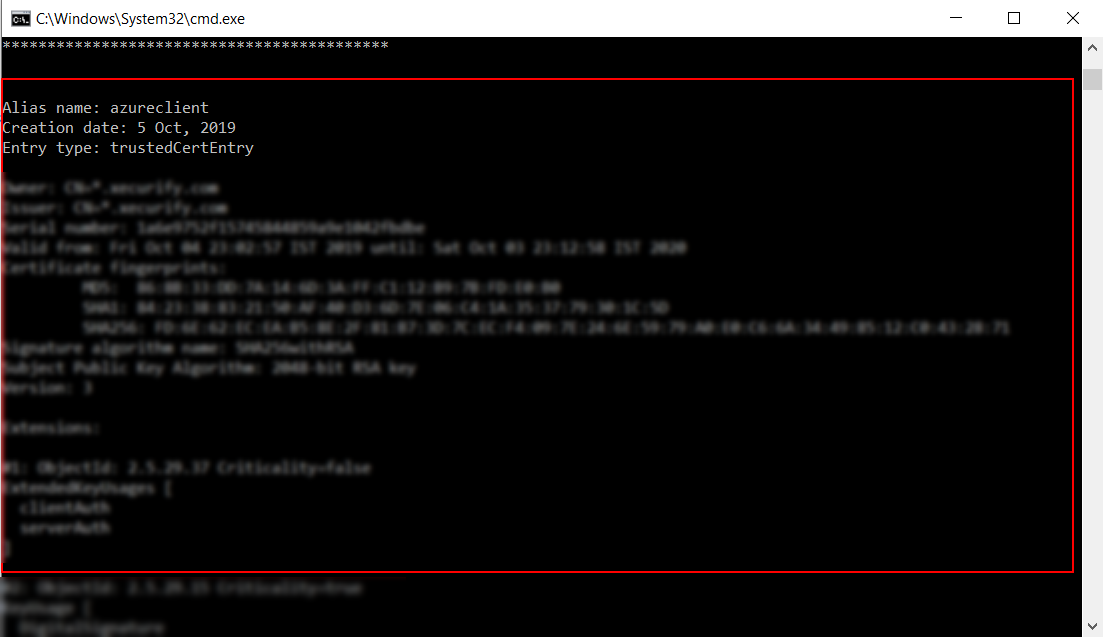
Install keytool for windows.(Its installed with java and is present in $JAVA_HOME\bin directory. To use it elsewhere add this directory to PATH variable.)