Hello there!
Need Help? We are right here!
Need Help? We are right here!
Search Results:
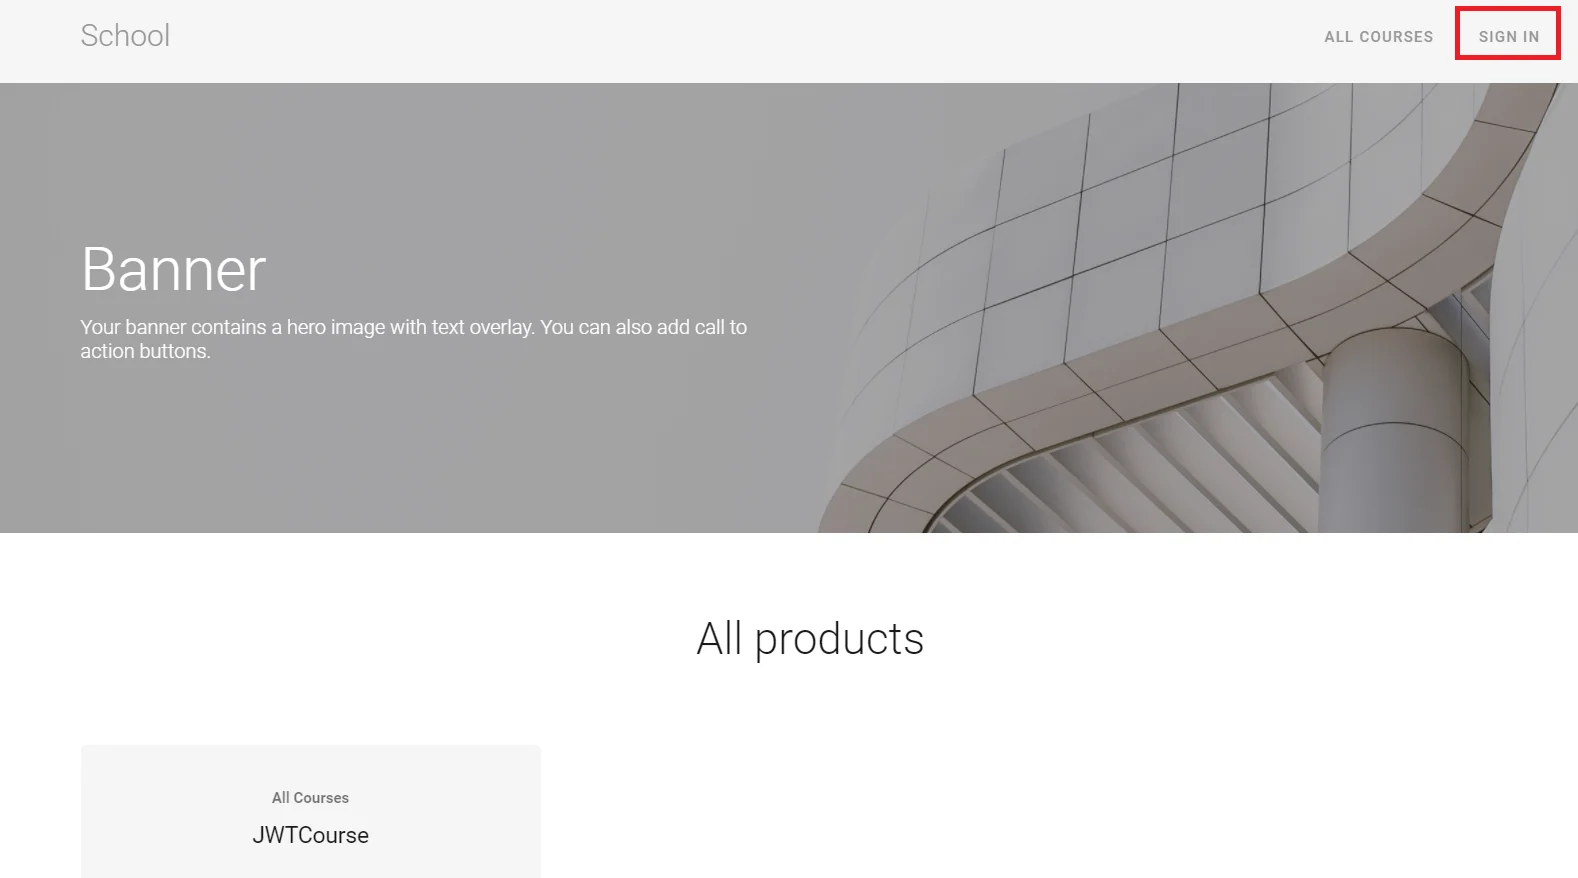
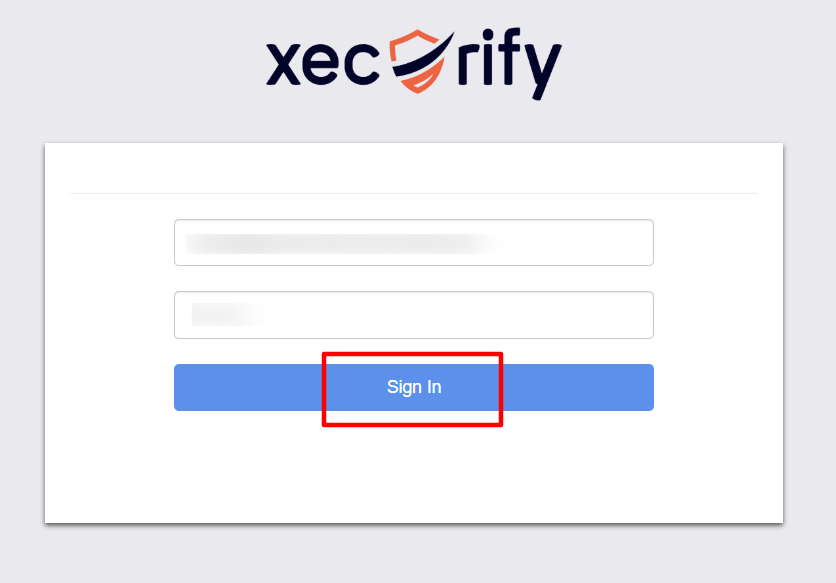
×Thinkific SSO solution by miniOrange helps you simplify everyday teaching and learning experience for students, teachers, and staff by providing a seamless Single Sign-On (SSO) solution. With miniOrange’s ready-made SSO solution, users can authenticate themselves using their existing credentials and log into Thinkific. Users just have to click on a link and based on the Identity Provider or User stored configured in miniOrange are redirected to the appropriate login page / Identity Provider for authentication. After successful authentication, miniOrange constructs the necessary token and automatically redirects the user to Thinkific.
Thinkific deconstructs this payload and either finds the user and signs them in, or if they don’t already have an account on your Thinkific site, creates an account and signs them in. Using Single Sign-On (SSO) for Thinkific or any education platform will allow students, teachers, and administrators to instantly log in to these resources, with just a single login to the dashboard.
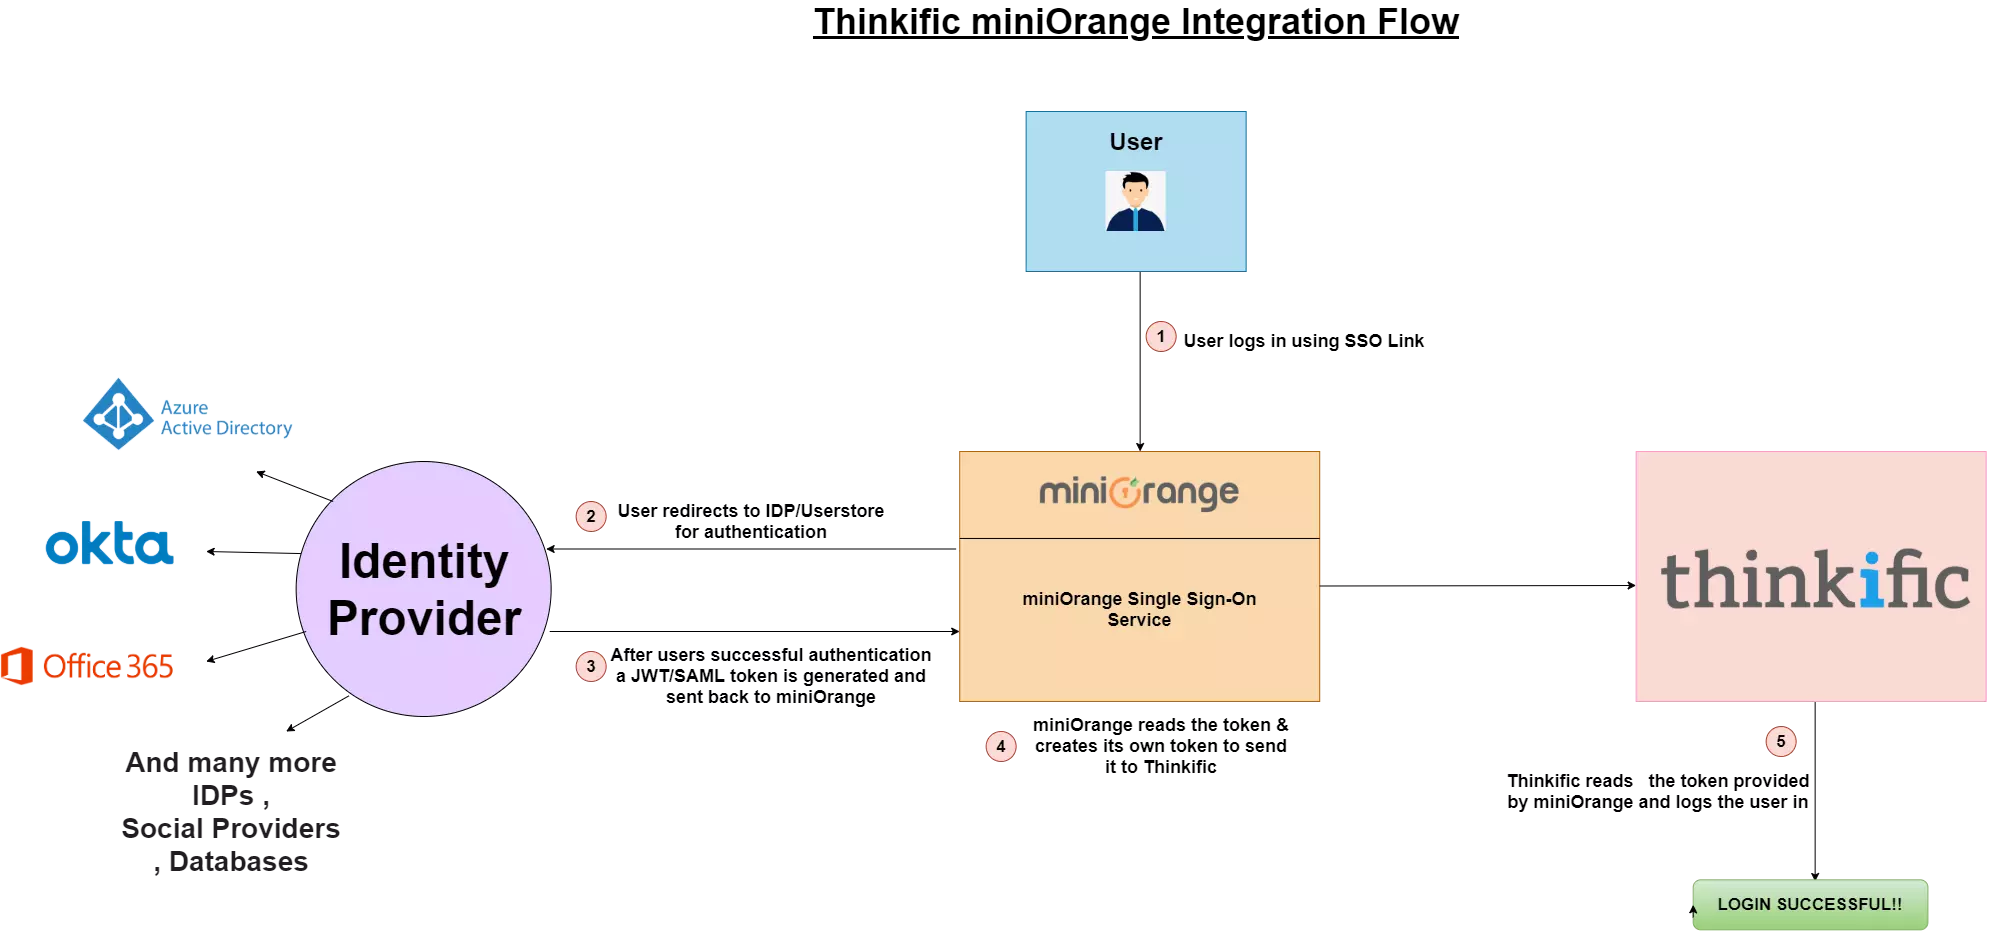
miniOrange provides user authentication from various external sources, which can be Directories (like ADFS, Microsoft Active Directory, OpenLDAP, AWS etc), Identity Providers (like Microsoft Entra ID, Okta, AWS), and many more. You can configure your existing directory/user store or add users in miniOrange.
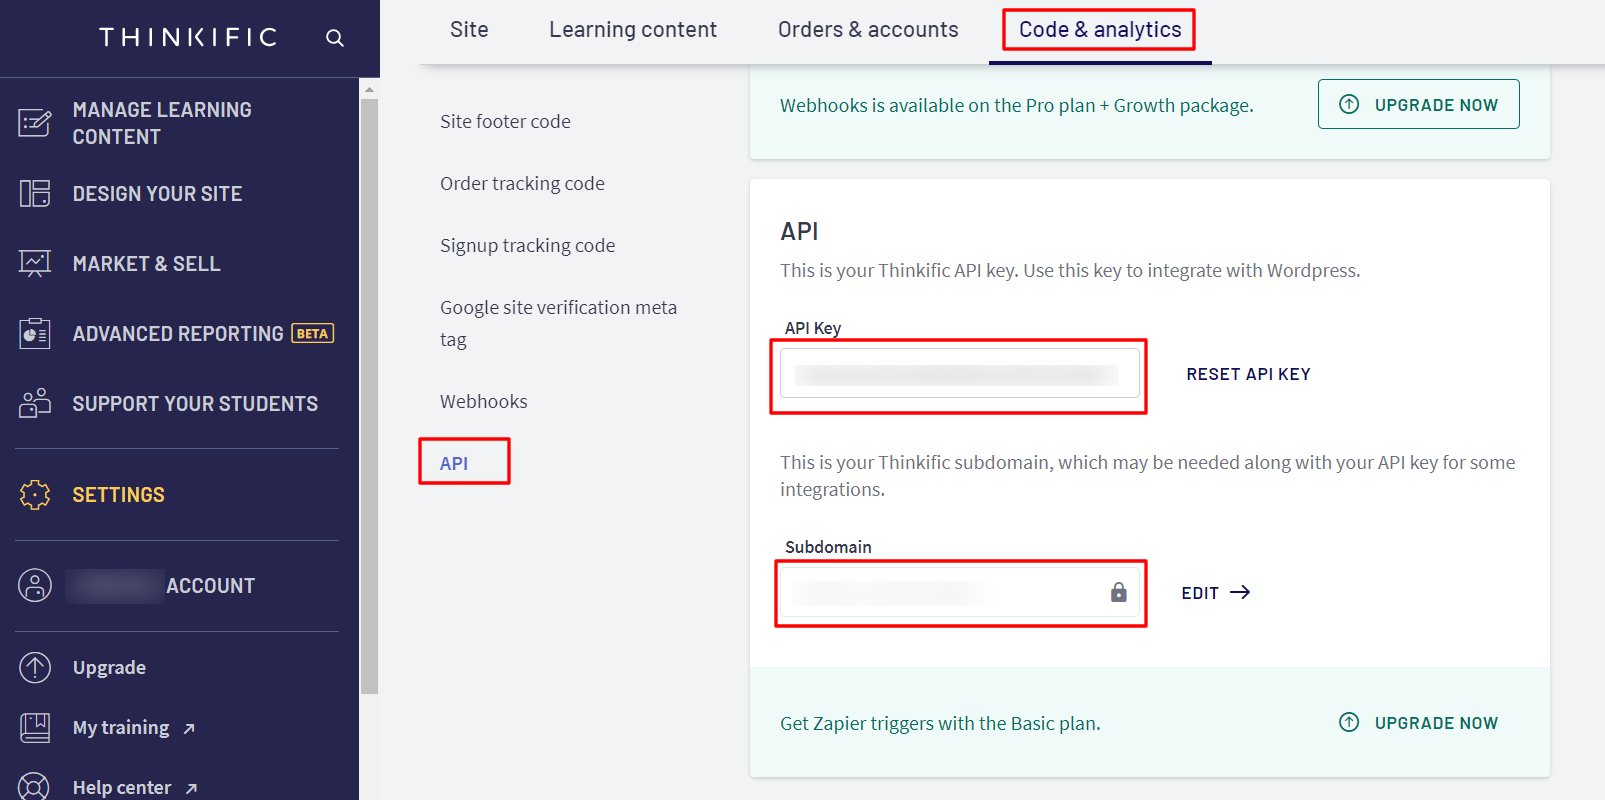
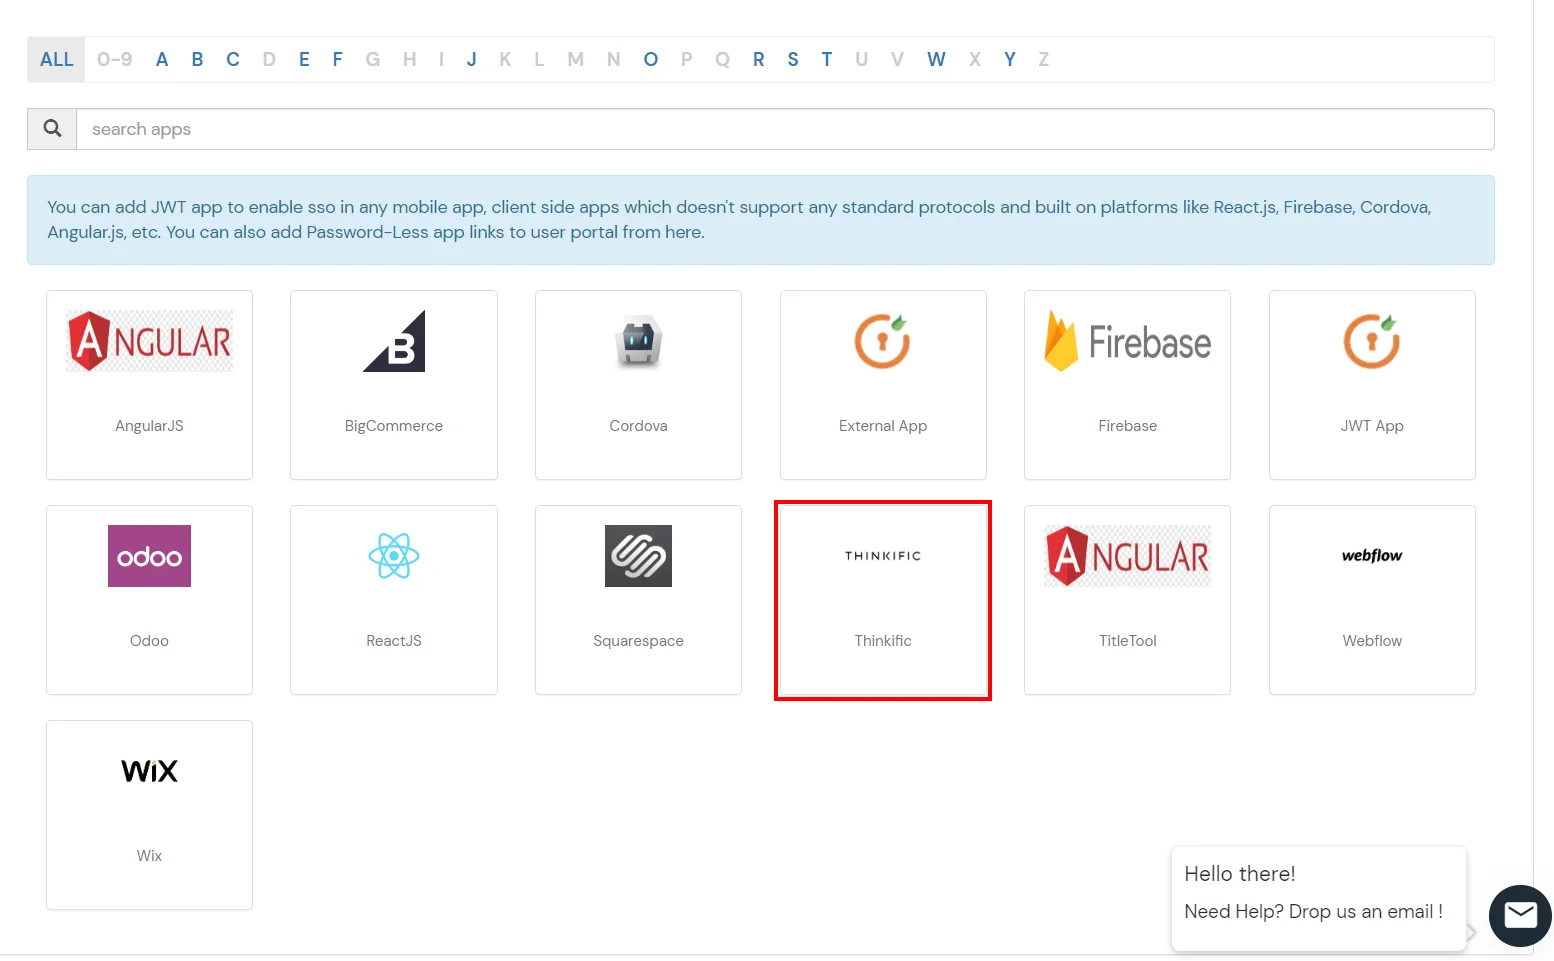
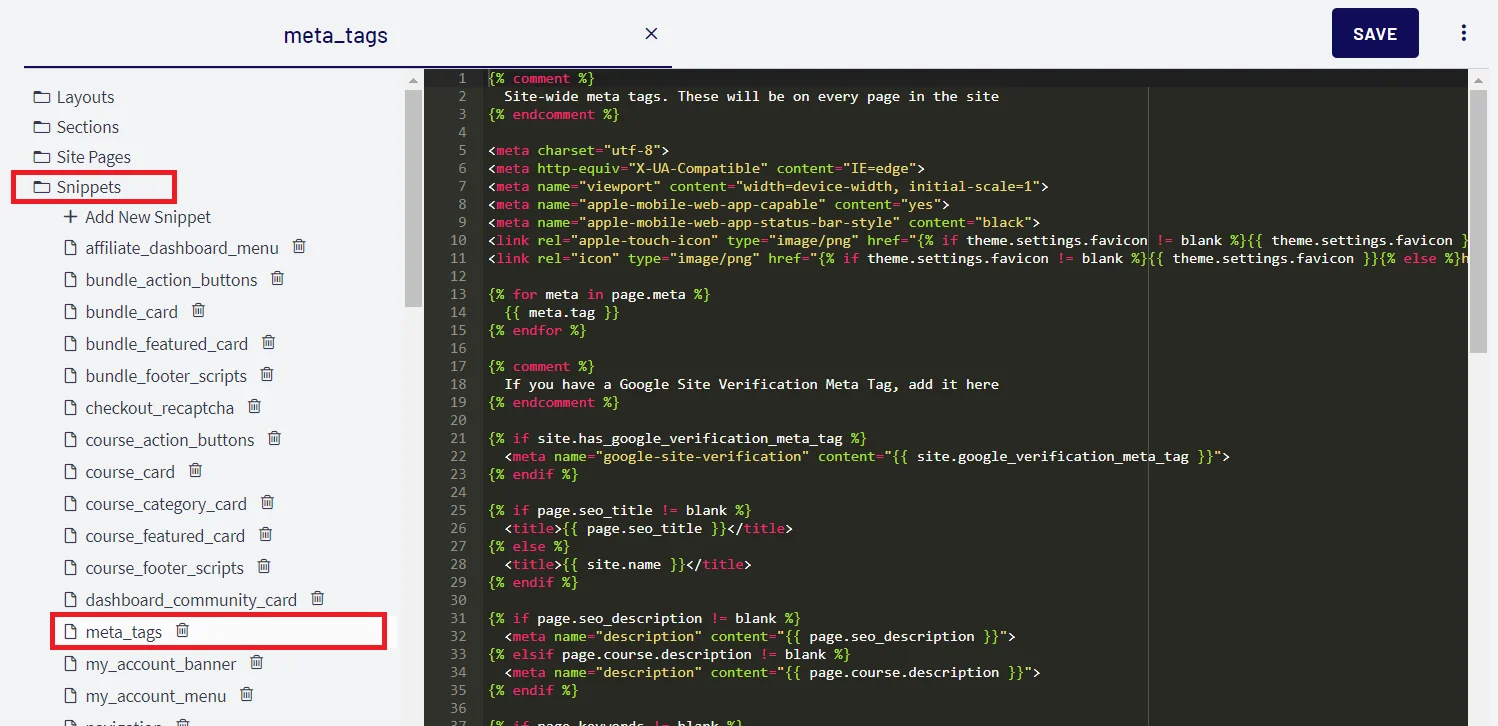
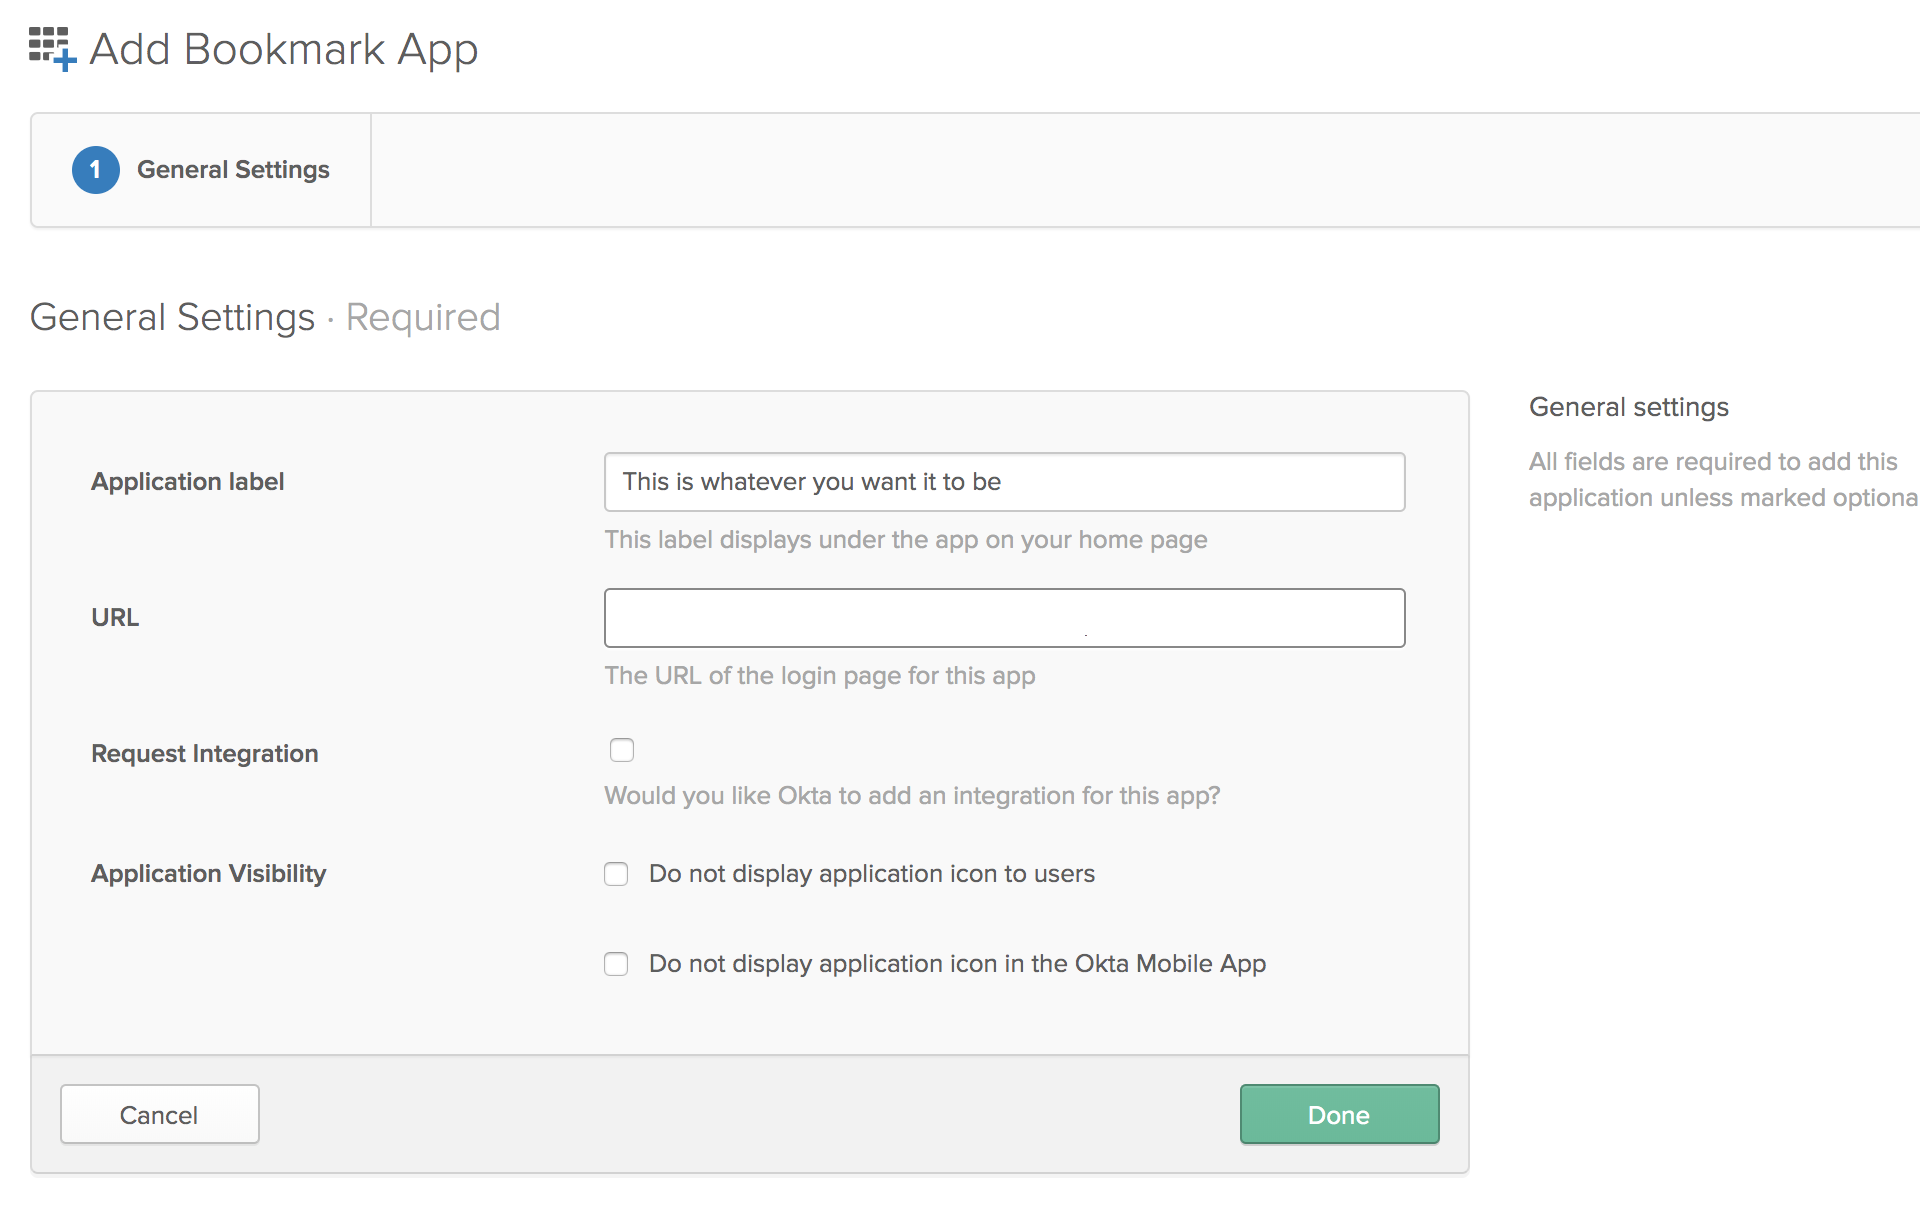
Obtain the following information from Thinkific.

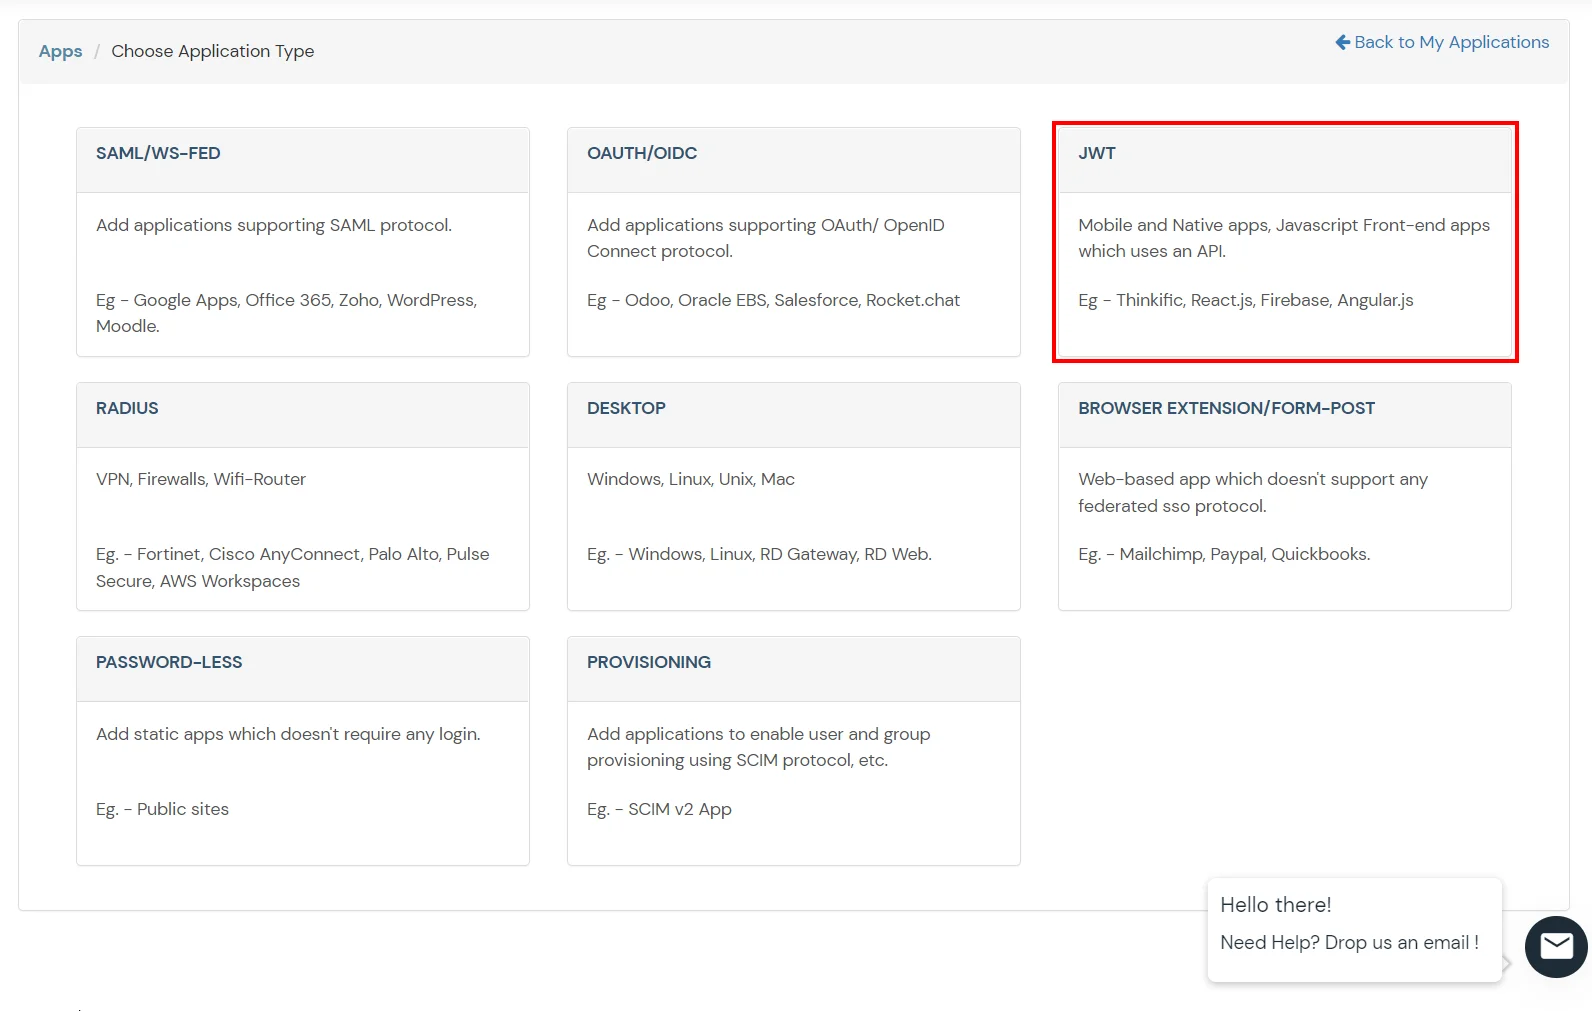
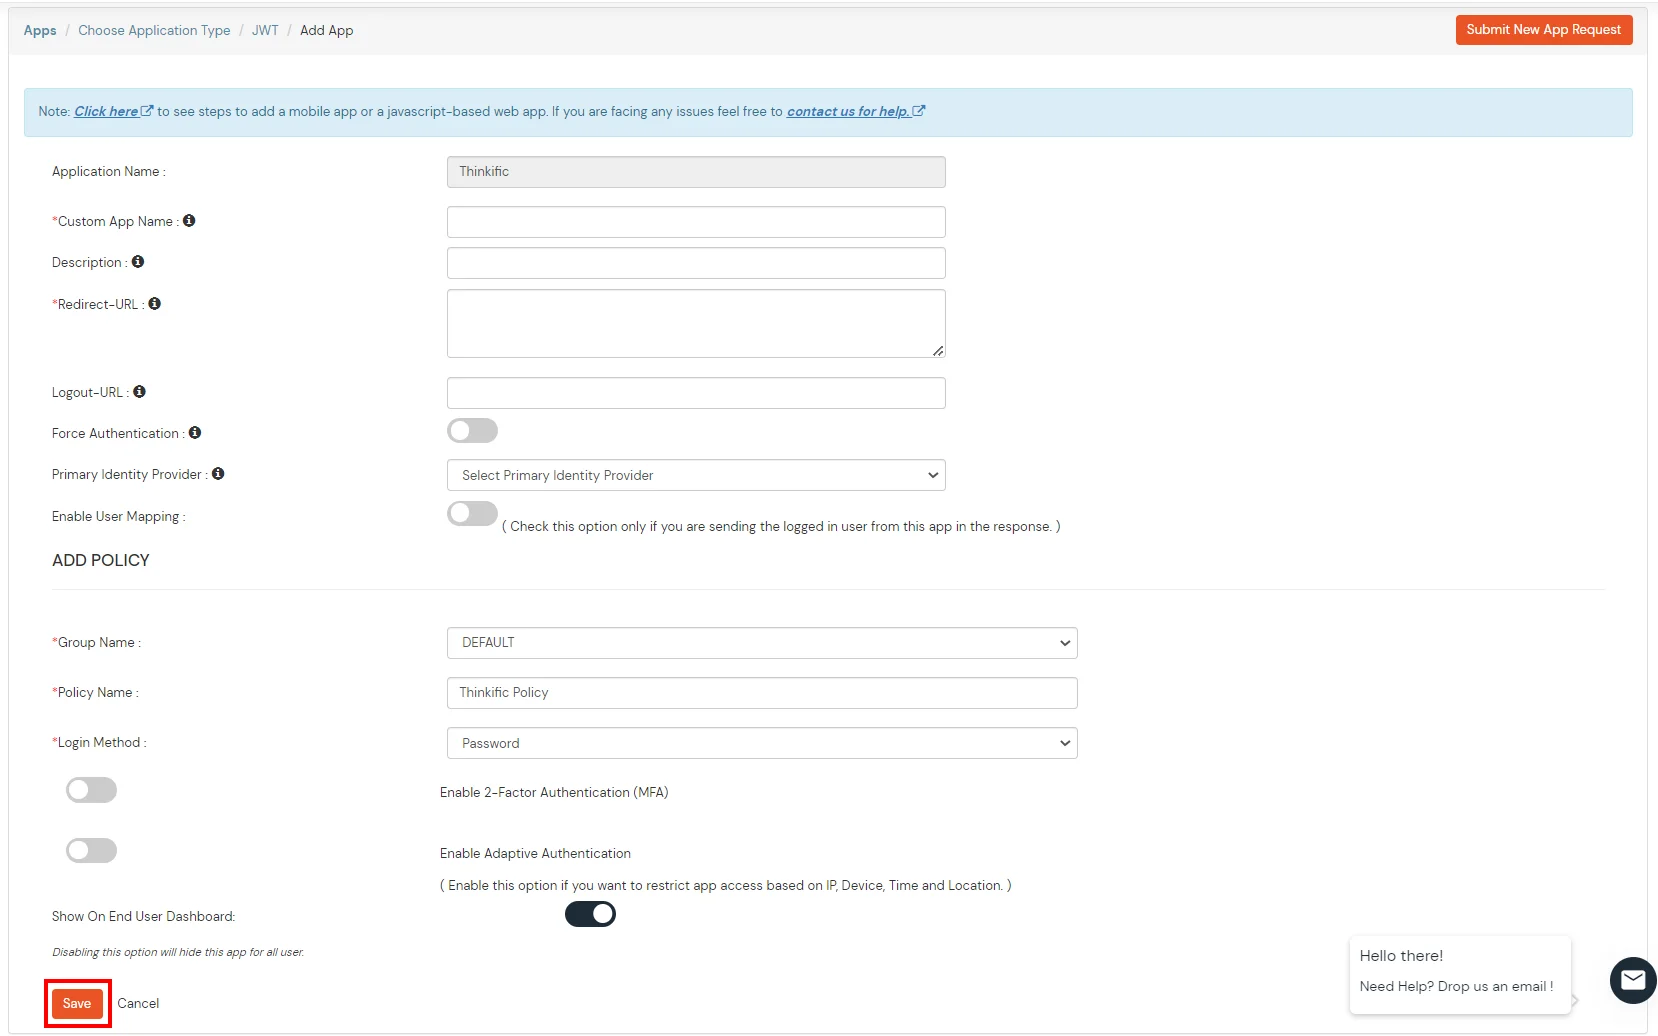
| Custom Application Name | Choose appropriate name according to your choice. |
|---|---|
| Description | Add appropriate description according to your choice. |
| Redirect-URL | https://{Subdomain}.thinkific.com/api/sso/v2/sso/jwt?jwt= |

miniOrange provides user authentication from various external sources, which can be Directories (like ADFS, Microsoft Active Directory, Azure AD, OpenLDAP, Google, AWS Cognito etc), Identity Providers (like Okta, Shibboleth, Ping, OneLogin, KeyCloak), Databases (like MySQL, Maria DB, PostgreSQL) and many more. You can configure your existing directory/user store or add users in miniOrange.
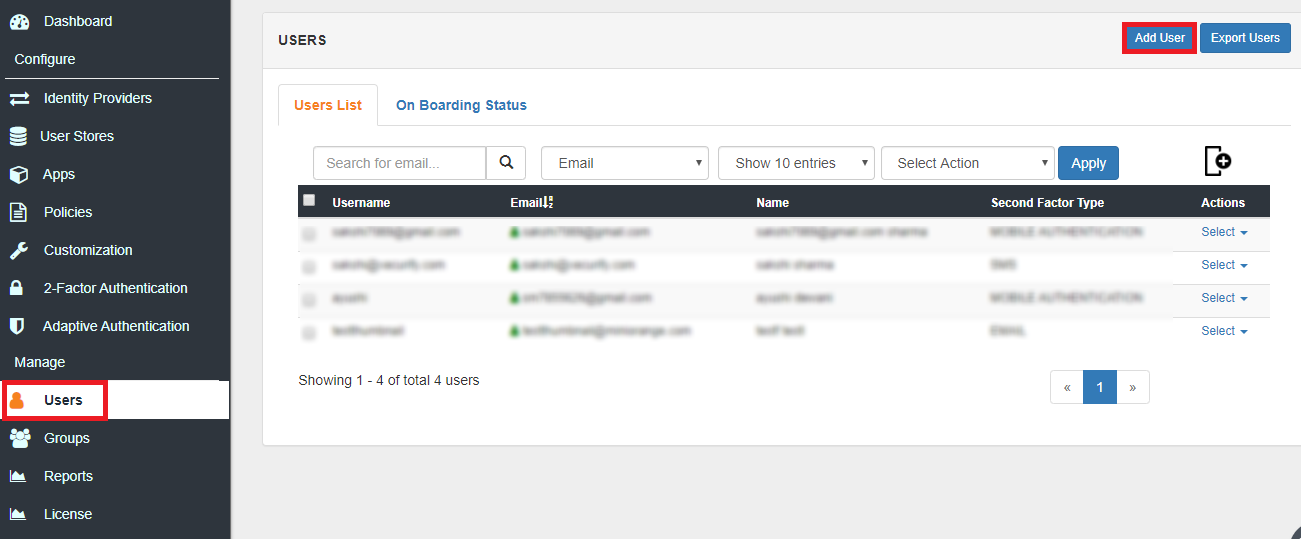
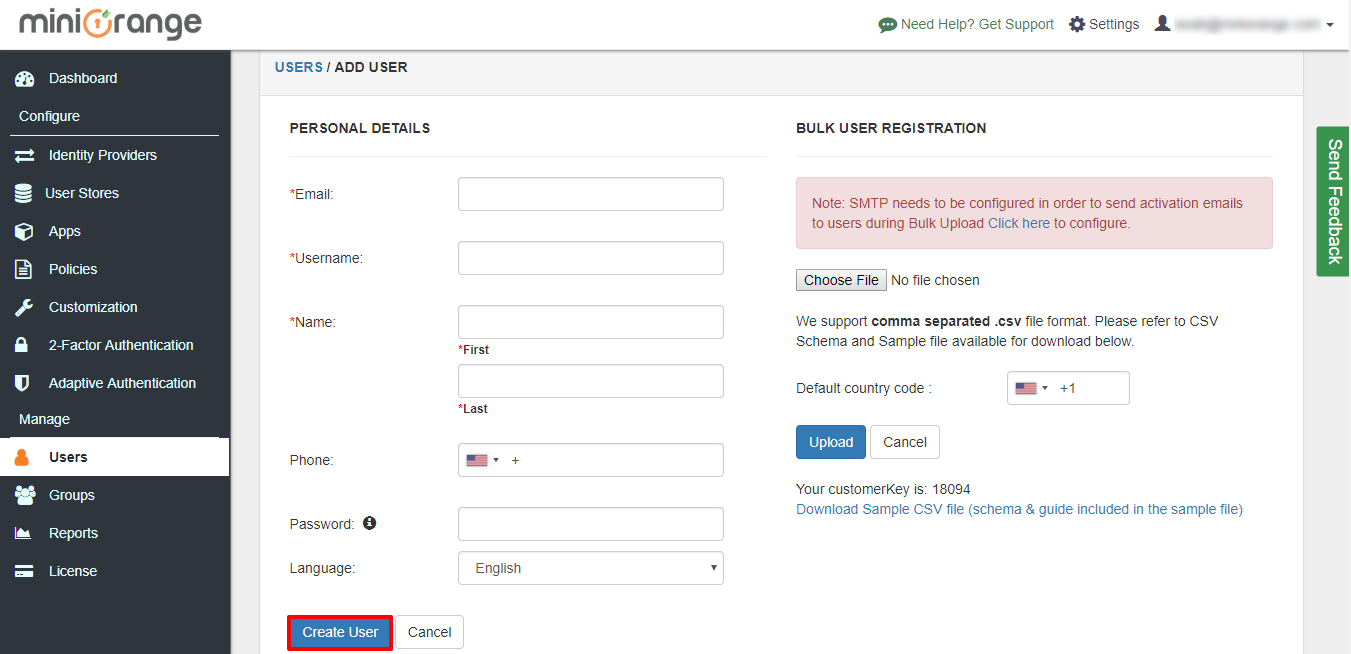
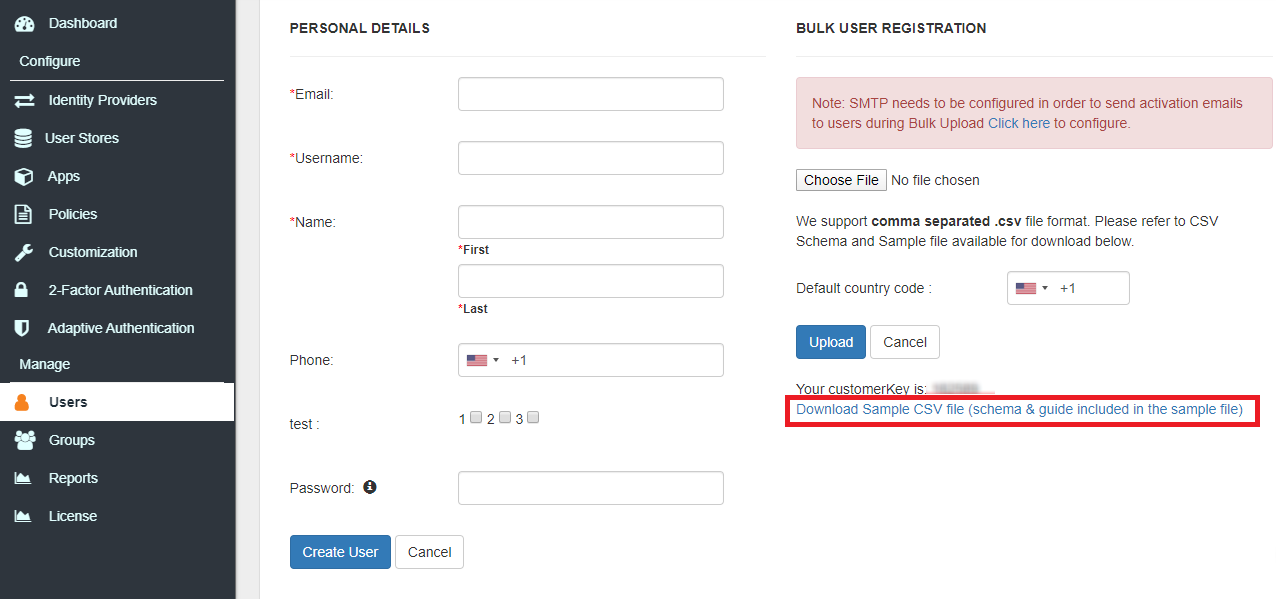
1.1 Create User in miniOrange

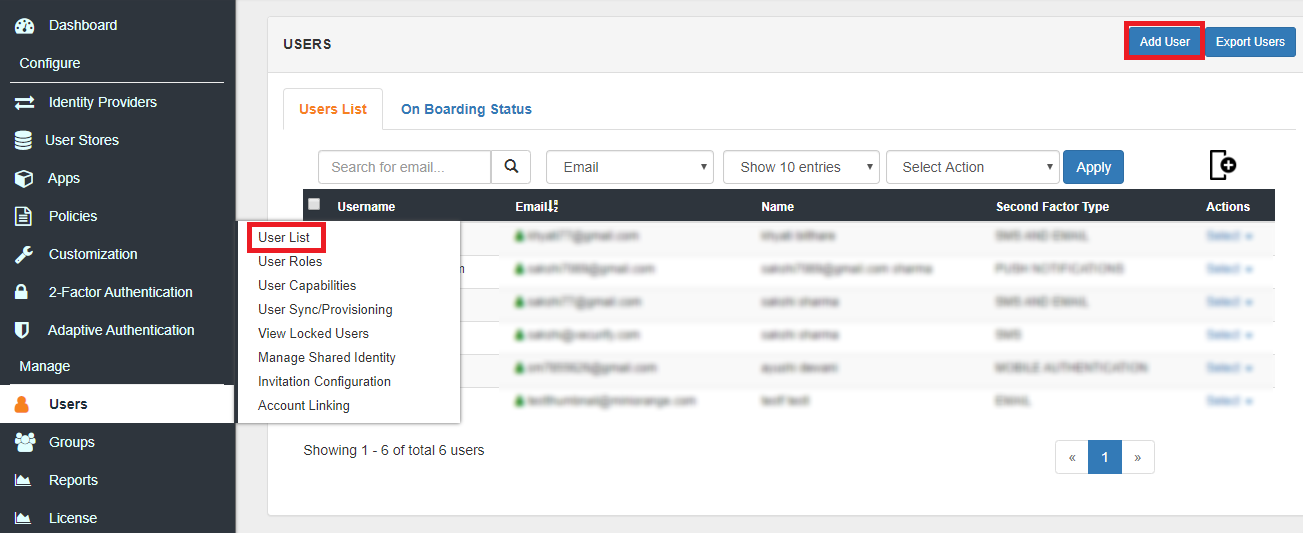
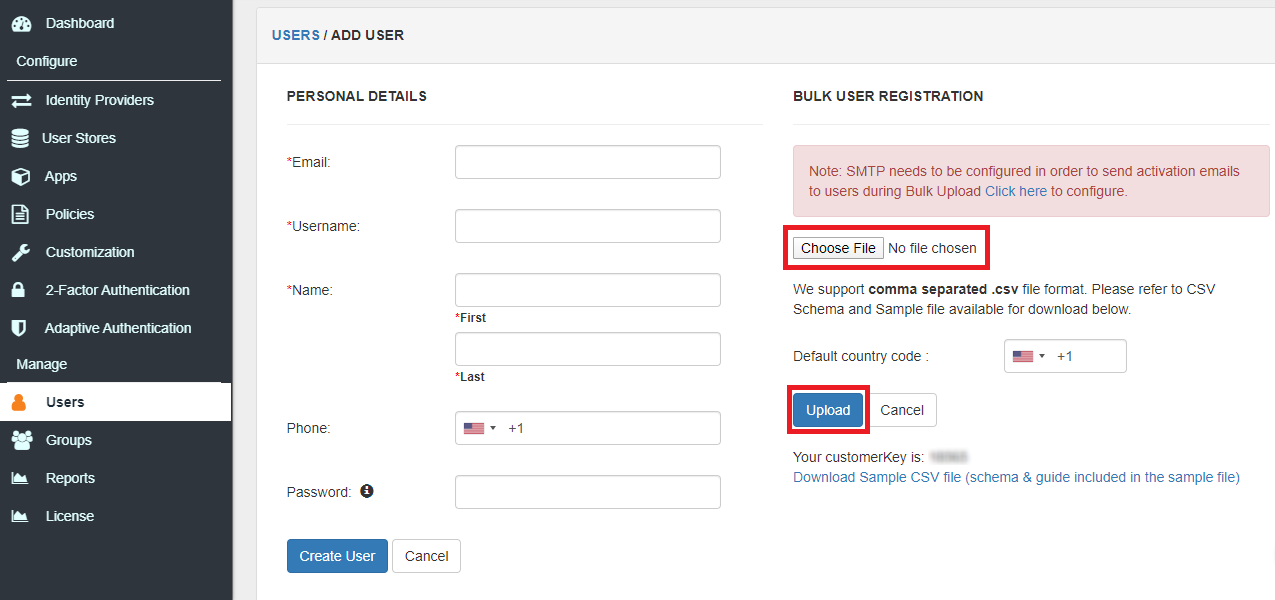
1.2 Bulk Upload Users in miniOrange via Uploading CSV File.
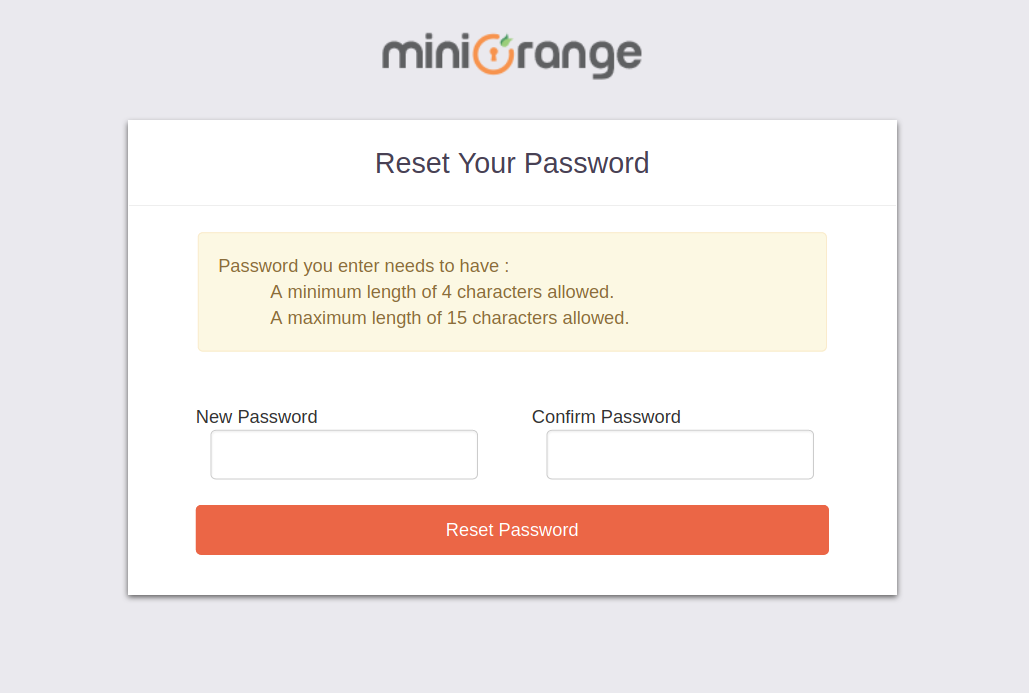
1.3 Self User Registration
miniOrange integrates with various external user sources such as directories, identity providers, and etc.
Contact us or email us at idpsupport@xecurify.com and we'll help you setting it up in no time.

<script>window.location.href="Your Single Sign-On URL"</script>
<script>window.location.href="Your Single Logout URL"</script>


No. API access is available for Pro+Growth or the above plans on Thinkific.
Yes, this is possible. To access this feature you need to be on Pro+Growth or above plans on Thinkific.
miniOrange SSO solution can be used with any Thinkific account. SSO is possible with all Thinkific plans: Free/ Growth /Plus / Premier.
