Customize user self-registration page
You can easily enable self-registration/inline registration for your users. You can customize which fields appear on the registration page, enable email/phone verification, groups for users, or enable provisioning of third-party apps. This means you can create your self-registration workflow however you see fit. Please follow the below steps to enable self-registration:
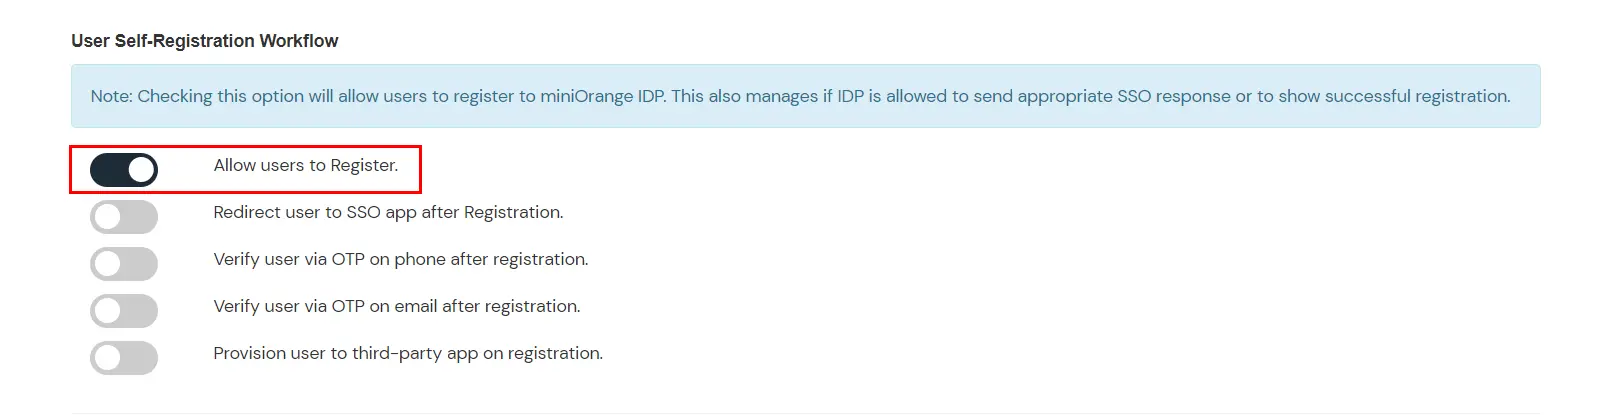
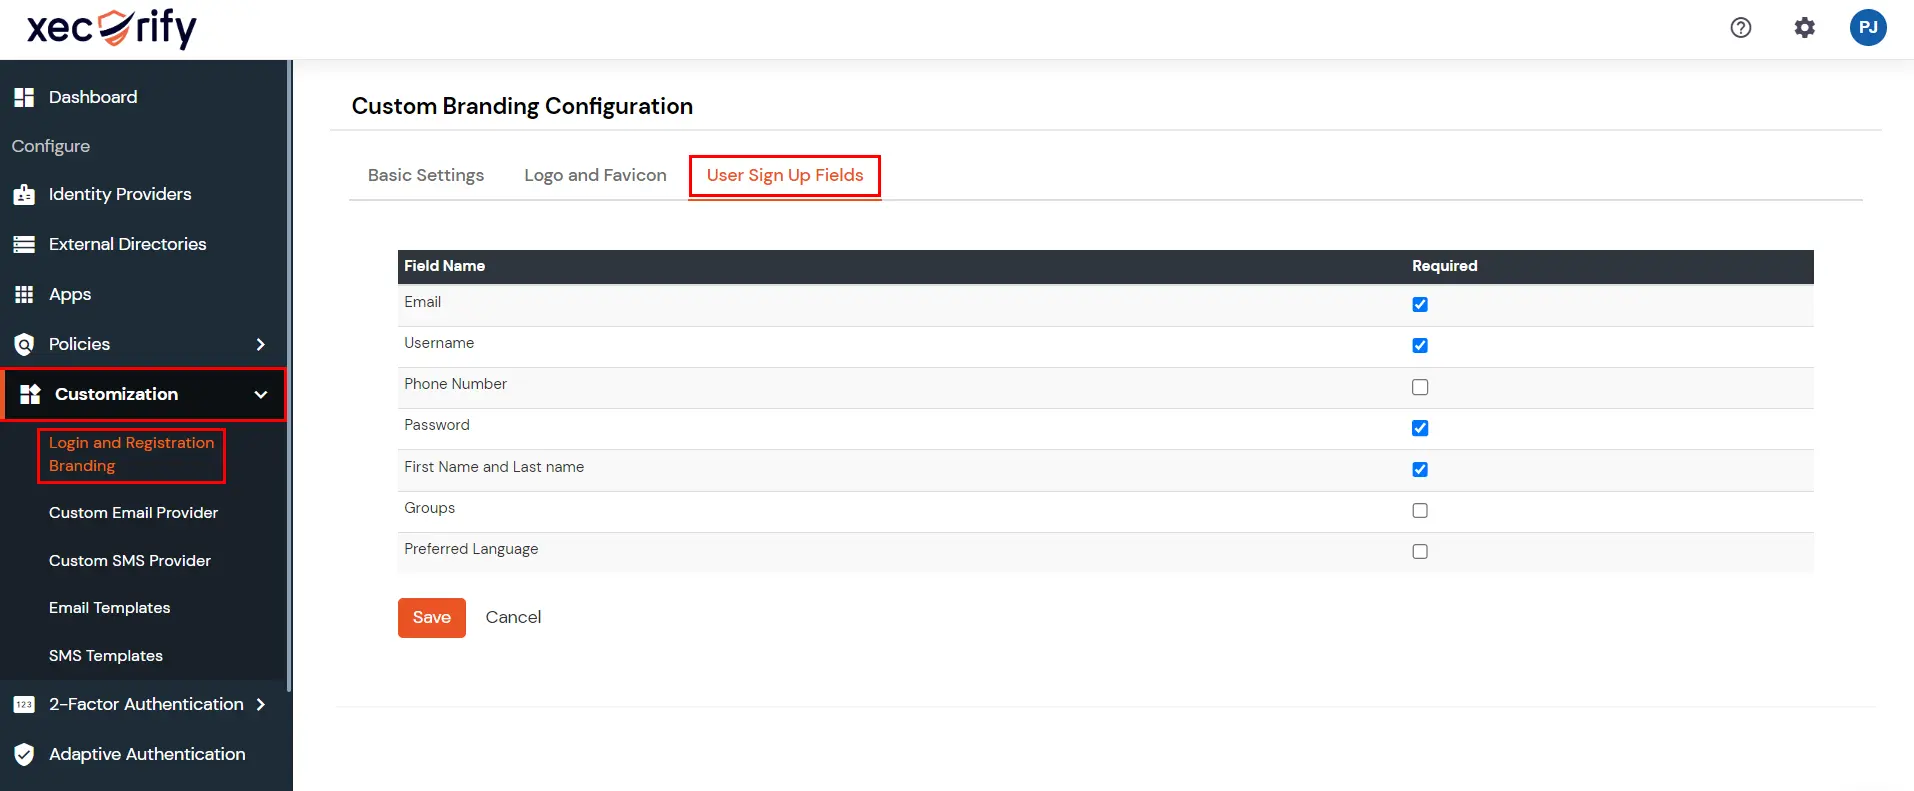
- Login to the miniOrange admin console. Once logged in, navigate to Customization >> Login and Registration Branding from the left navigation menu.
- Enable the Allow users to Register option.
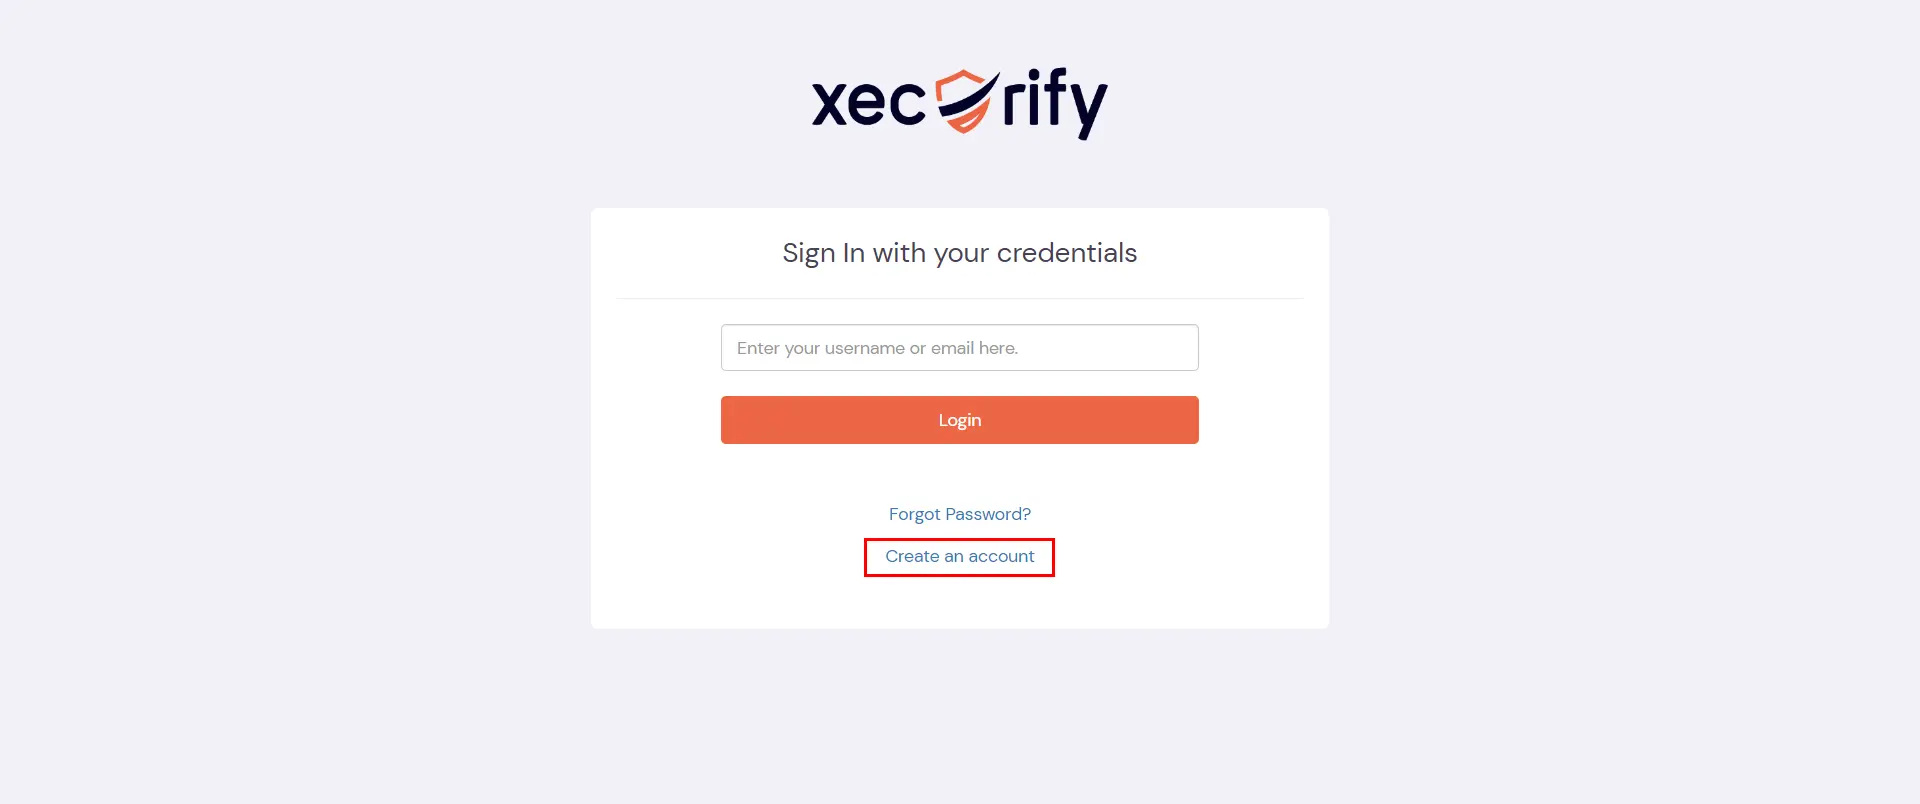
- Once enabled, you can see the create account link on your domain login page.
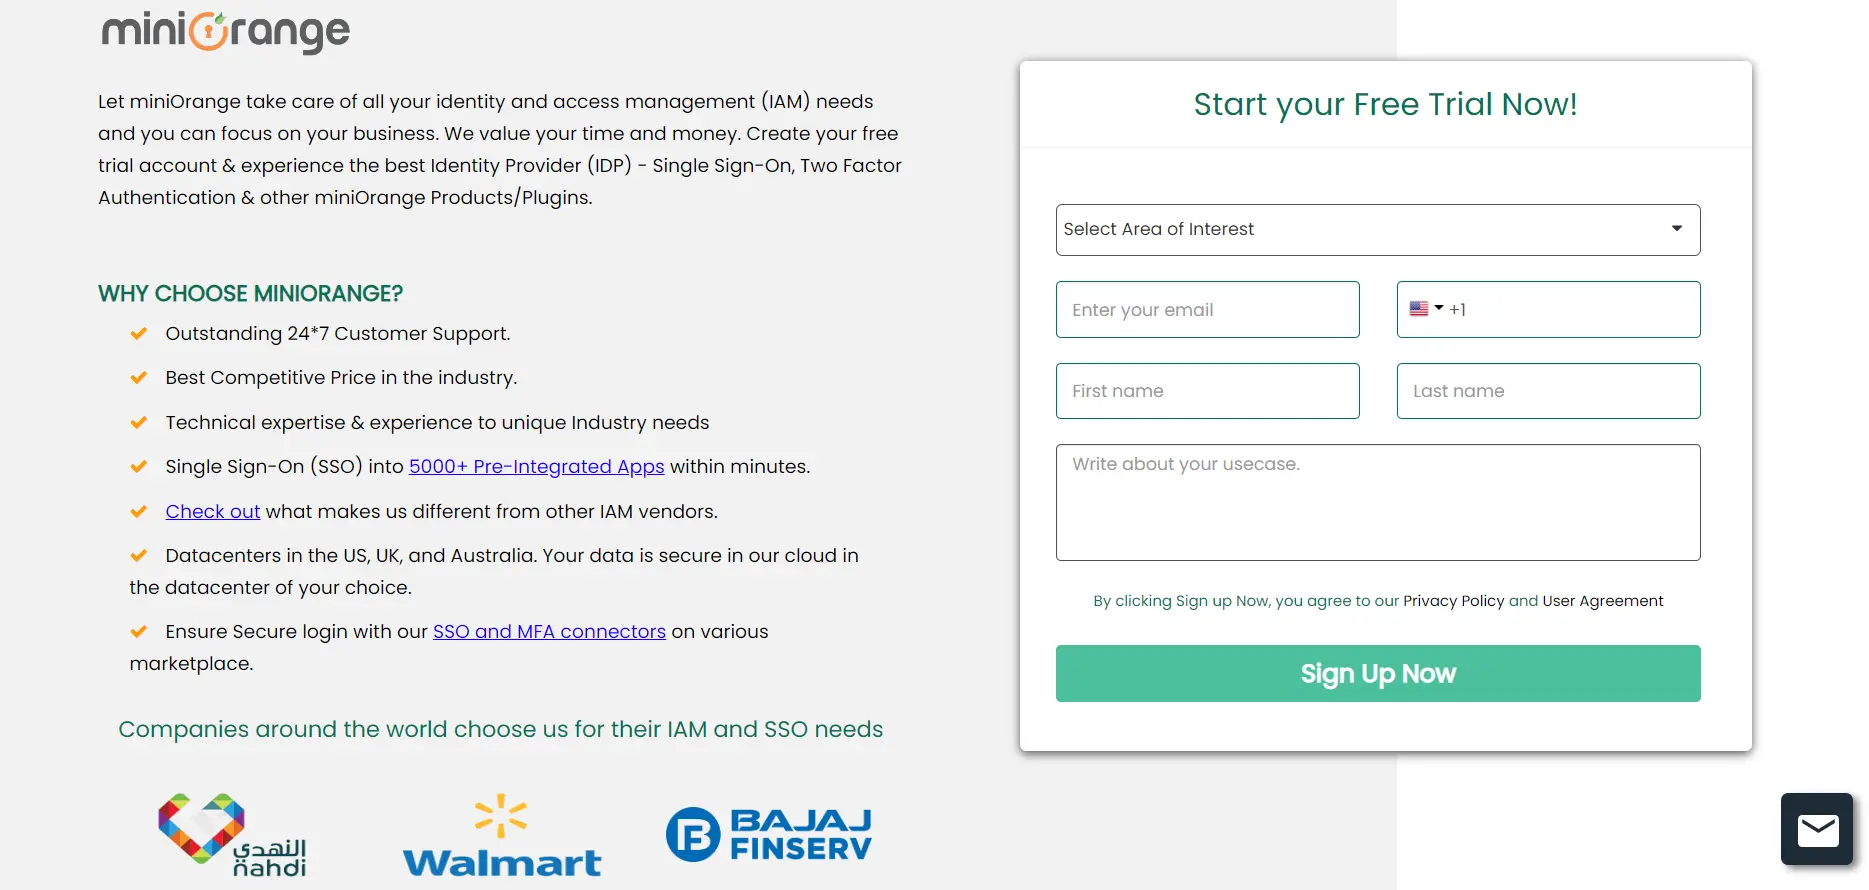
- Now, when you click on the above registration link, you will be redirected to a self-registration page like shown below-
- Following are the default fields shown to a user to complete registration/signup.
- Username
- Email
- First Name
- Last Name
- Password
- Confirm Password
Admin can customize this page in the following ways:
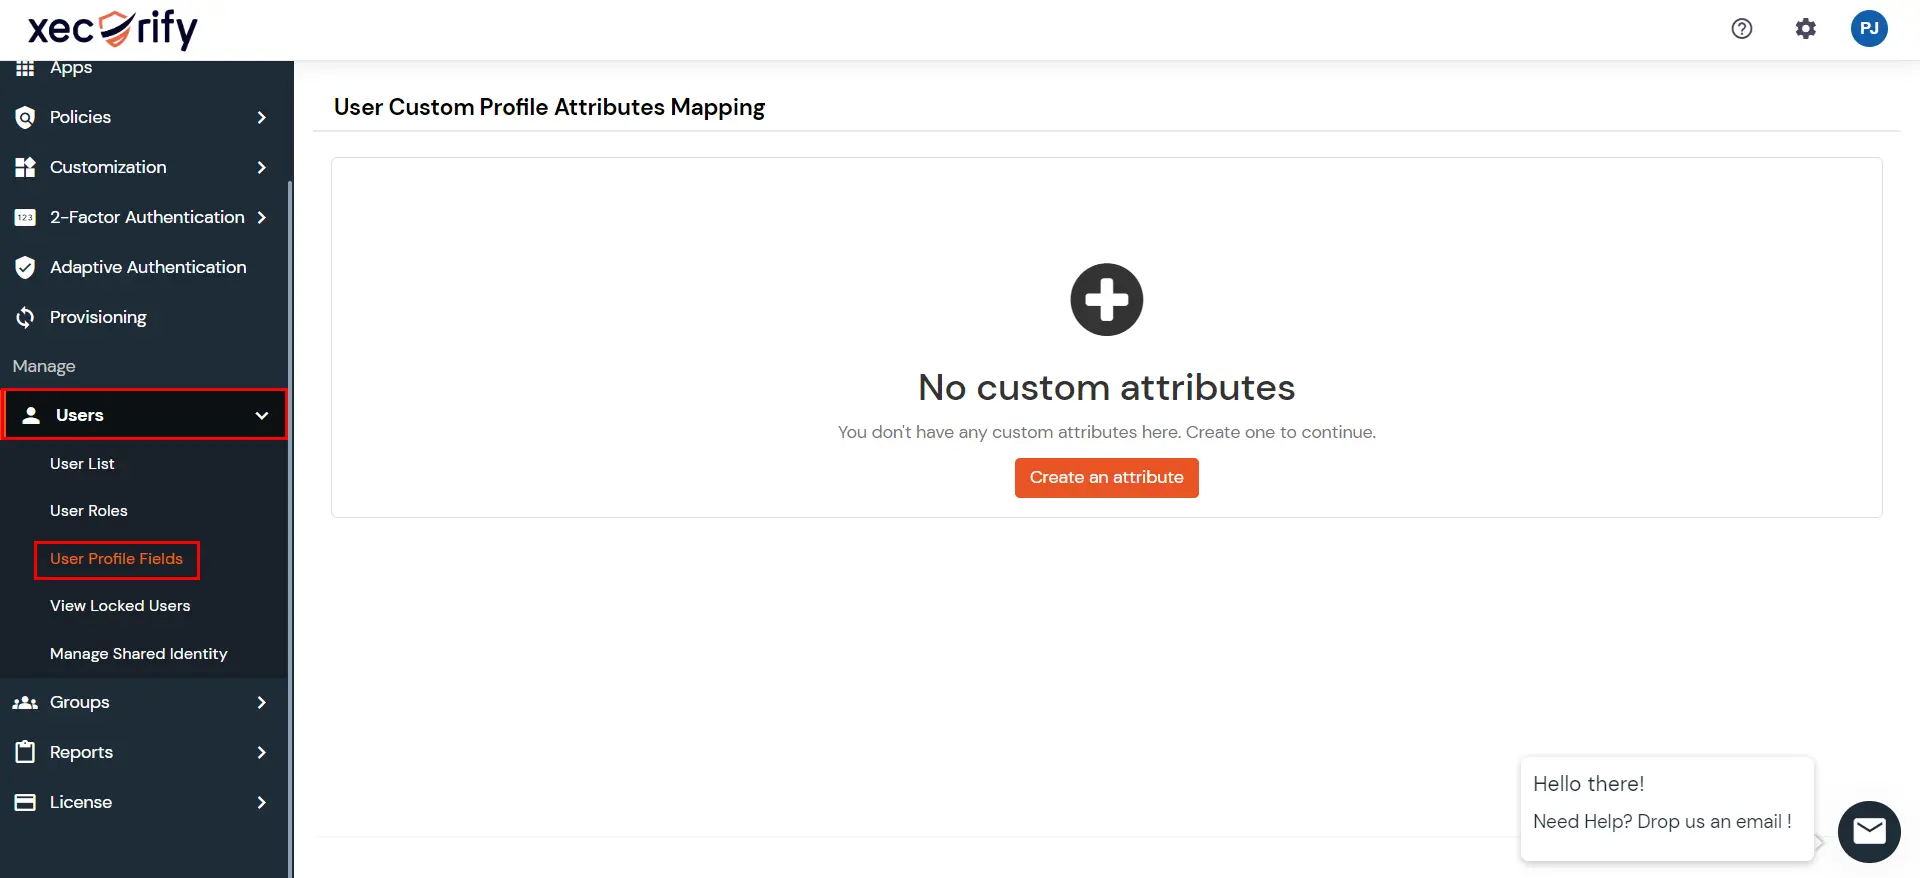
- It is possible to add any custom fields required for registration, such as age, date of birth, city, country, and address. You first need to add custom user profile fields from the admin console and then configure which fields you want to show on the user signup page. Log in to the admin console and select the User Profile Fields under the Users section. Click on Add Custom Profile Field.
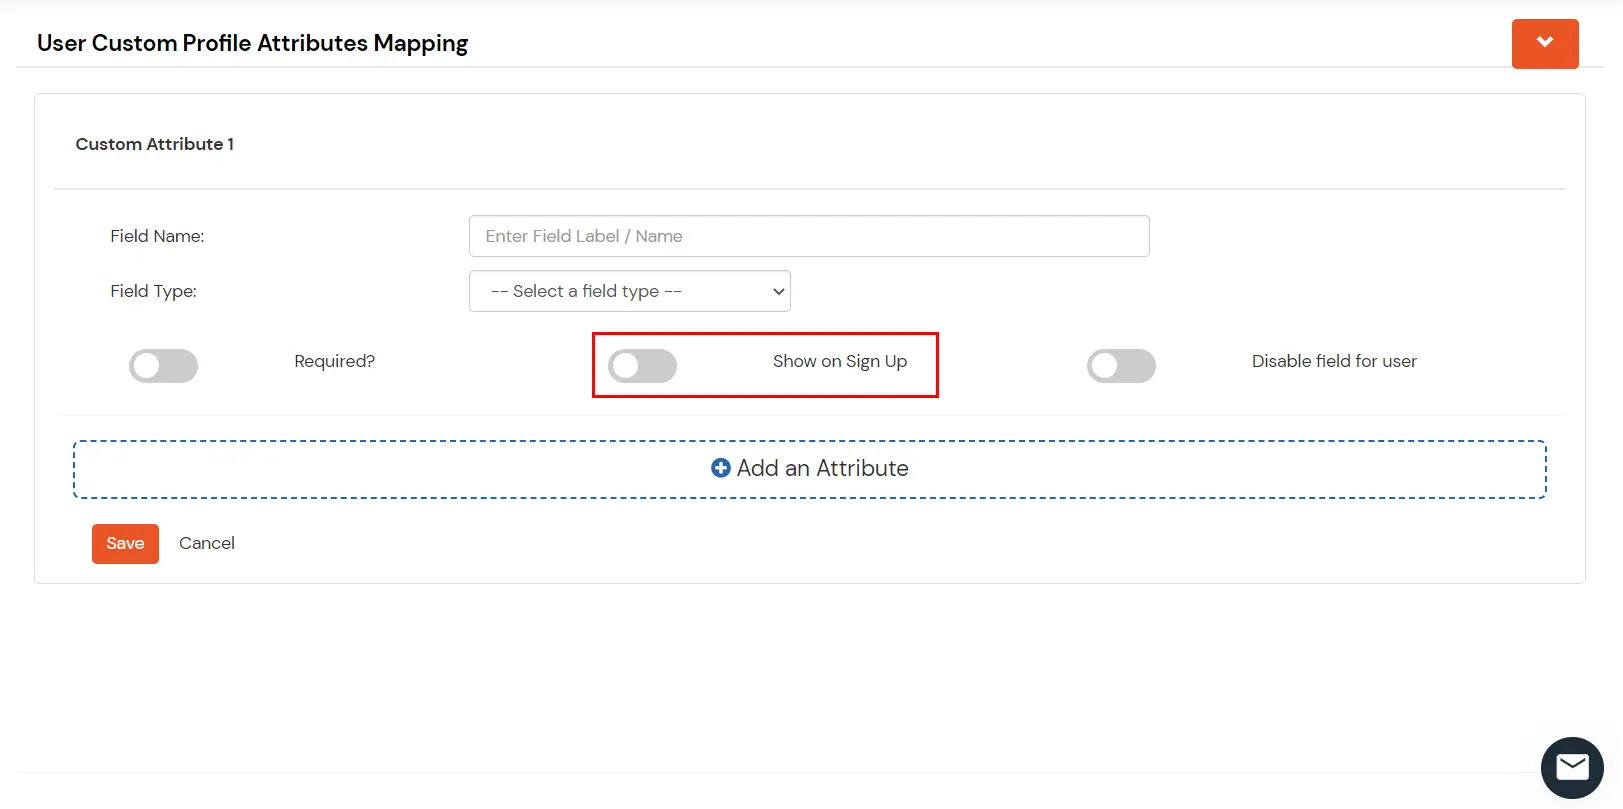
- You need to click Show on Sign-Up checkbox to show these fields on user signup page.
- Default fields such as password, first name, last name, and username or email can also be hidden. Admins can access the admin console, navigate to Users >> User Profile Fields, click on Edit, and change the visibility of default fields. Below is an example of how to do this.
- Click the Settings icon from the top right corner, go to the Users tab, and click on User Onboarding. You can configure the required self user-registration/signup options from this section.
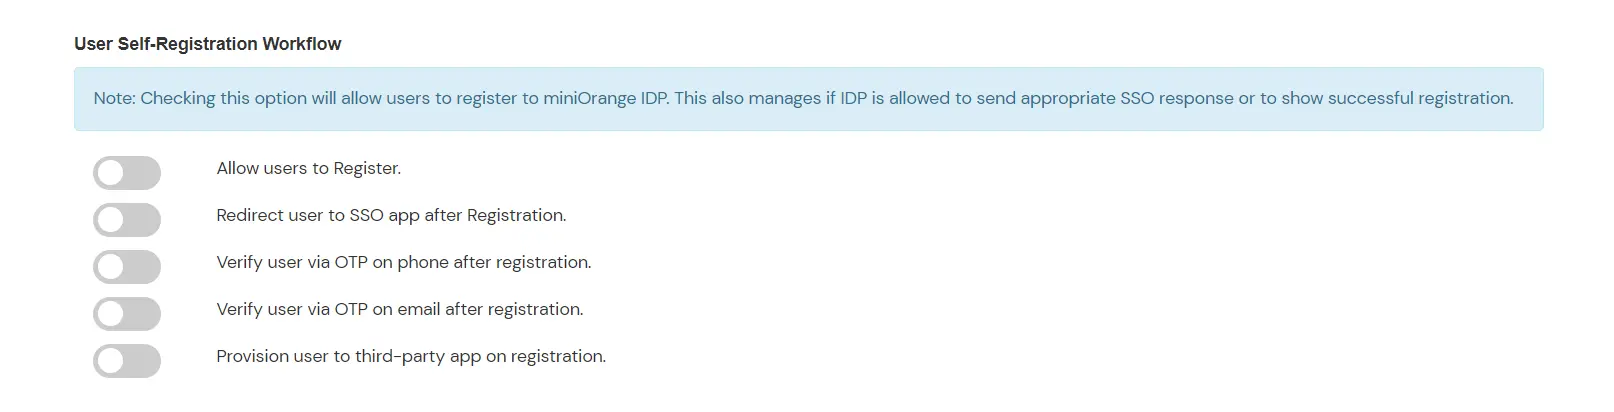
- Redirect user to SSO app after registration - By default, after user signup, a user will see a default page showing thanks for registration message with a link to redirect to login page. Once you enable this option, if a user has first initiated sso request from his application and then clicked the create account link since he has no account. After successful registration, he will be redirected to his app and logged in as the user created.
- Verify User via OTP on phone after registration - You can enable this option to add a verification option before registration completion to verify user via valid phone number.
- Provision User to Third -Party App on registration - There are few cases where customer has any CRM/AD or any user data store where all users are created first or need to be maintained always. So, in that case. You can enable this option to first create the user in your existing data store and then create in IDP using the unique identifier/username generated using the CRM. See more details