Enable CORS with Reverse Proxy
What is Cross-Origin Resource Sharing (CORS)?
What exactly is CORS? CORS stands for cross origin resource sharing. It is an HTTP origin header-based method that allows a server to specify any origins (domain, scheme, or port) other than its own from which a browser should allow resources to be loaded. CORS(cross origin resource sharing) in a web API is a security feature that is embedded into (almost) all modern web browsers. It basically blocks all http requests from your front end to any API that doesn't have the same "Origin" (domain, protocol, and port—which is usually the case) as your front end.
Browsers apply a security feature called the same-origin policy or SOP, which causes the mistake.
For each HTTP request to a website, the browser saves cookies connected with that domain. In this situation, by using the same-origin policy your browser will save an appropriate session cookie for that domain, so you won't have to sign in again the next time you access that domain's application.
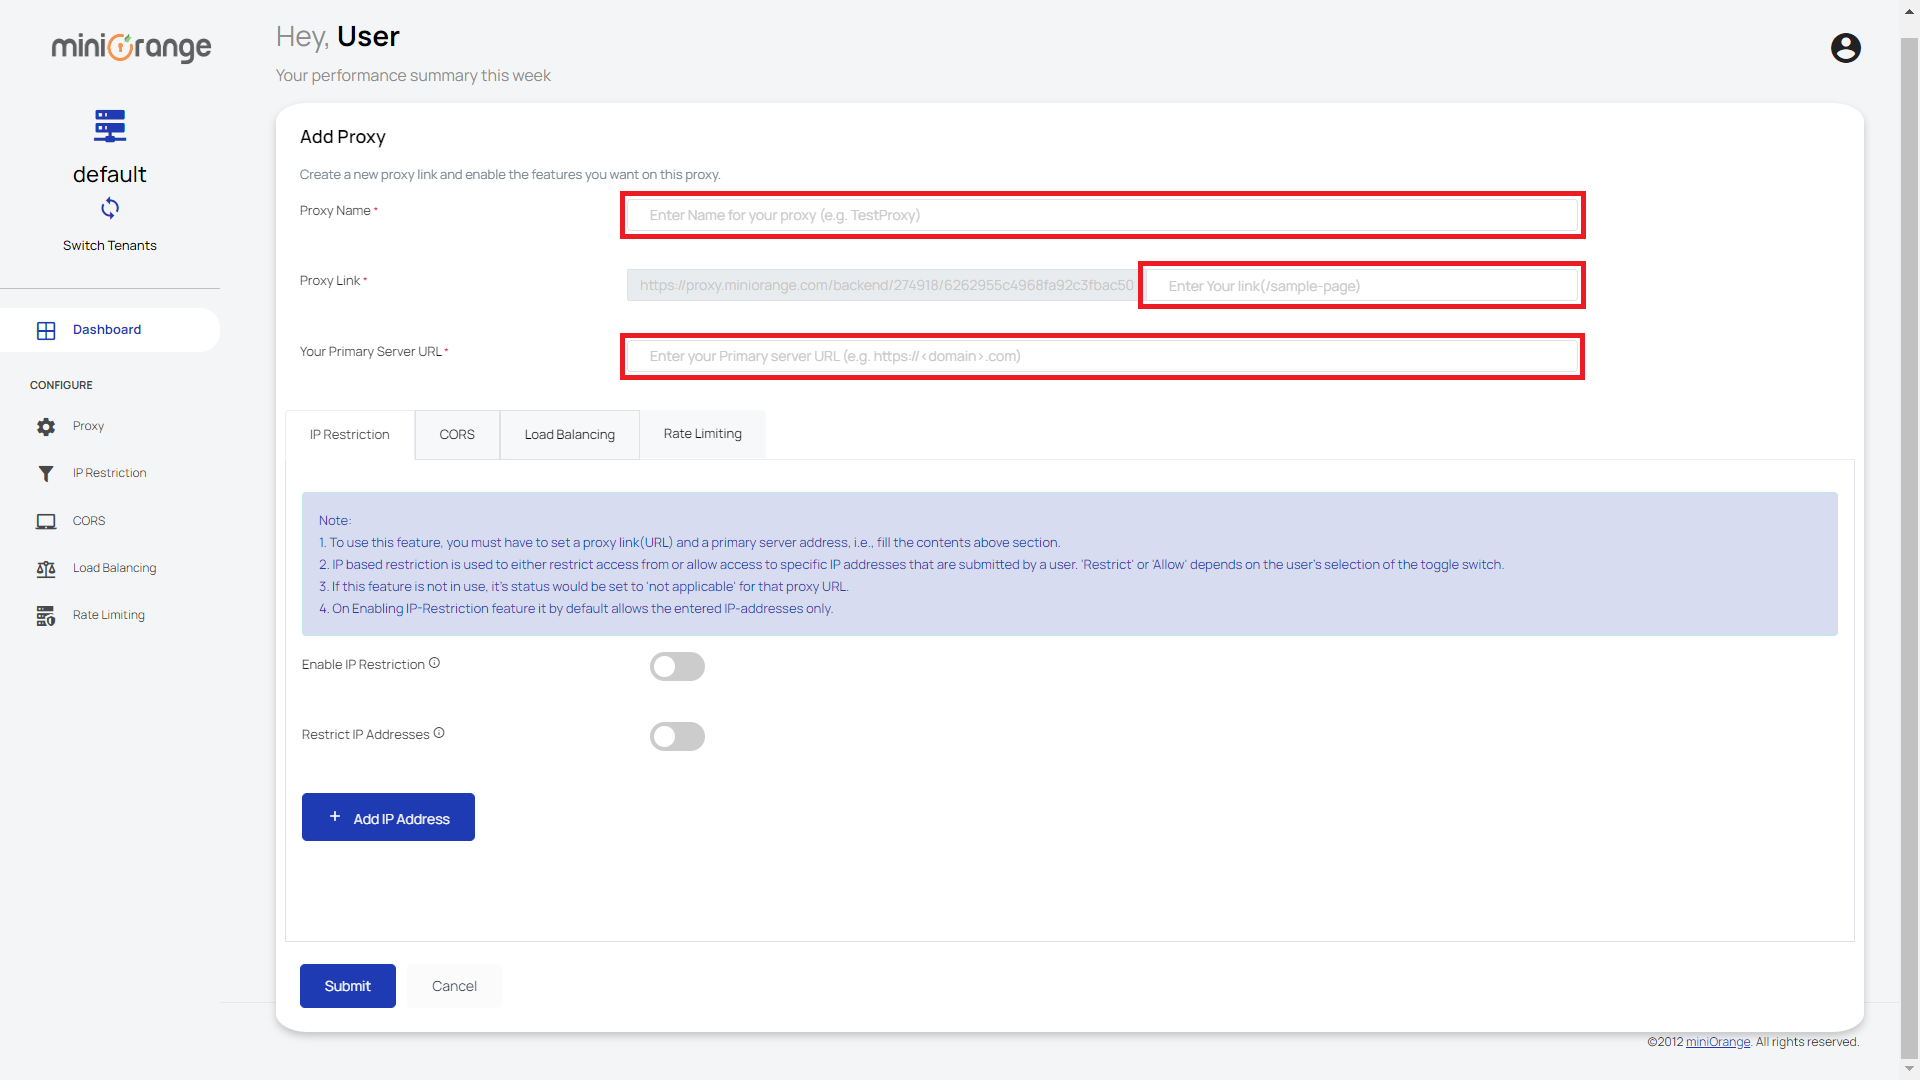
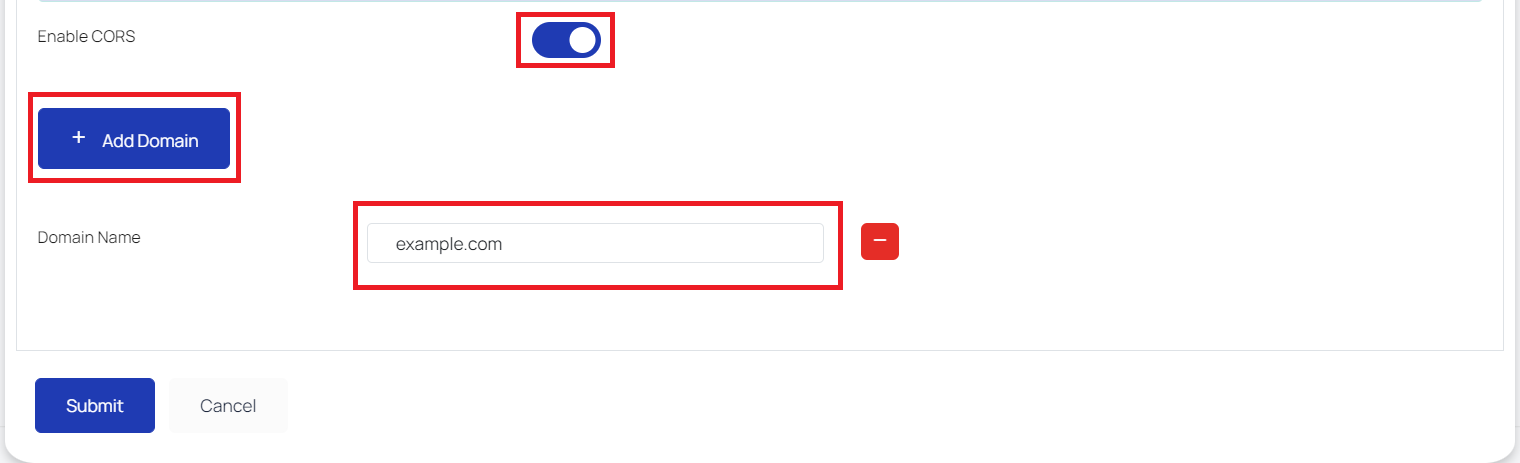
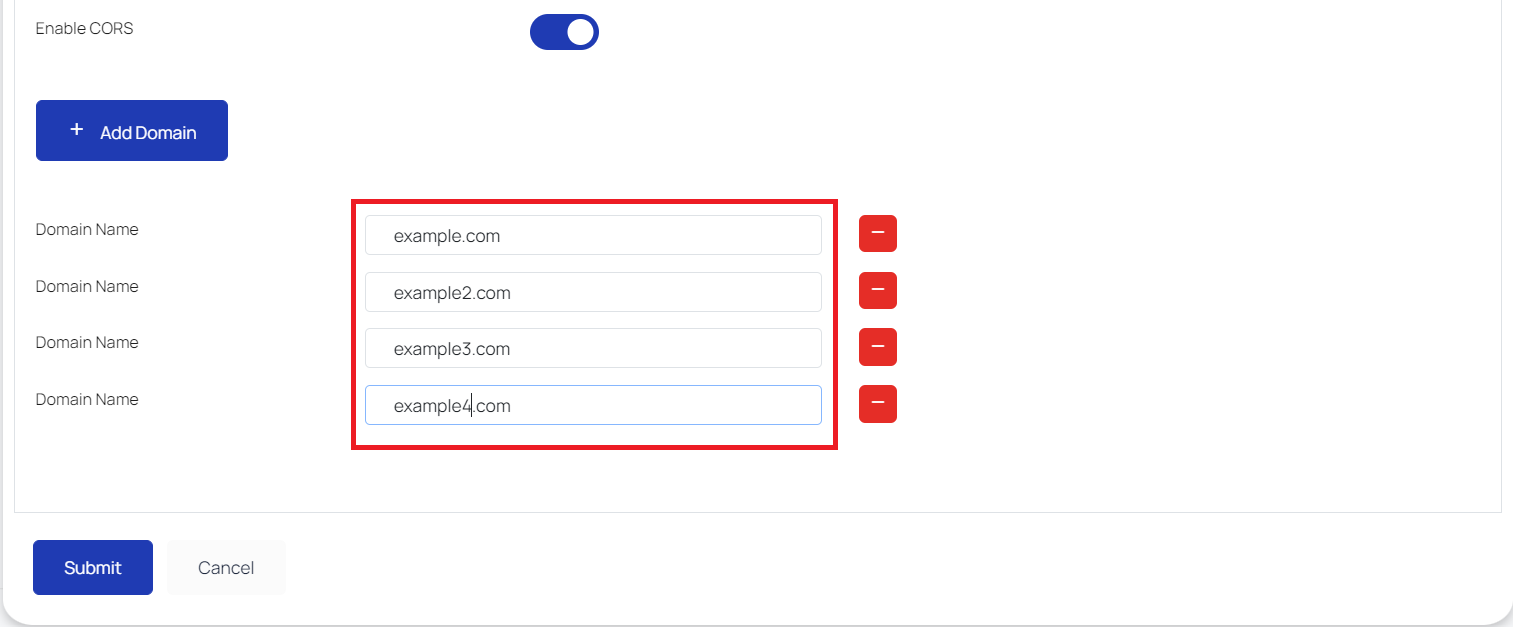
 However, it's possible that another rogue website is attempting to gain access to your account. That rogue website has the ability to send a request to that specific domain. Because the request is sent to the same domain, the browser already has the needed cookies. The malicious site sends the session cookie to application-clone, which allows it to log in. Your account has been successfully hacked using a cross-site request forgery attack.
How does the CORS(cross origin resource sharing) feature work at the client’s end?
Let’s enable CORS(cross origin resource sharing) feature that’ll work in a scenario where a client of the user, who has enabled reverse proxy with CORS(cross origin resource sharing) feature, wants to access the user’s server:
- The client sends a request to the proxy link of the user’s server.
- The domain of the client making the request to the proxy link is fetched.
- This domain is compared with the list of domains that the user has permitted access to the proxy link.
- If the domain is allowed for that proxy link, the client will be able to access it else, the client would be shown a ‘CORS’ error.
Follow the steps Guide given below to enable CORS(cross origin resource sharing) feature.
Step 1: Creating a new proxy server
- Click here and log in with your miniOrange account. Click here to register, if you don't have an account.
- Click on the Proxy Settings tab on the sidebar that will direct you to the Proxy settings page. The Proxy Settings page has a Add new proxy button, clicking which, the user gets directed to a webpage where he gets to configure a new proxy link along with the features he wishes to enable.
- On the Set Proxy tab, the user enters the proxy link that he wishes to have for his server. Also, the user enters the server address of his server that will be pointed by the proxy link he entered.
Step 2: Setup CORS(cross origin resource sharing) using miniOrange Reverse Proxy
- CORS feature is used to enable access to specific domains that are submitted by a user to make asynchronous requests to the server address. To make this possible, on the same page, the user switches to the CORS Settings feature’s tab. On that tab, the user is prompted to enter as many domains as he wants for which the user wants to provide CORS permission. The user saves the configurations.
- If the user wants to edit the CORS settings, he’ll just have to visit the CORS Settings on the sidebar. The user has to click on Edit button corresponding to the proxy URL for which he needs to edit the load balancing settings. After clicking, the user is directed to a page where he enters as many domains as he wants. The user then saves the configuration. These configurations are saved in the configuration file of the reverse proxy server.

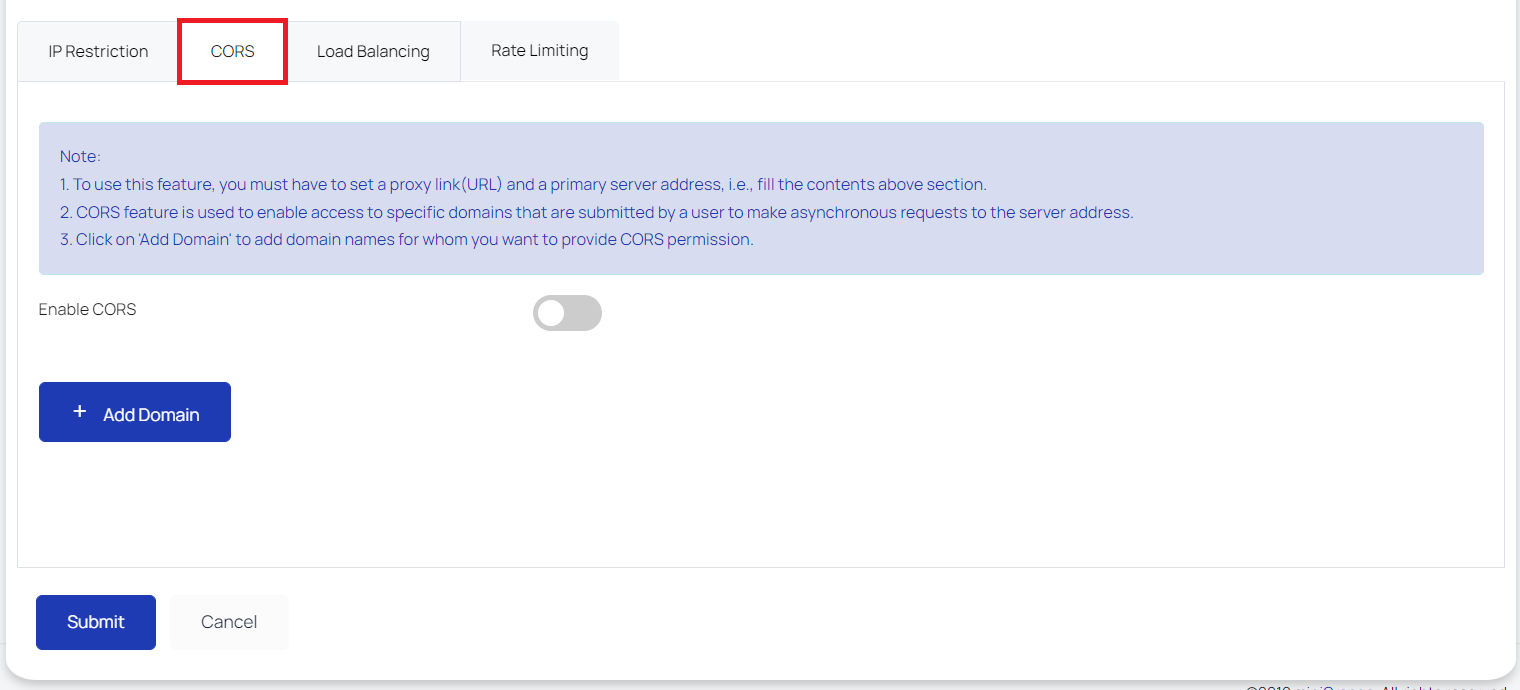
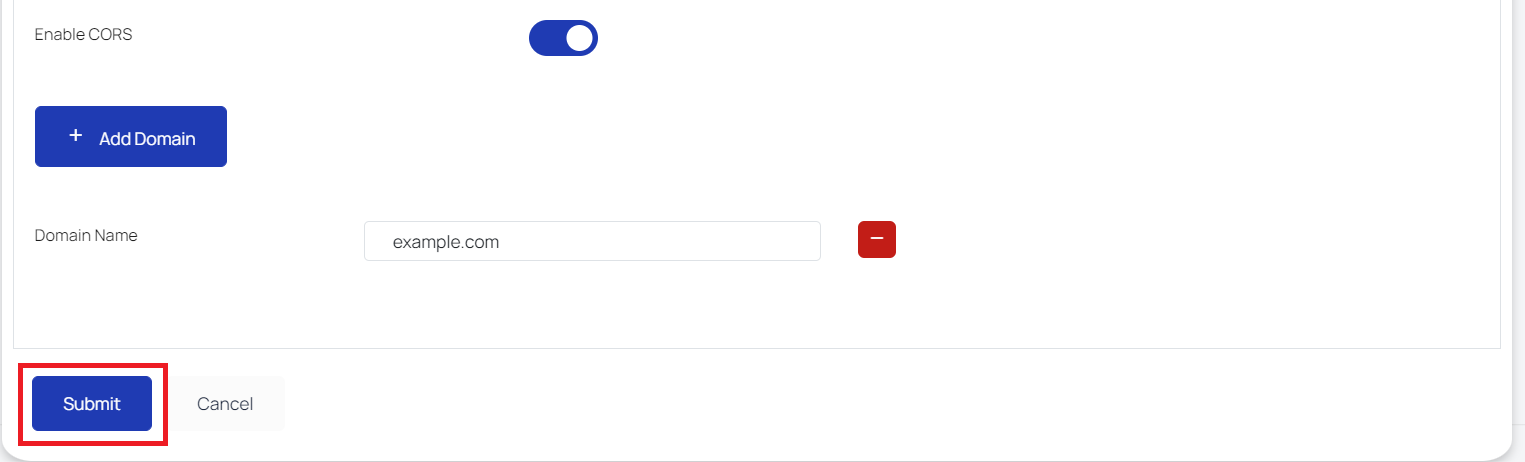
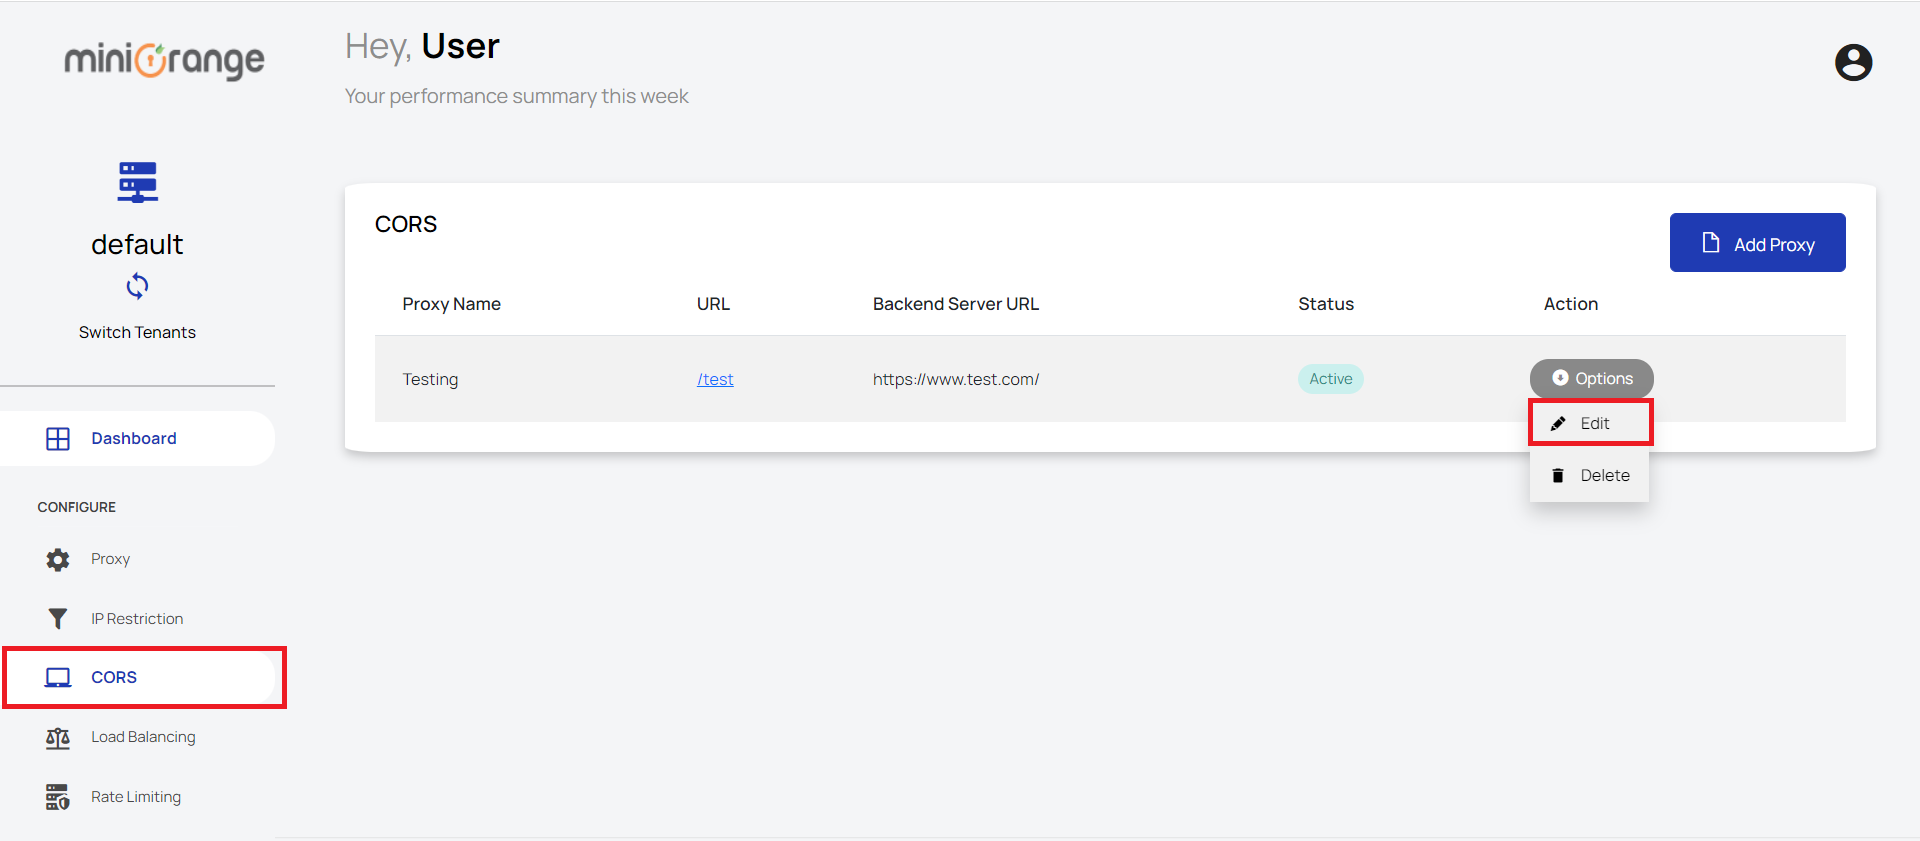
In this guide, you have successfully set up a reverse proxy with CORS(cross origin resource sharing) feature.
When you enable CORS(cross origin resource sharing), you can get data from resources from outside your authorized domain.
External References