Hello there!

Need Help? We are right here!

miniOrange Email Support
success

Thanks for your Enquiry.

If you don't hear from us within 24 hours, please feel free to send a follow-up email to info@xecurify.com

Search Results:

×

Enable IP Restriction with Reverse Proxy


miniOrange allows you to use IP Restriction policy to provide or deny access to the users based on trusted IP Addresses. IP restrictions analyse network traffic and, if a request originating from a certain IP address appears to be suspicious, it will either prevent that IP address from accessing your web service or notify you to limit access to that IP address.

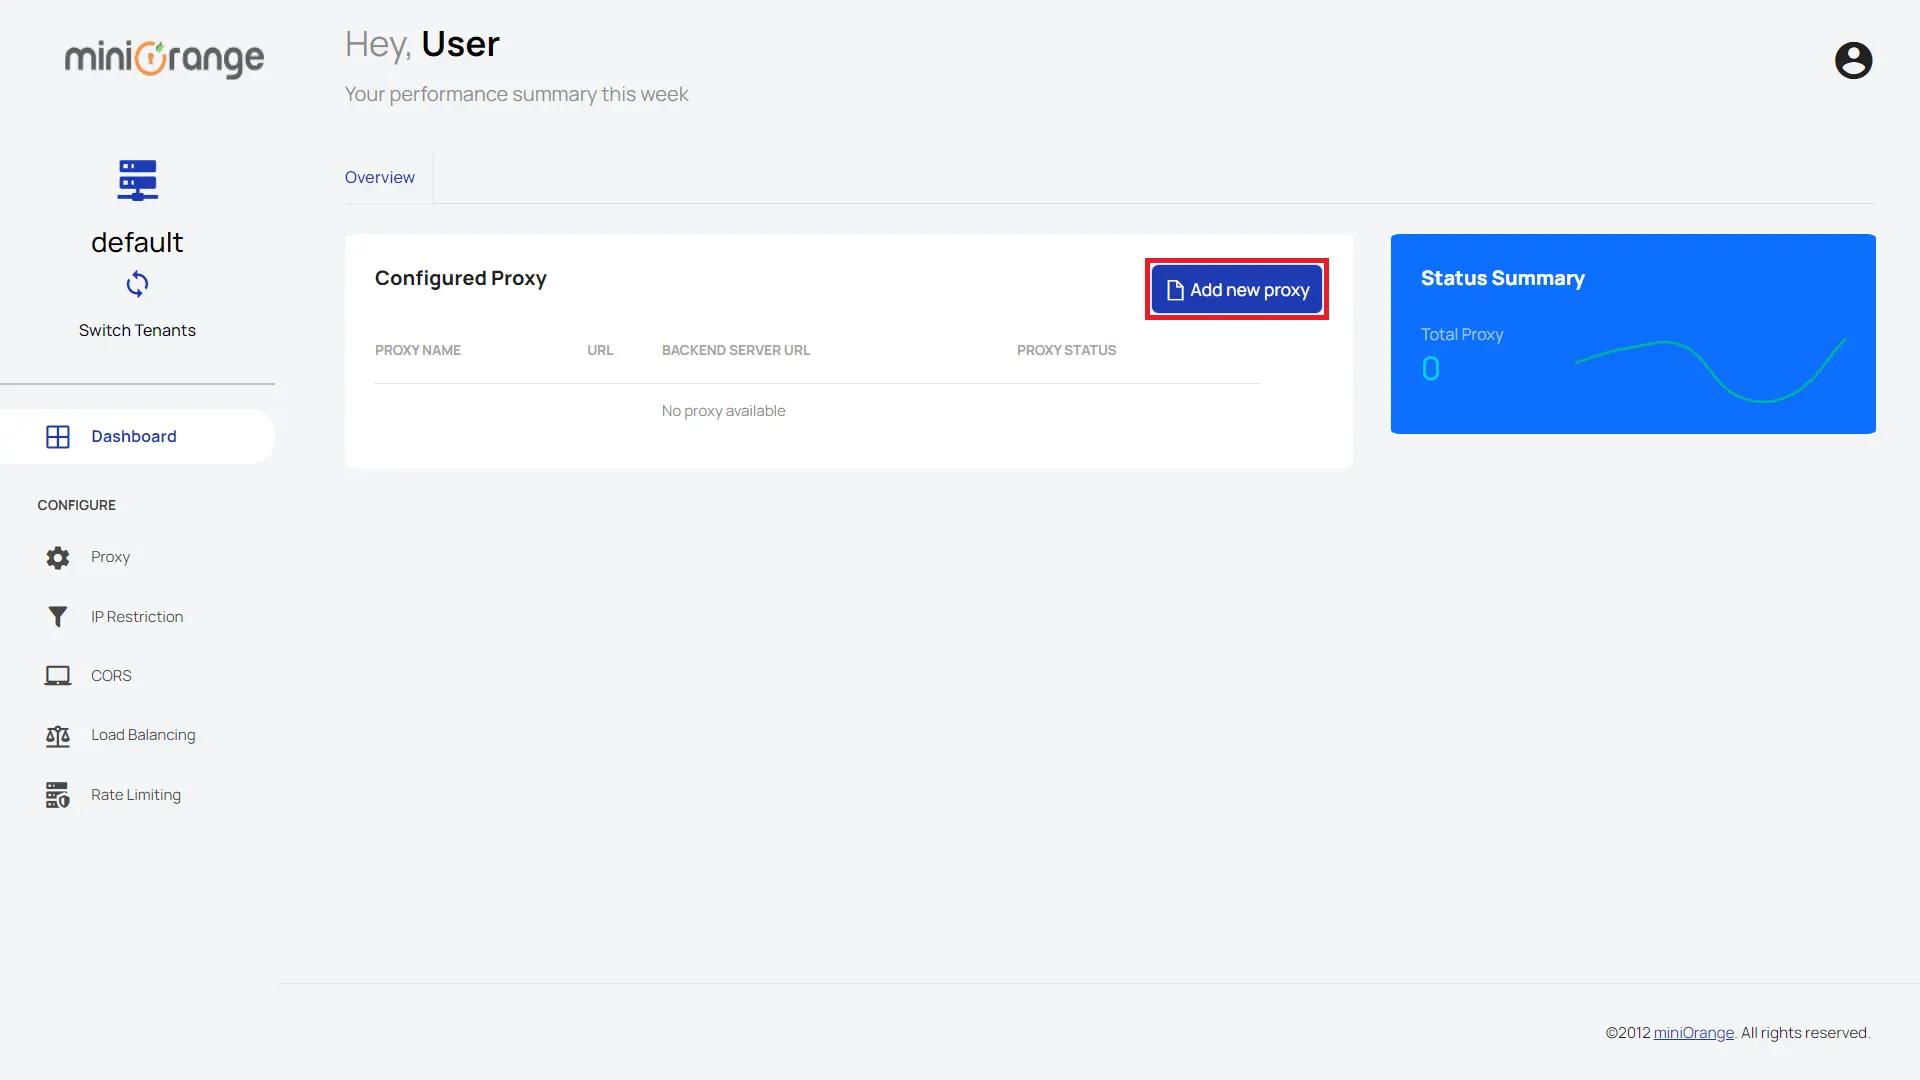
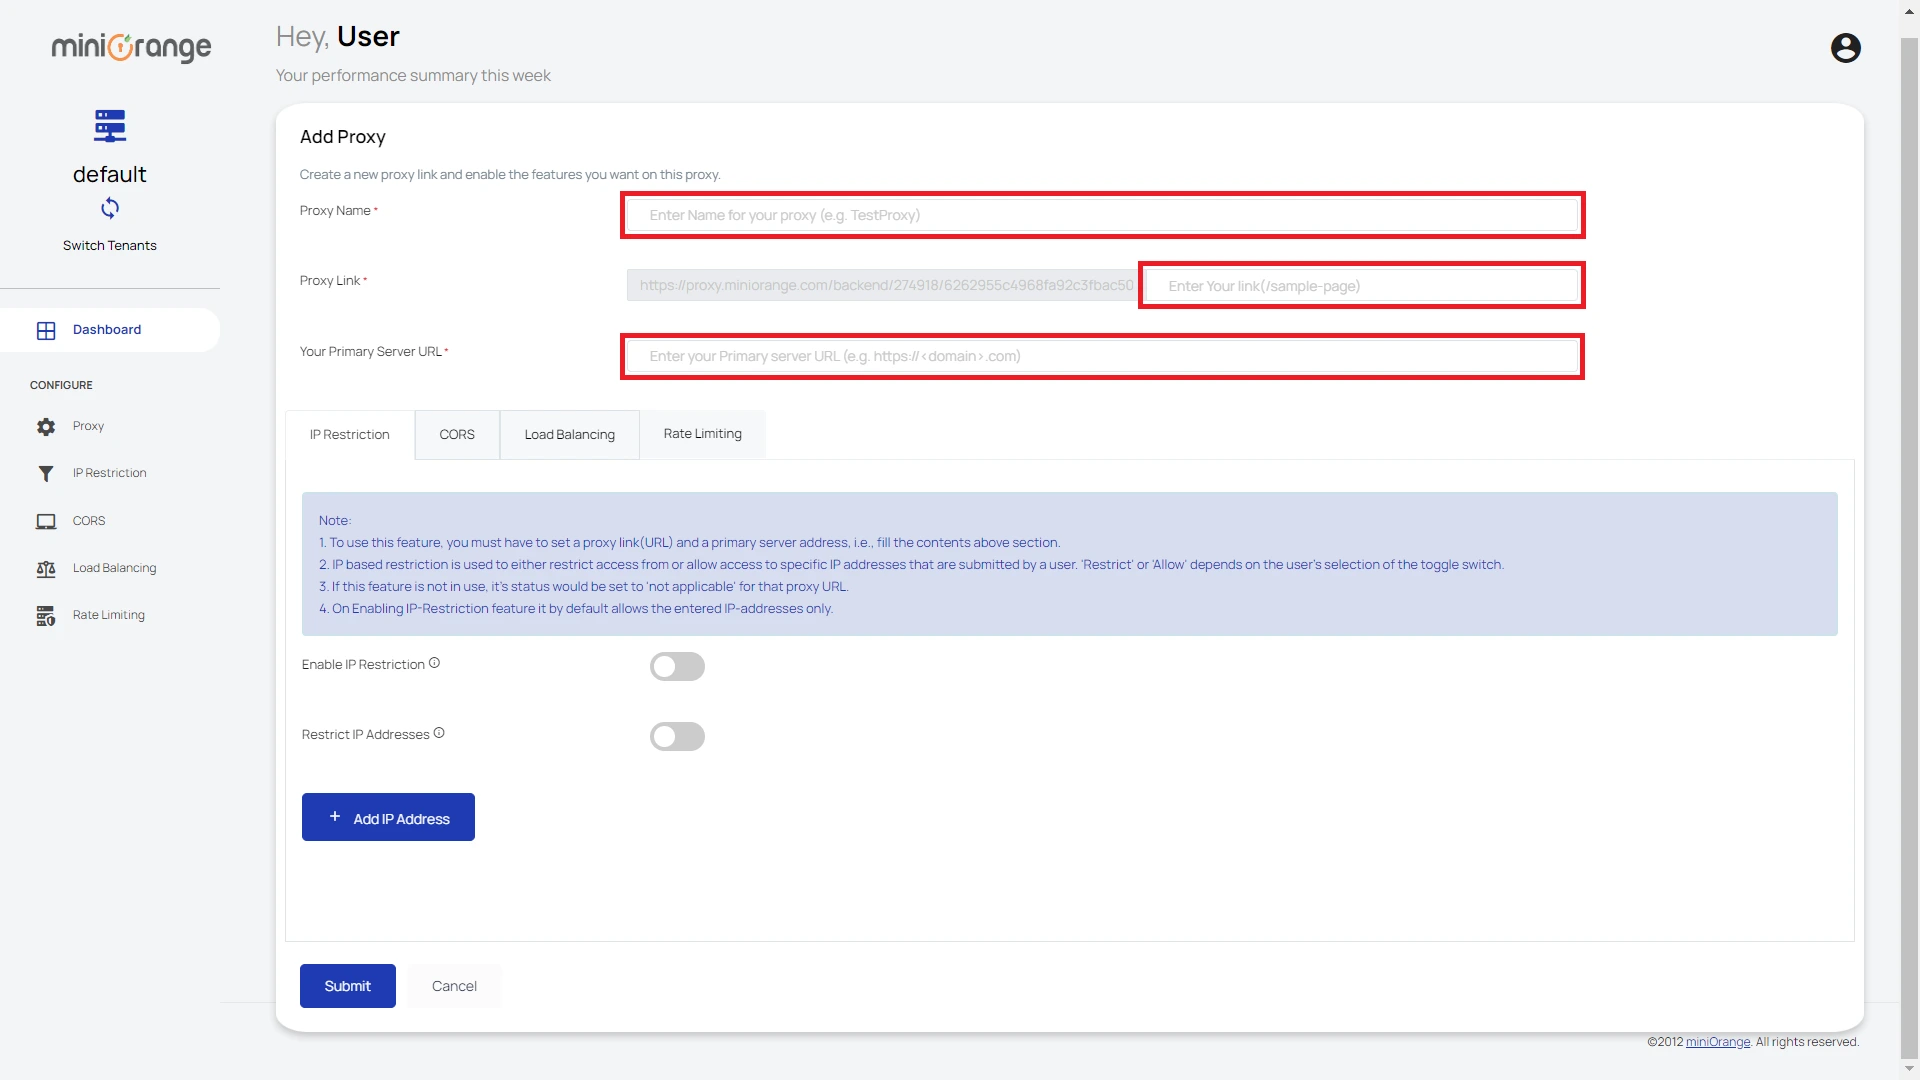
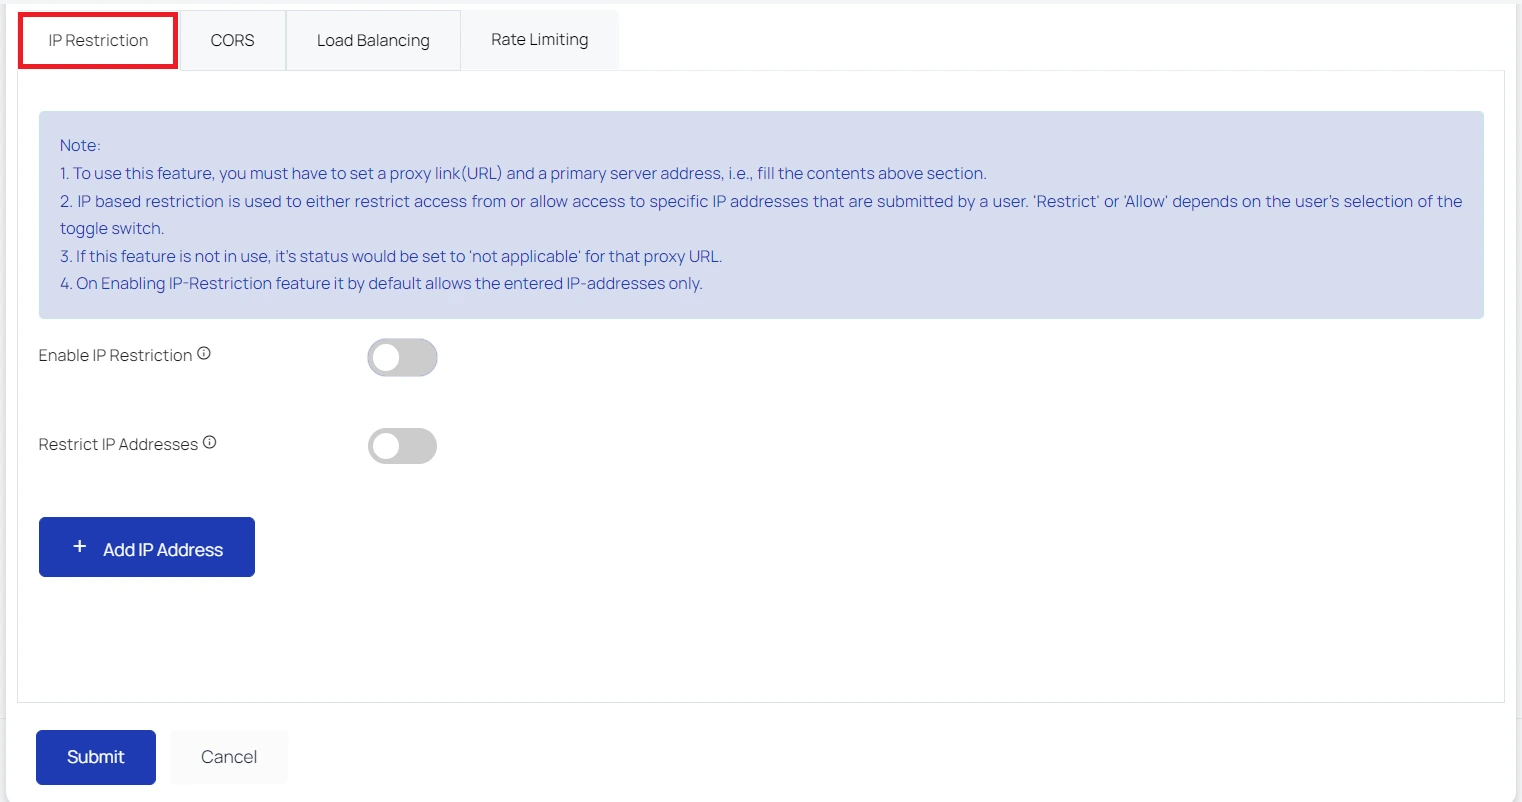
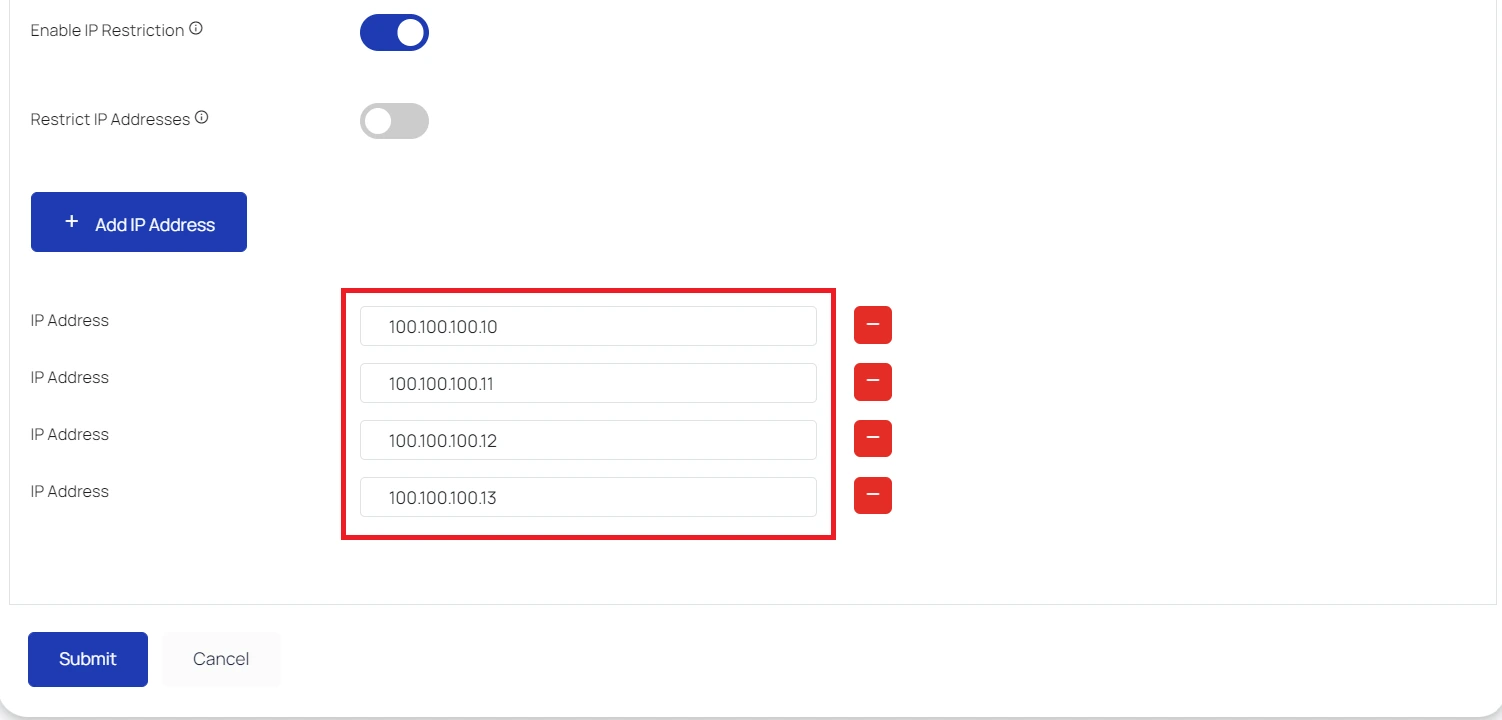
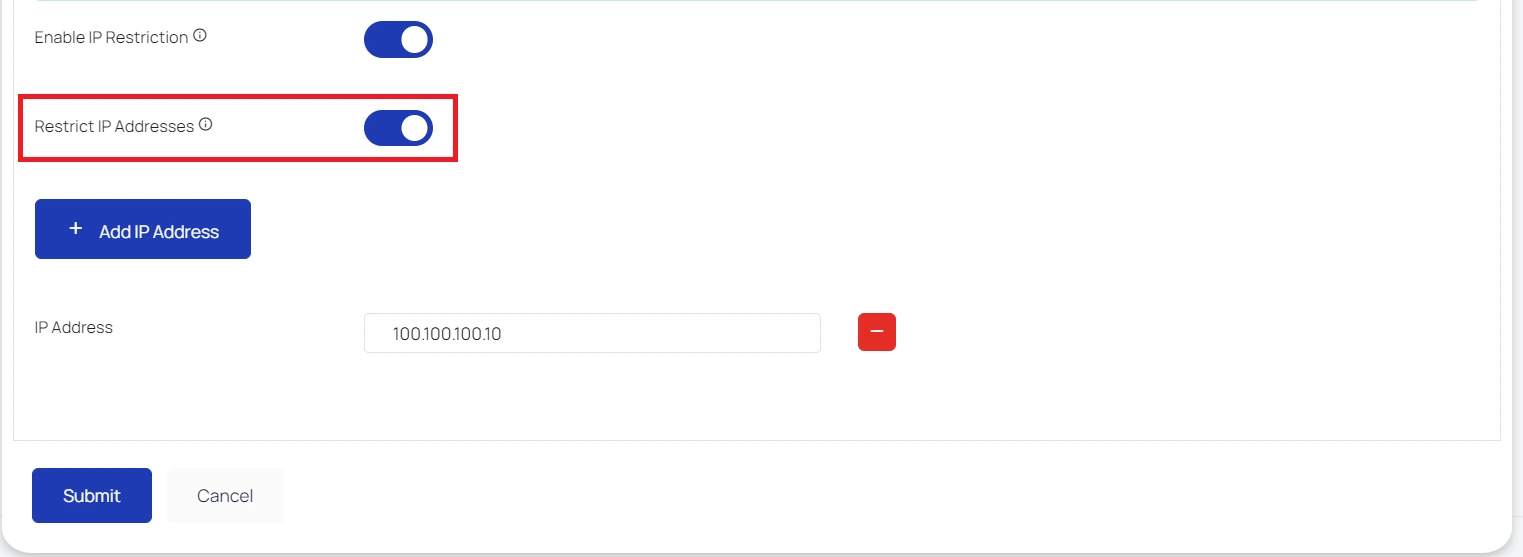
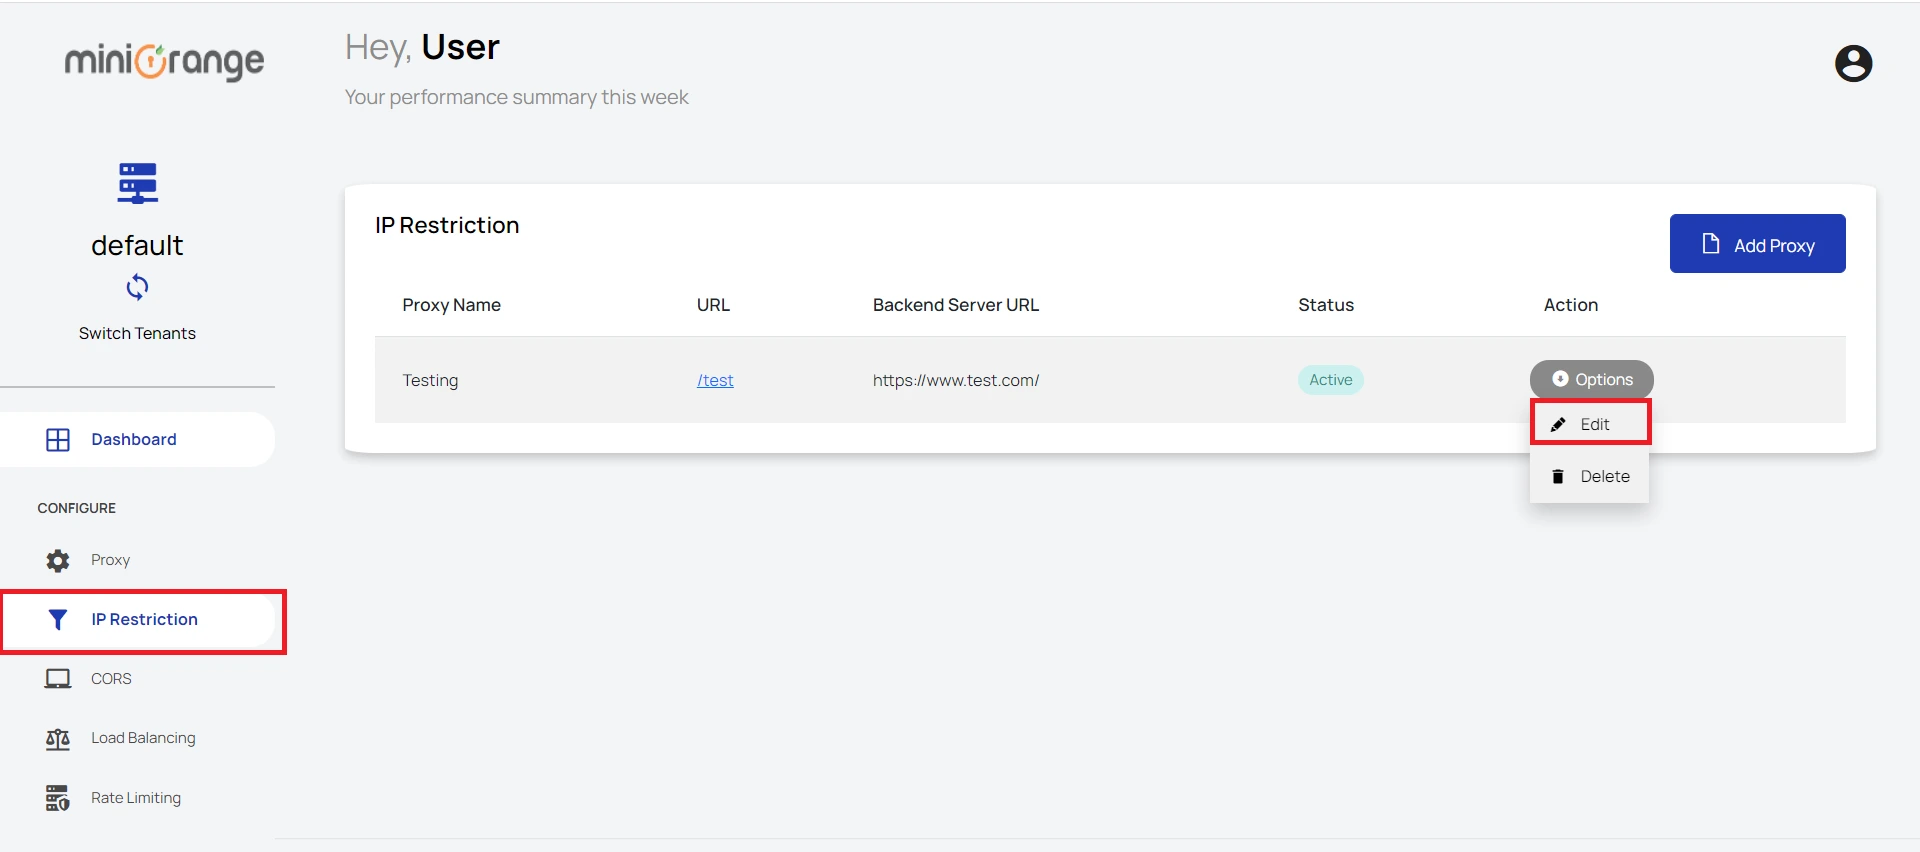
IP Restrictions enables you to provide web servers limited access based on the client's IP address. In front of the backend service, the reverse proxy product resides. As a result, it is protected against direct access by clients all around the world. When IP limits are set, users may input particular IP addresses that they want to allow or exclude from utilizing the proxy connection to access their server. Let’s see how we can enable the IP restriction feature using the miniOrange Reverse Proxy Product. IP based restriction is used to either restrict access from or allow access to specific IP addresses that are submitted by a user. To make this possible, the miniOrange reverse proxy can be configured.


Follow the Step-by-Step Guide given below to Enable IP Restriction with Reverse Proxy

Step 1: Creating a new proxy server


  • Click here and log in with your miniOrange account. Click here to register, if you don't have an account.
  • Reverse Proxy Login Page


  • Click on the Add new proxy button on the Dashboard that will direct you to the Proxy creation page.
  • Reverse Proxy Dashboard


  • You will be redirected to a proxy creation page where you have to fill out the details in the text box like:
    Proxy Identifier: Name for your proxy.
    Proxy Link: This link will take you to the proxy website.
    Your Primary Server URL: The website you are trying to set the reverse proxy for.

    Reverse Proxy Adding New Proxy

Step 2: Setup IP restriction using miniOrange Reverse Proxy


  • On the same page click on IP Restriction button to switch to IP Restriction Feature Tab.
  • Enable IP Restriction


  • In the IP restriction feature tab, Enable IP Restriction Toggle Button and enter the IP address you want to permit access to.
  • Set IP Restriction


  • If there are more than one IP addresses you want to permit access to, click on the Add IP Address button to add multiple IP addresses.
  • Add multiple IP Addresses


  • To delete an IP Address, click on the Red Minus Button.


  • To restrict IP Addresses, add the IP Addresses and then Enable Restrict IP Addresses Toggle Button.
  • Restrict IP Address


  • After adding all the IP addresses, click on Submit.
  • Submit IP Restriction


  • If you want to edit the IP restriction settings, click on IP Restriction on the sidebar. Click on the Edit button corresponding to the proxy URL for which you need to edit the IP restriction settings. After clicking, you’ll be directed to a page where you can add as many IP addresses as you want or remove as many of the existing IP addresses.Then save the configuration.
  • Edit IP Restriction


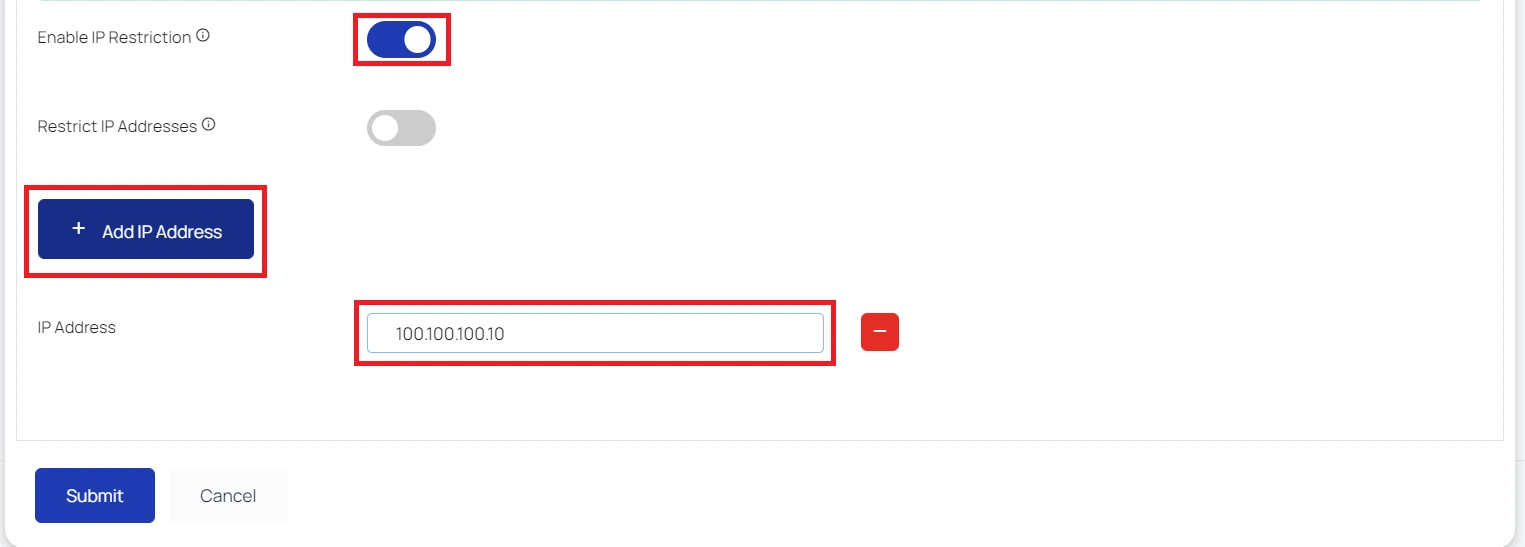
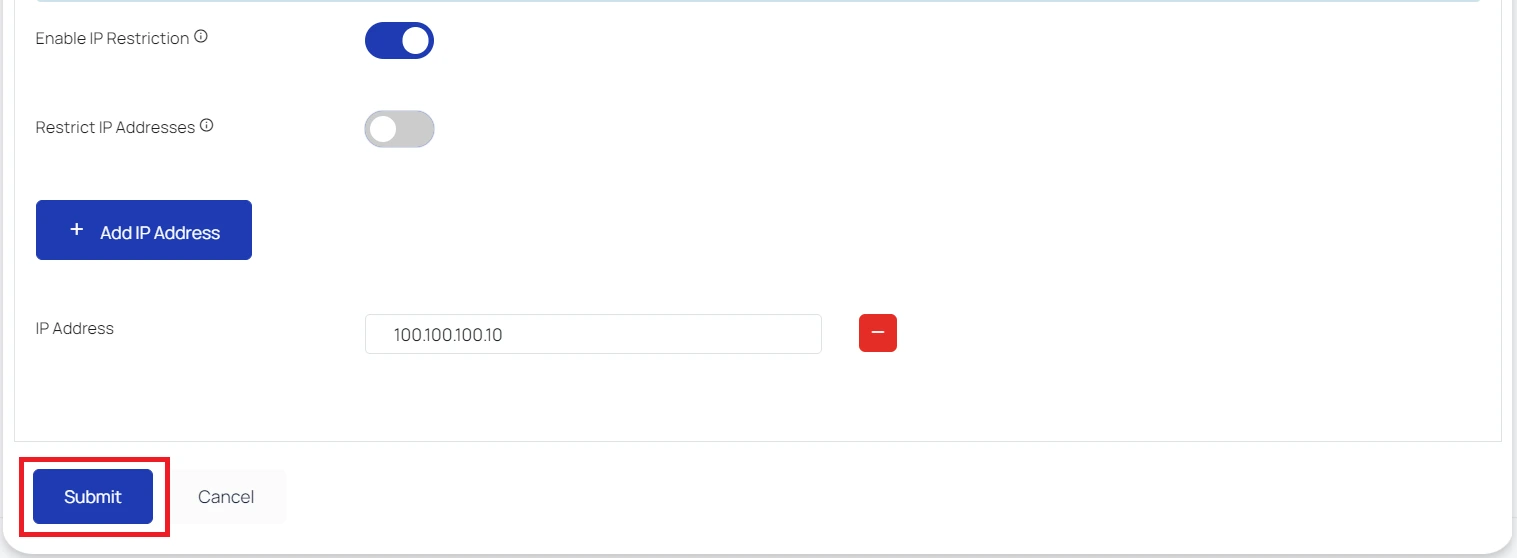
In this Guide, you have successfully configured IP Restriction using miniOrange Reverse Proxy. This solution ensures that your server will be accessed only with the allowed IP addresses.

External References


miniOrange Reverse Proxy offers a wide variety of security features with flexible scalability, all available at the most affordable price to all types of businesses. Start by signing up now!


Want To Schedule A Demo?

Request a Demo


Our Other Identity & Access Management Products