How to add a JWT App
miniOrange supports Single Sign-On for secure login for users and admins. miniOrange supports several different protocols for your applications, such as SAML, WS-FED, OAuth, OIDC, JWT, RADIUS, etc. Using Single Sign-on, users can use one set of credentials to log in to multiple applications. This improves security, as it reduces avenues for phishing attacks, and also improves access to your applications.
miniOrange provides Single Sign-on for Mobile applications and Javascript framework based applications through JSON Web Token [so, JWT apps]. This solution allows you to setup Single Sign-On (SSO) into your applications that do not support the SAML 2.0 standard. You can allow your users to Single Sign-On into your application by verifying their Identity with your existing SAML 2.0 compliant Identity Provider. This is done using JSON Web Tokens (JWTs), and they can be easily integrated with your application built in any framework or language. You can add JWT apps to enable SSO in any mobile/client-side apps which do not support any standard protocols and are built on platforms like React.js, Firebase, Cordova, Angular.js, etc. You can also add Password-Less app links to the user portal from here.
Configure Single Sign-On (SSO) Settings for JWT Apps:
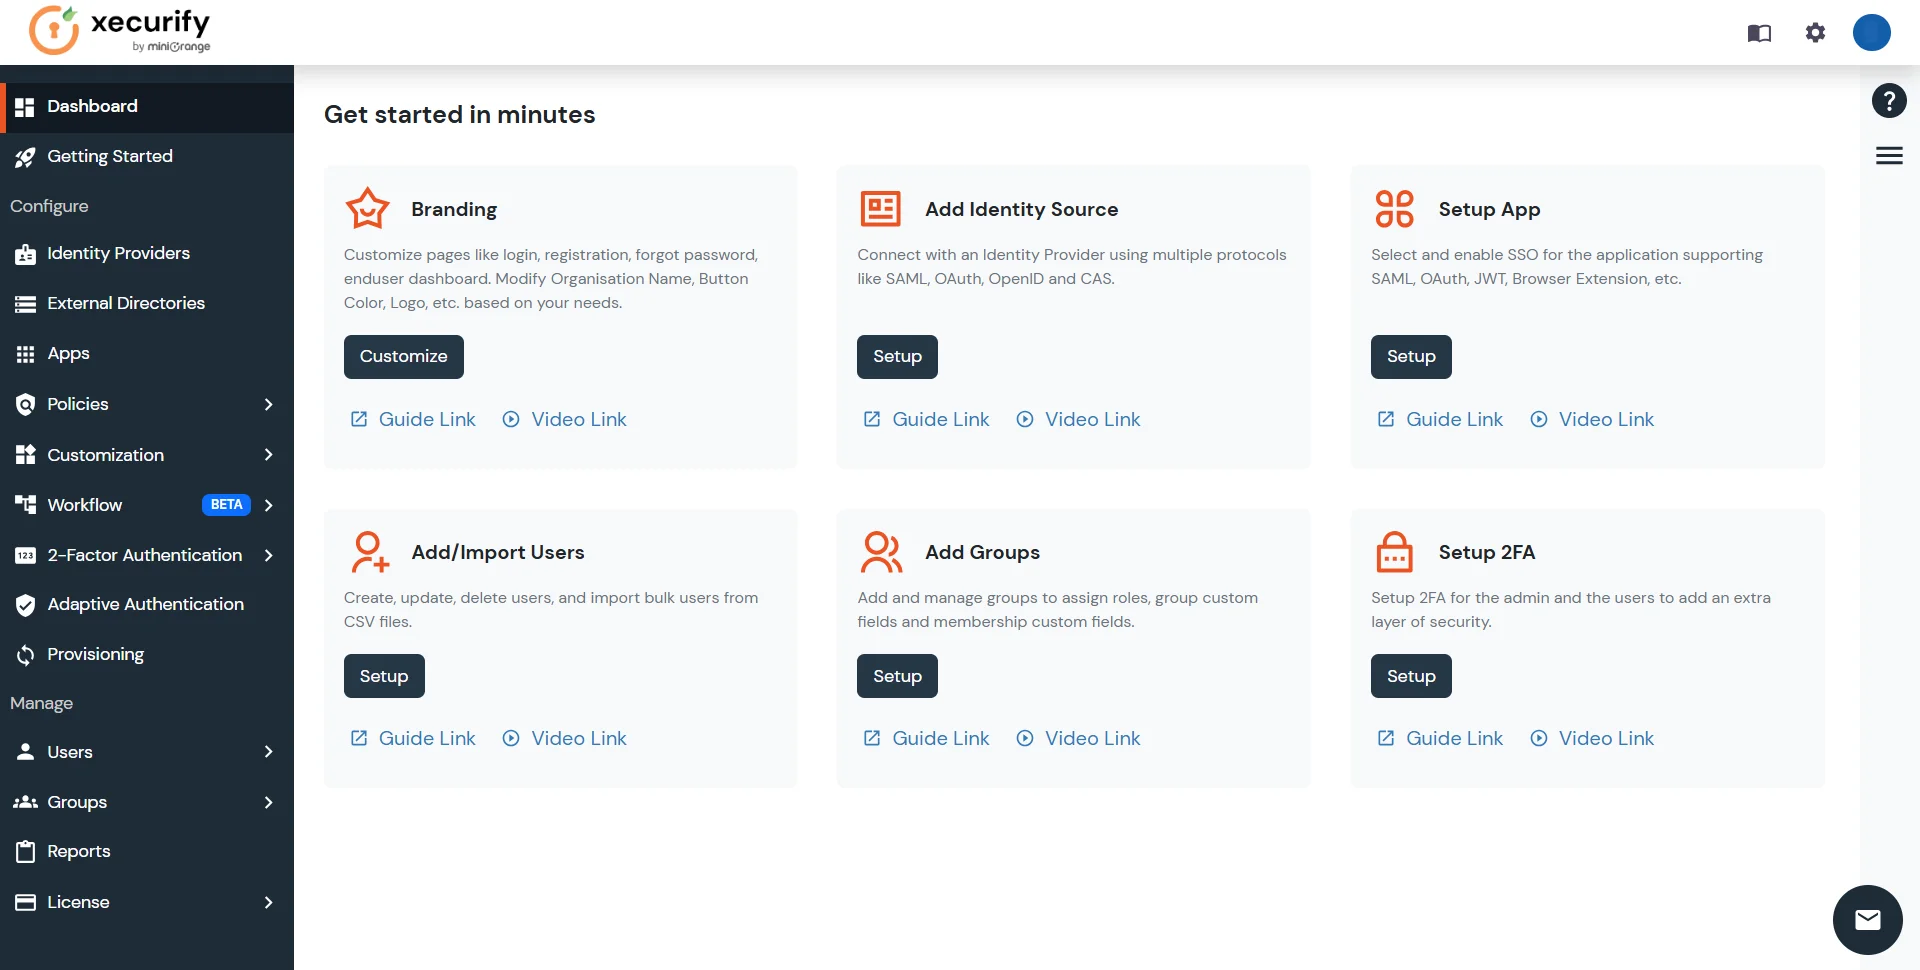
- Login into miniOrange Admin Console.
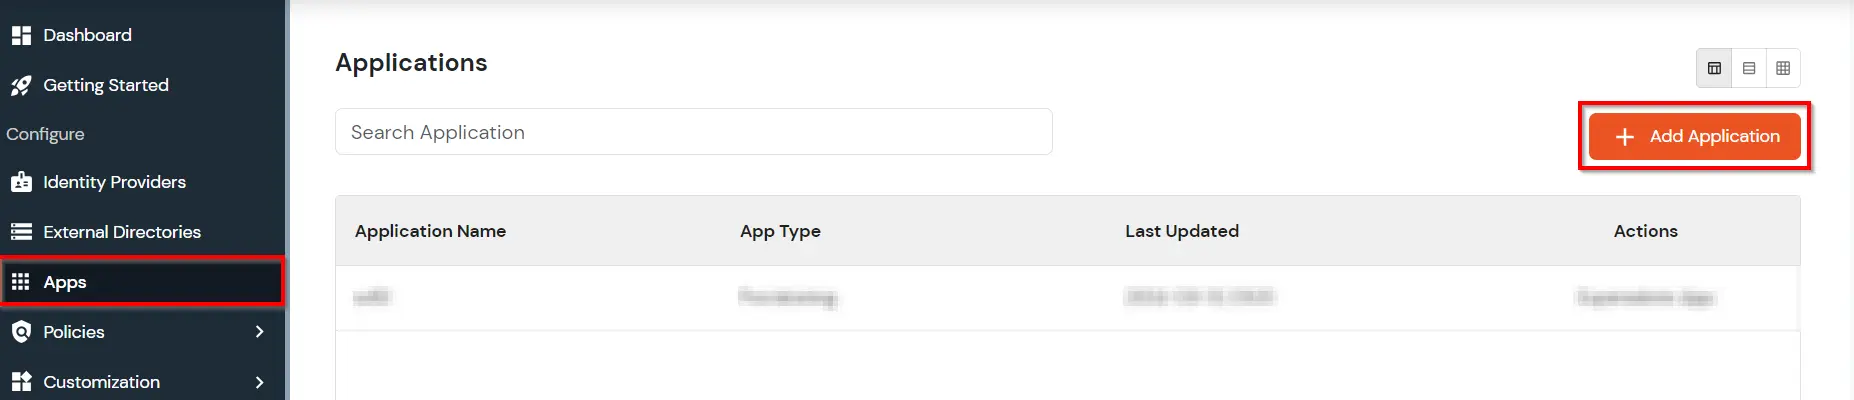
- Click on Apps. It shows a list of all configured applications and option to modify them. Click on Add Application.
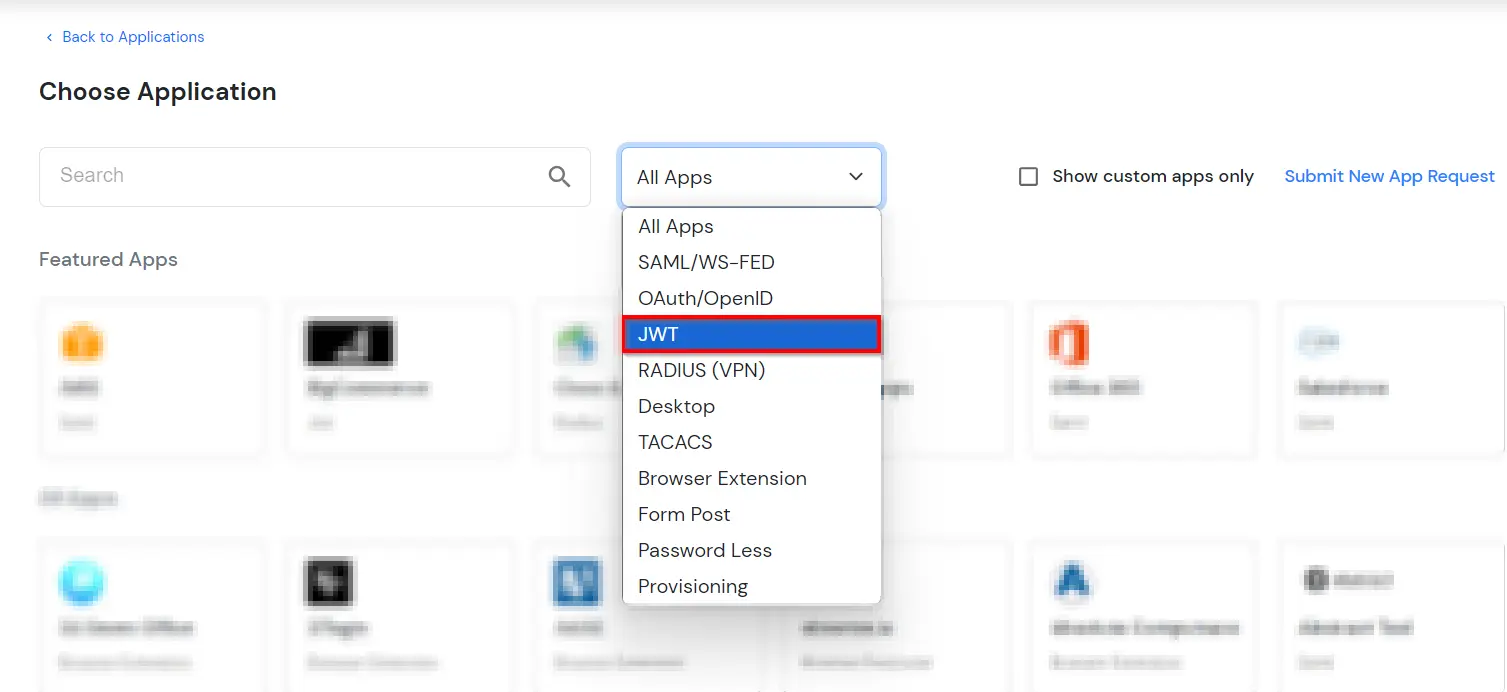
- Under Choose Application, select JWT from the All Apps dropdown.
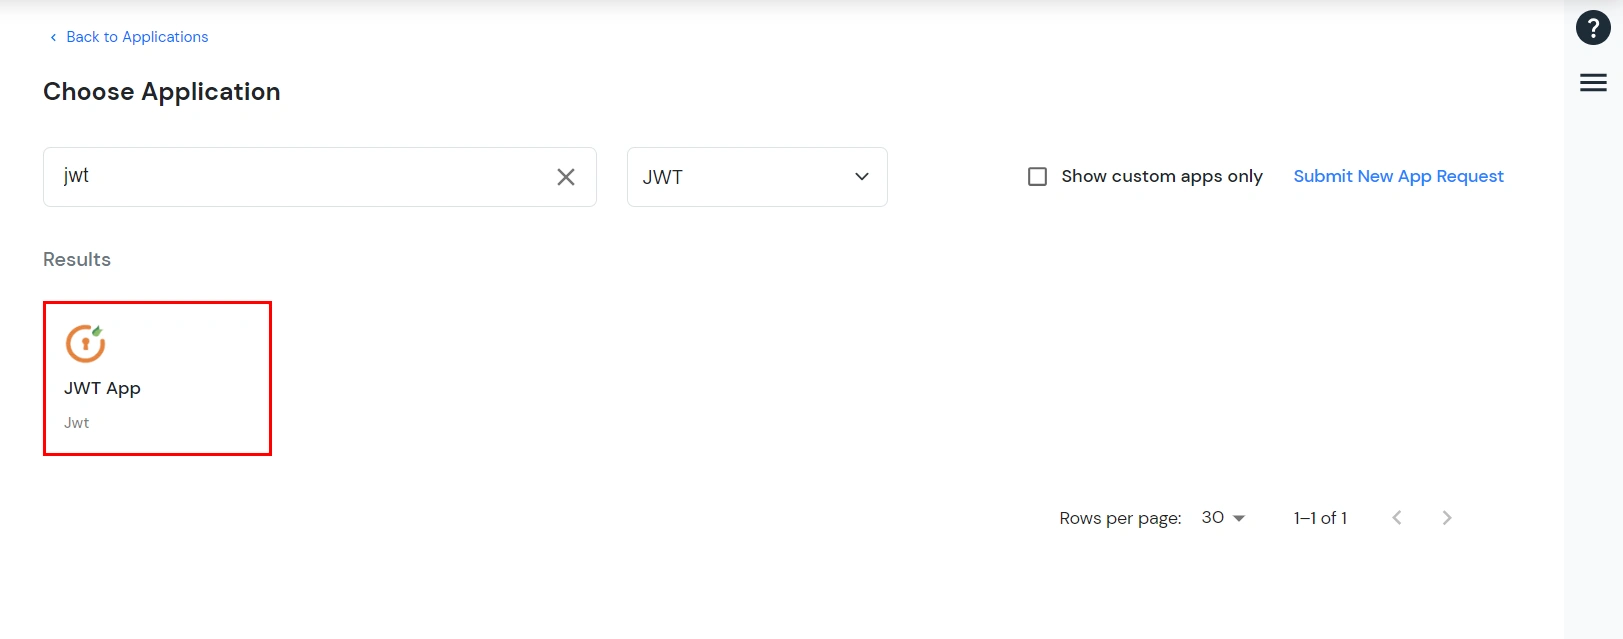
- Search for your application from the list, if your application is not found. Search for jwt and you can set up your app via JWT App.
-
You can configure the following details in the application:
| Display Name |
Enter the Display Name (i.e. the name for this application) |
| Redirect URL |
Enter the Redirect URL (i.e. the endpoint where you want to send/post your JWT token).
You can add multiple redirect URLs by separating them with a ‘;’.E.g. abc.com;xyz.com
|
| Client ID |
The Client ID is shown in the field below. Click the clipboard icon to copy it. |
| Client Secret |
Client Secret is hidden by default. Click the eye icon to reveal it and use the clipboard icon to copy it. This is used in the HS256 signature algorithm for generating the signature.
|
| Description (Optional) |
Add a description if required.
|
| Upload App Logo (Optional) |
Upload an app logo (Optional). The app will be shown in the end-user dashboard with the
logo that you configure here.
|
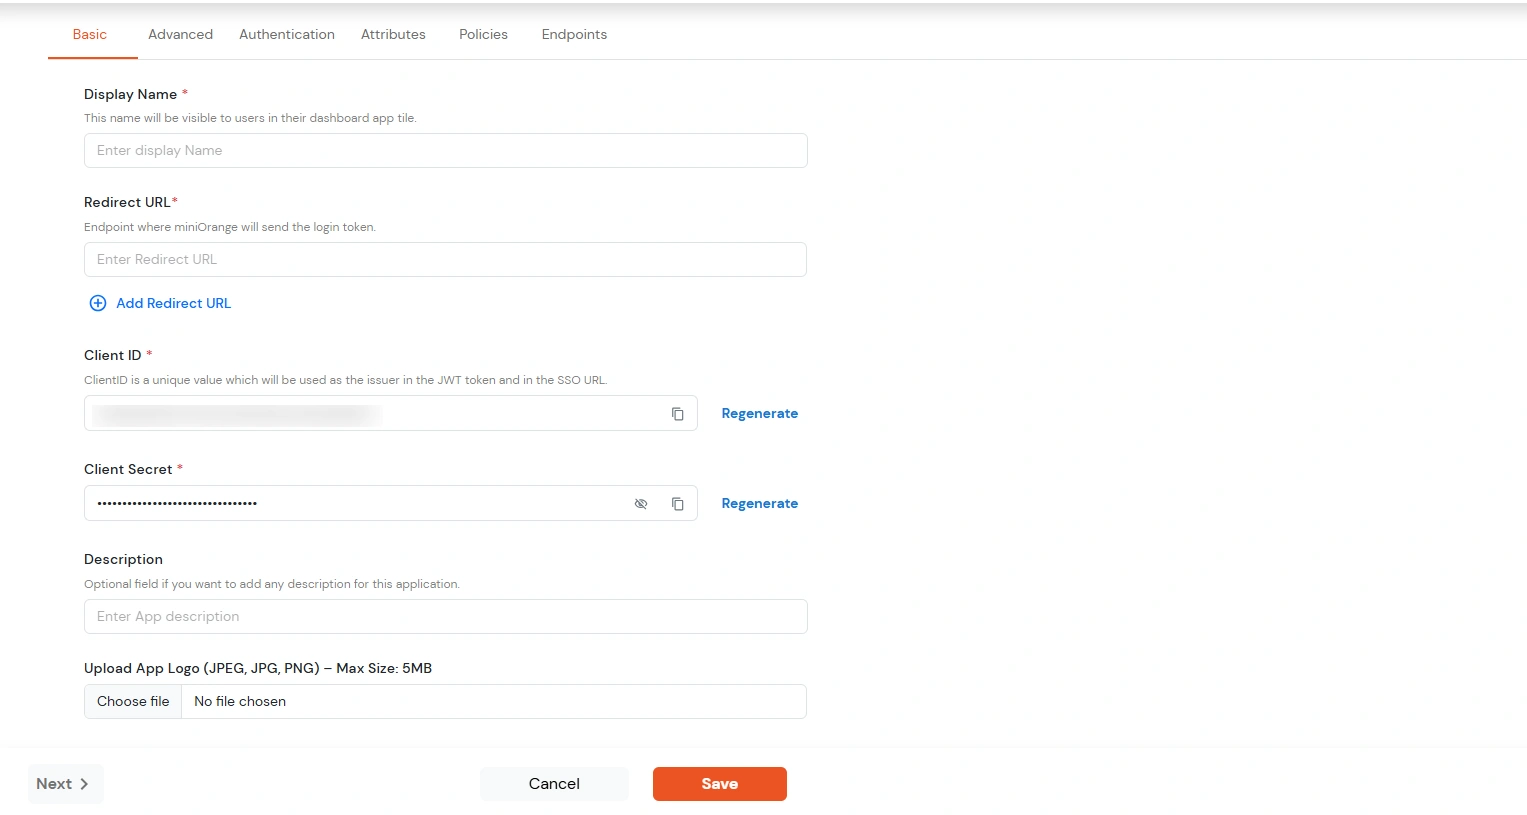
- Click Save.
- You will be redirected to the Policies section.
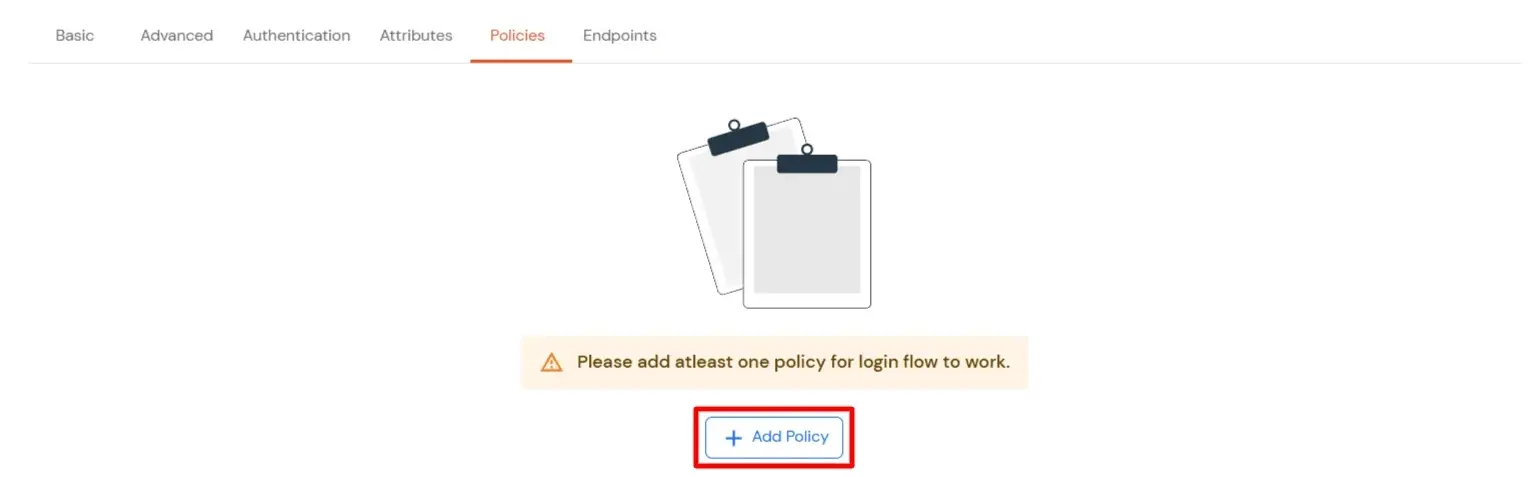
- Click on the Assign group button. A new Configure Group Assignment Modal tab will open.
- Assign Group: Select the groups you want to link with the application. You can select up to 20 groups at a time.
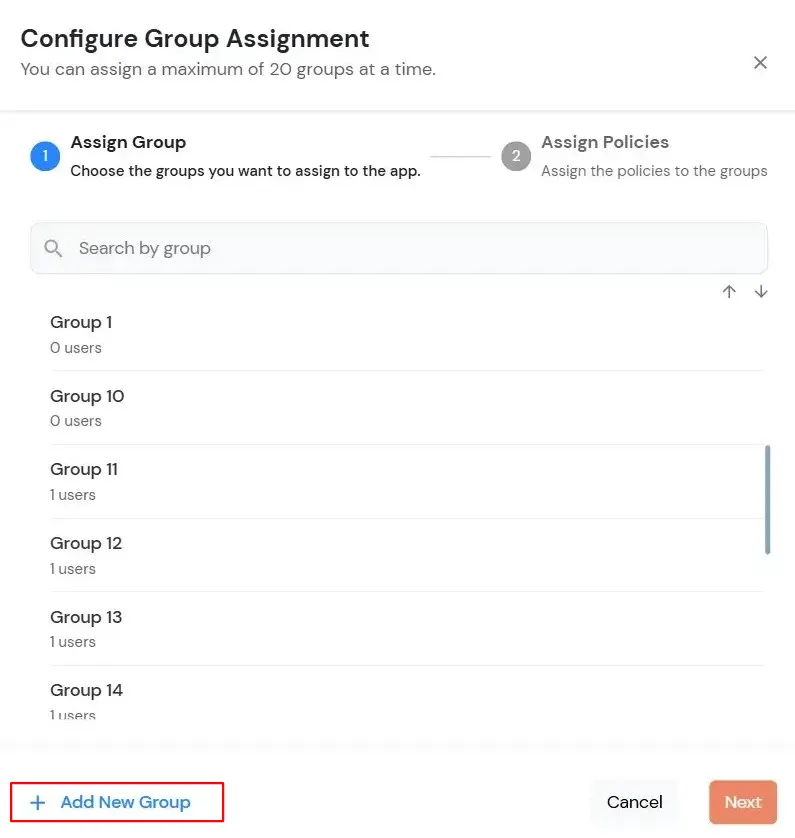
- If you need to create new group. Click on Add New Group button.
- Enter the Group name and click on Create Group.
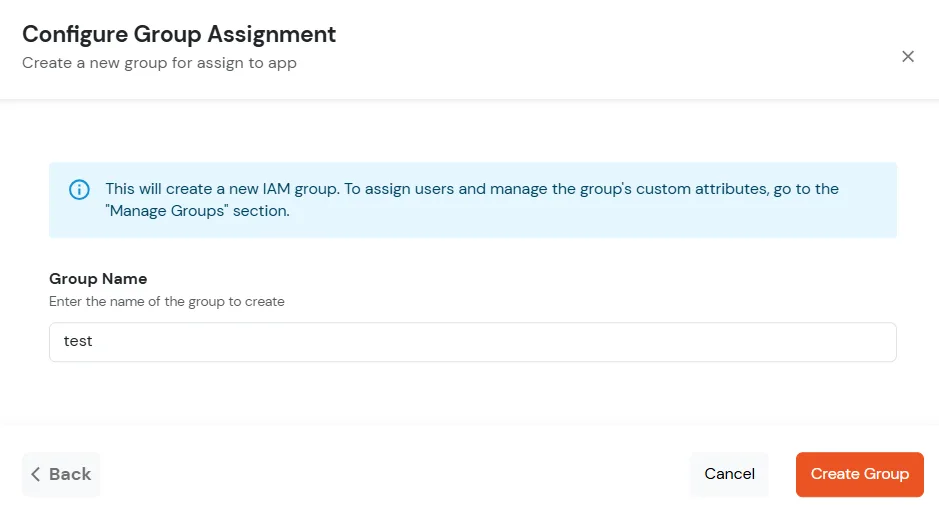
- Click on Next.
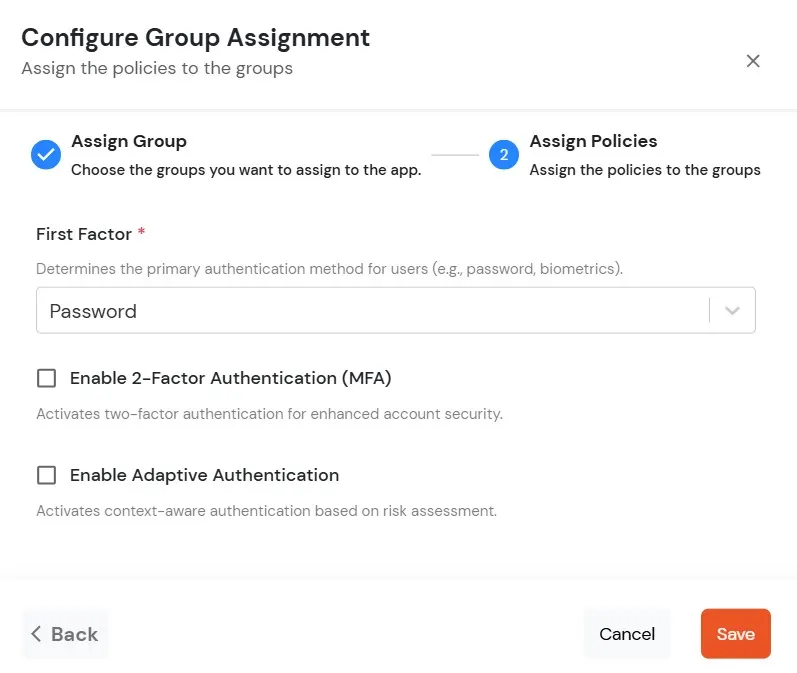
- Assign Policies: Add the required policies to the selected groups. Enter the following details:
- First Factor: Select the login method from the dropdown.
- If you select Password as the login method, you can enable 2-Factor Authentication (MFA) and Adaptive Authentication, if needed.
- If you select Password-less as login method, you can enable 2-Factor Authentication (MFA) if needed.
- If you select Magic Link as the login method, the following options appear:
- Enable sign-in from other IPs: When enabled, users can open the Magic Link from a different IP address than the one from which it was requested.
- Enable sign-in from other devices: When enabled, users can open the Magic Link on a different device than the one used to request it.
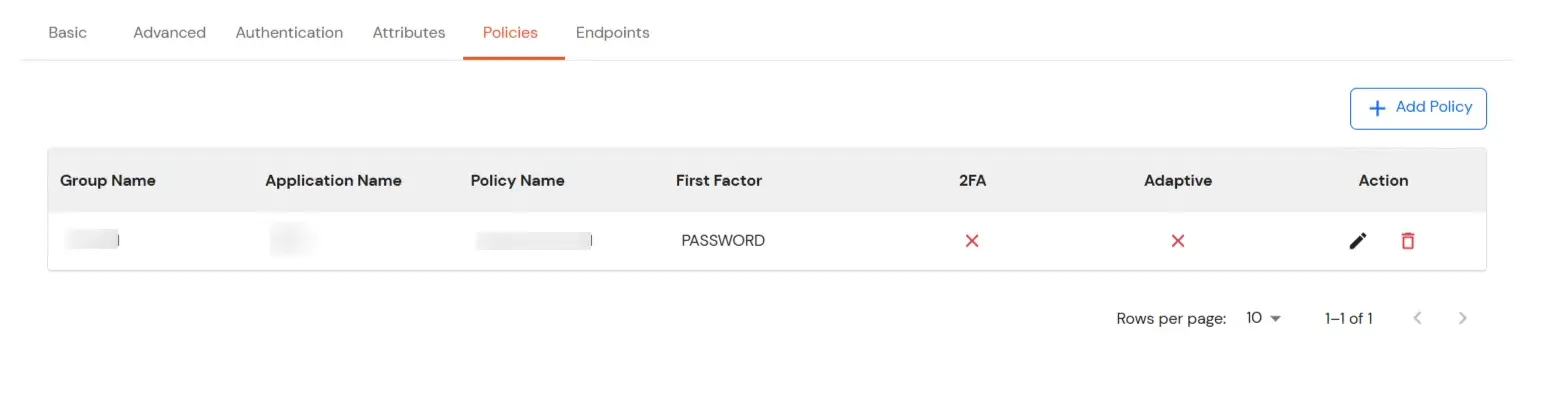
- Click on Save. Policies will be created for all the selected groups.
- You will see the policy listed once it’s successfully added.
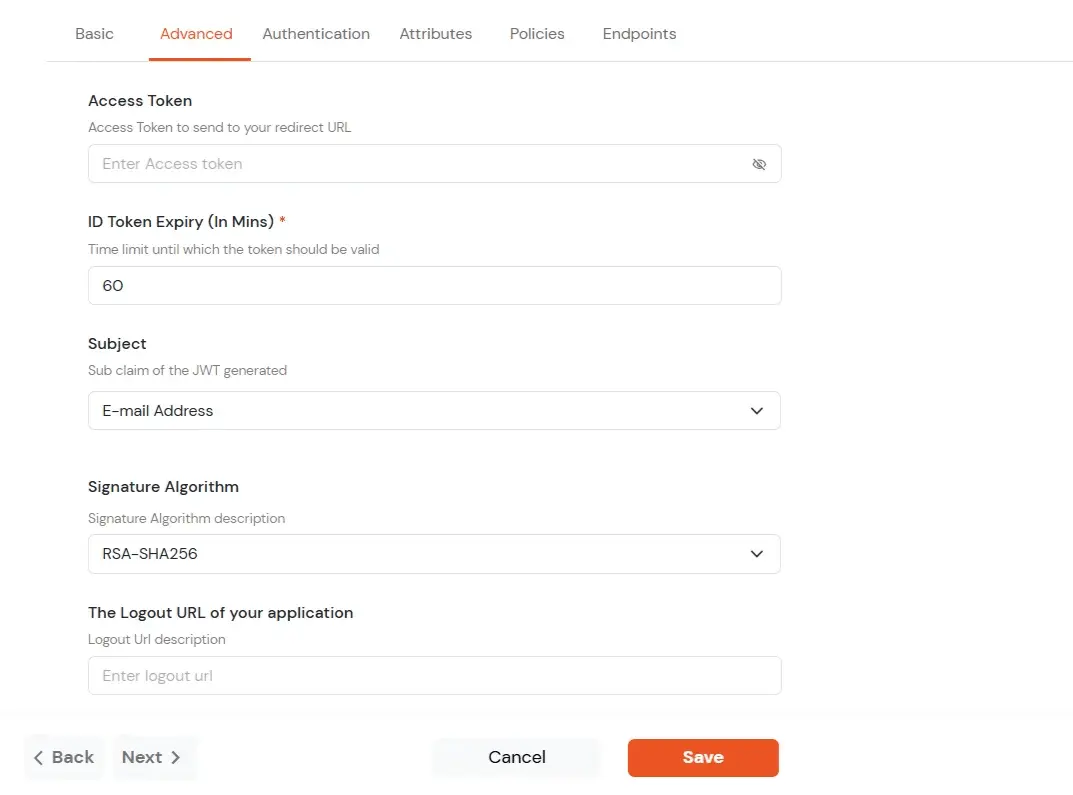
- Click on Advanced tab.
- Enter the following details as required:
| Access Token |
Enter the access token that will be sent to your redirect URL after a user logs in. This token helps your app know the user is allowed to access certain features. |
| ID Token Expiry (In Mins) |
Set how long (in minutes) the ID token will be valid. After this time, the user will need to log in again to get a new token. |
| Subject |
Choose what information, like the user’s email address, will be used to identify them in the token. This helps your app know which user is logged in. |
| Signature Algorithm |
Select your signature algorithm from the dropdown. |
| The Logout URL of your application |
Enter the web address where users should be sent after they log out. |
| Enable Shared Identity |
This feature lets you control whether a specific application can be accessed by shared user or not. |
- Signature Algorithms for JWT
RSA-SHA256
- Asymmetric, uses a set of private and public keys to generate and validate the signature which is included in the JWT token.
- The private key is used to generate the signature on the IDP side.
- The public key is used to verify the signature on the SP side.
- We provide the public key for this.
HS256
- Symmetric, uses the same secret key to generate and validate the signature
- The secret key in this case is configurable from the app configuration page.
-
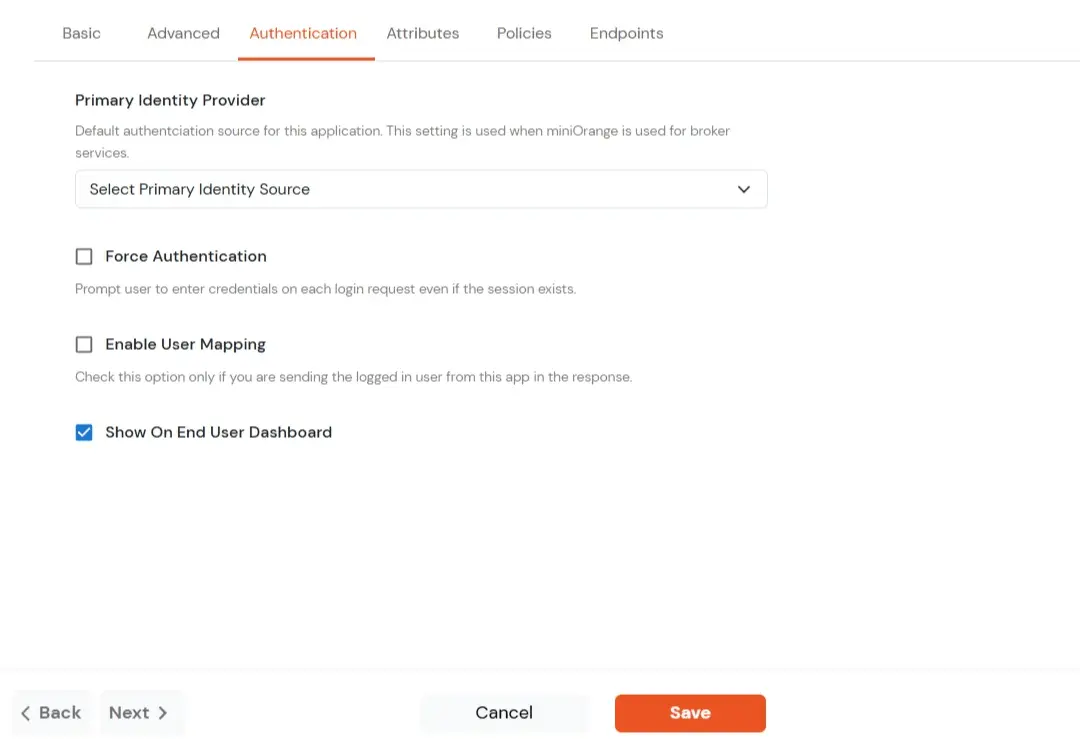
Switch to Login options tab.
| Primary Identity Provider |
Select the default ID source from the dropdown for the application. If not selected, users will see the default
login screen and can choose their own IDP. [Choose miniOrange in this case.]
|
| Force Authentication |
If you enable this option, users will have to log in every time, even if their session already exists. |
| Enable User Mapping |
Enable this option, if you want the app to show which user is signed in when it responds. |
| Show On End User Dashboard |
Enable this option if you want to show this app in the end-user dashboard. |
- Switch to Attributes tab.
- Enable Multi-Valued Attributes Option:
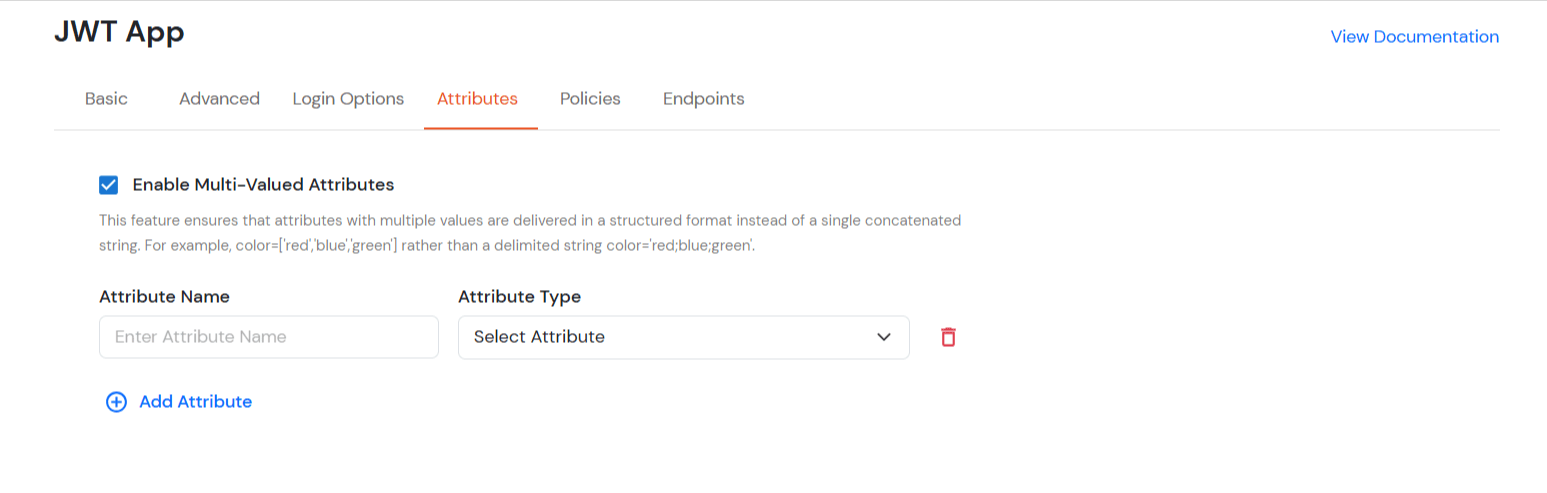
- When this option is enabled, both commas (,) and semicolons (;) are treated as delimiters. Any attribute containing these characters will be automatically split and converted into a multi-valued attribute based on their positioning.
- This feature ensures that attributes with multiple values are delivered in a structured format instead of as a single concatenated string.
- For example: when this option is enabled, Attributes will be will appear as a list like roles = ['admin', 'editor', 'viewer'] instead of a single string like roles = "admin;editor;viewer".
- When this option is disabled, attributes stored as a single concatenated string with commas (,) and semicolons (;) are treated in the way they are stored instead of a structured list.
- In this case, commas (,) and semicolons (;) are not treated as separators, so the values remain combined in one string.
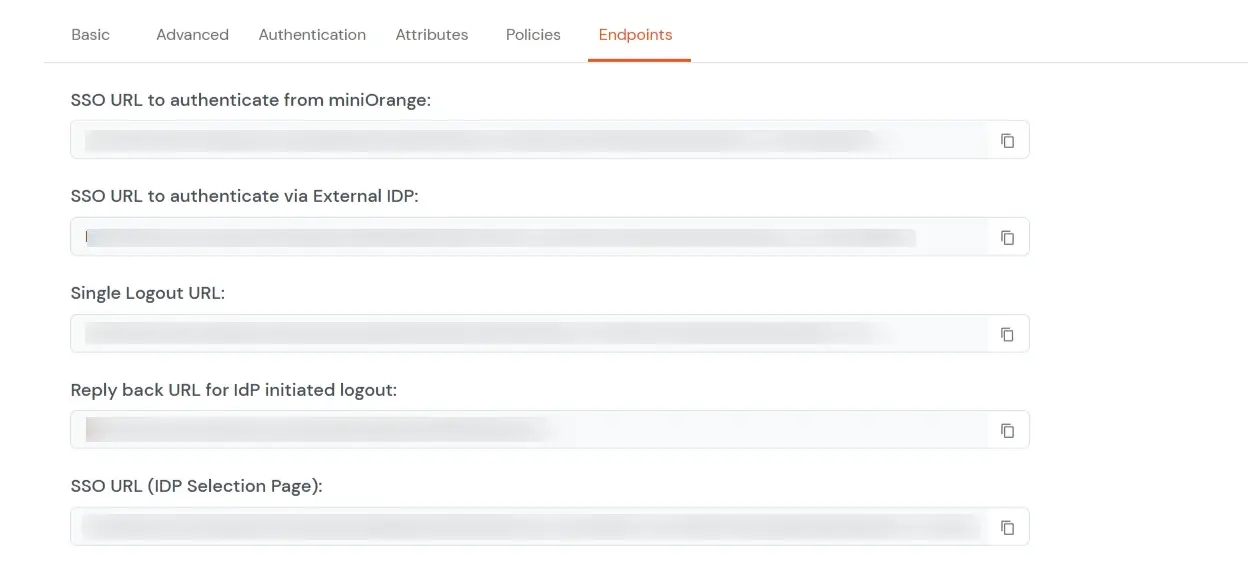
- Navigate to Endpoints and copy the following details:
-
Single Sign-On URL:
- This URL is used to initiate user authentication to obtain the JWT token.
- Take redirect_uri as one of the query parameters.
- After successful authentication on the IDP end, an active user session is created in the IDP and the user is redirected to the redirect_uri with the JWT token.
-
Single Logout URL:
- This URL is used to log out the user from the IDP by removing the active user session.
- Take redirect_uri as one of the query parameters.
- After removing the active user session, the IDP redirects the user to the redirect_uri.
-
Reply back URL for IdP initiated logout:
- This URL is used to initiate the logout in case the JWT user login was IDP Initiated [User logged in to the dashboard
first and then initiated the login for the app from the dashboard.]
- After logging out the user from the IDP, the user is redirected to the IDP dashboard login page.