Hello there!
Need Help? We are right here!
Need Help? We are right here!
Search Results:
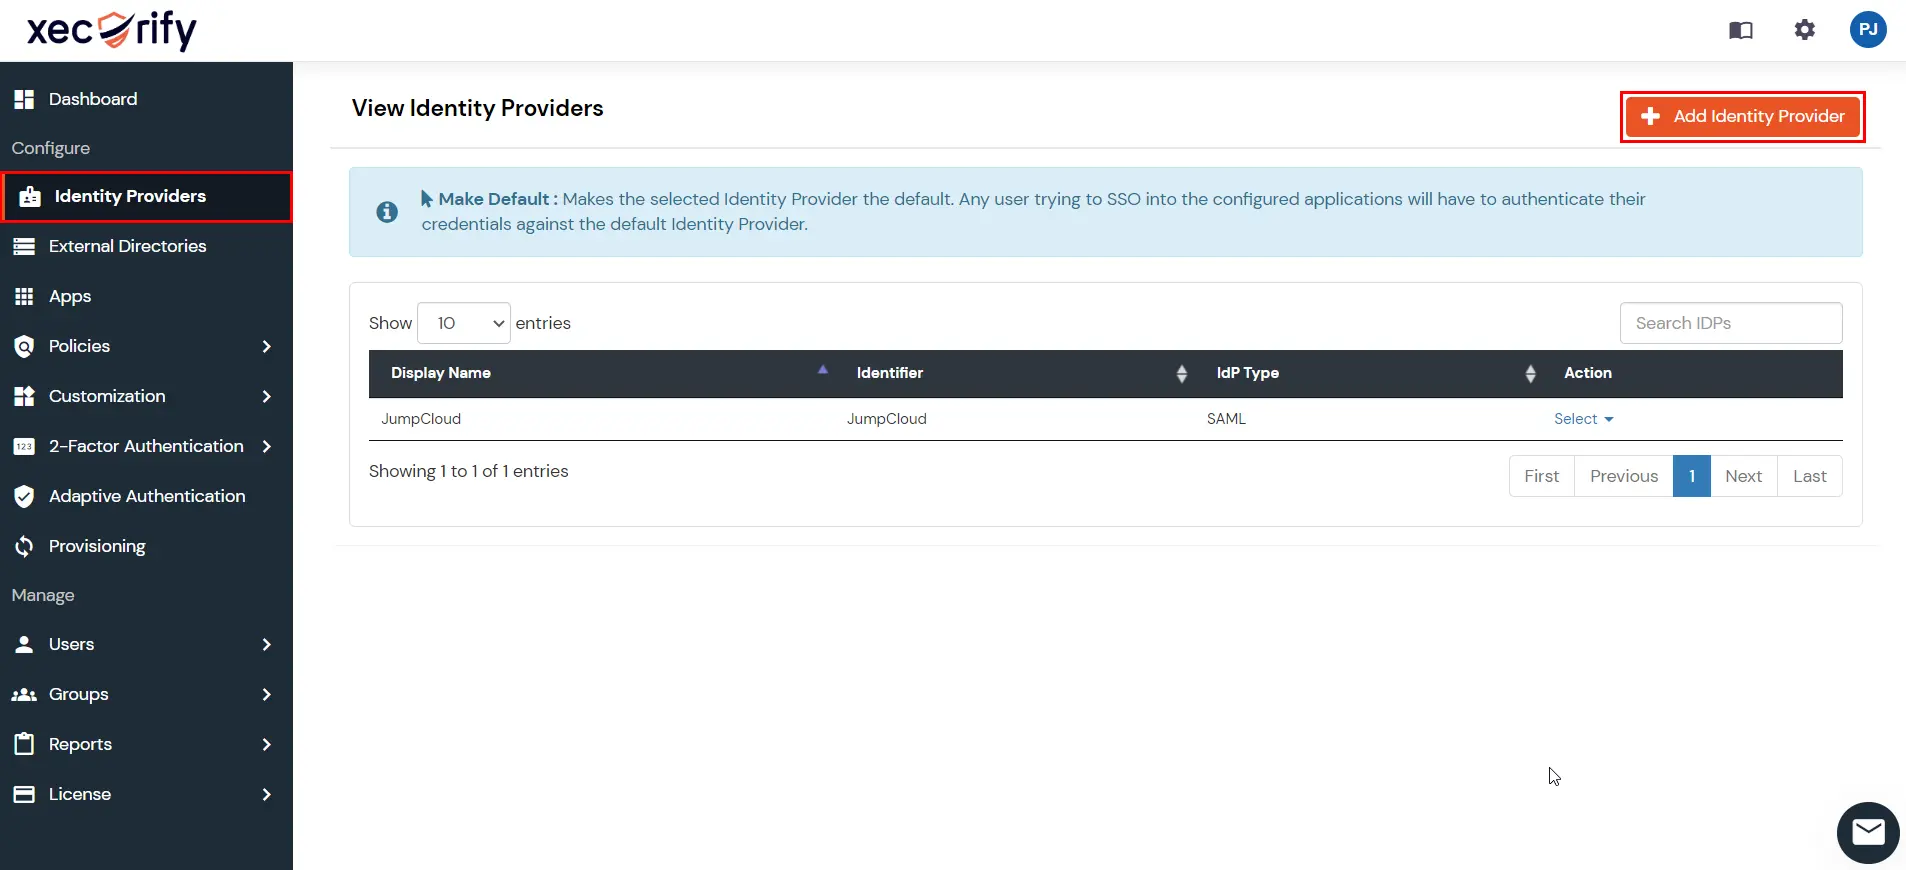
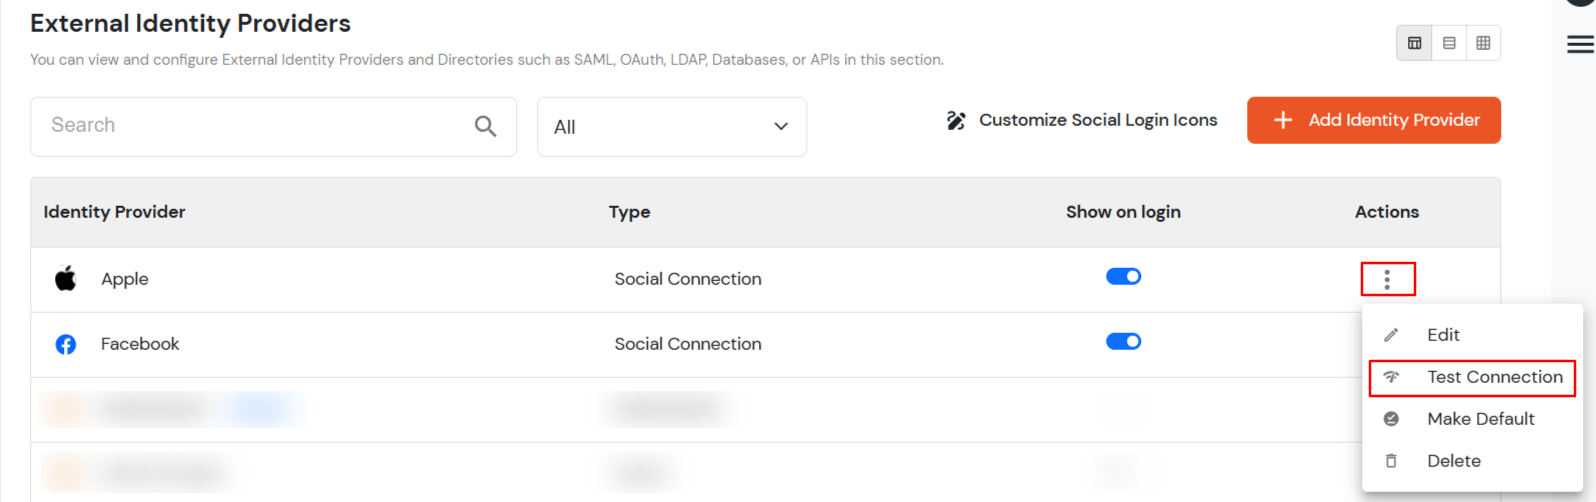
×You can now view and manage all External Identity Providers, such as SAML, OAuth, Social Connections, and Directories like AD/LDAP, AWS Cognito, Database/API from a single unified section. Integrating these IdPs with miniOrange allows unified user management, effortless authentication, and enhanced security. Simplify the process of connecting and configuring your external identity providers, enabling seamless user provisioning and Single Sign-On (SSO) across your applications.
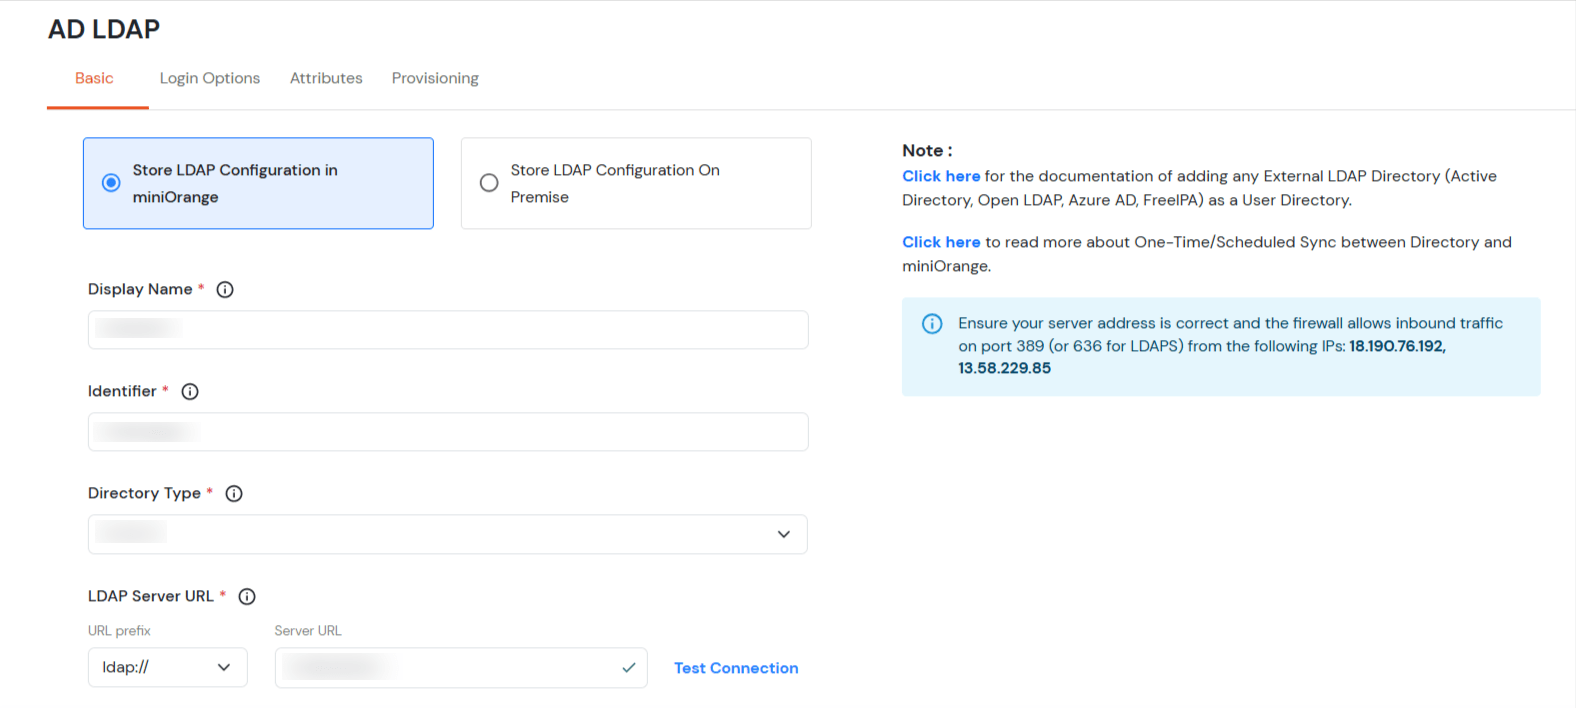
Note: The External Directories and Identity Providers sections have now been merged into a single unified section: Identity Providers. Here, you can configure all types of external connections, including SAML, OAuth, Social, AD/LDAP, MySQL, BigCommerce, etc. integrations.
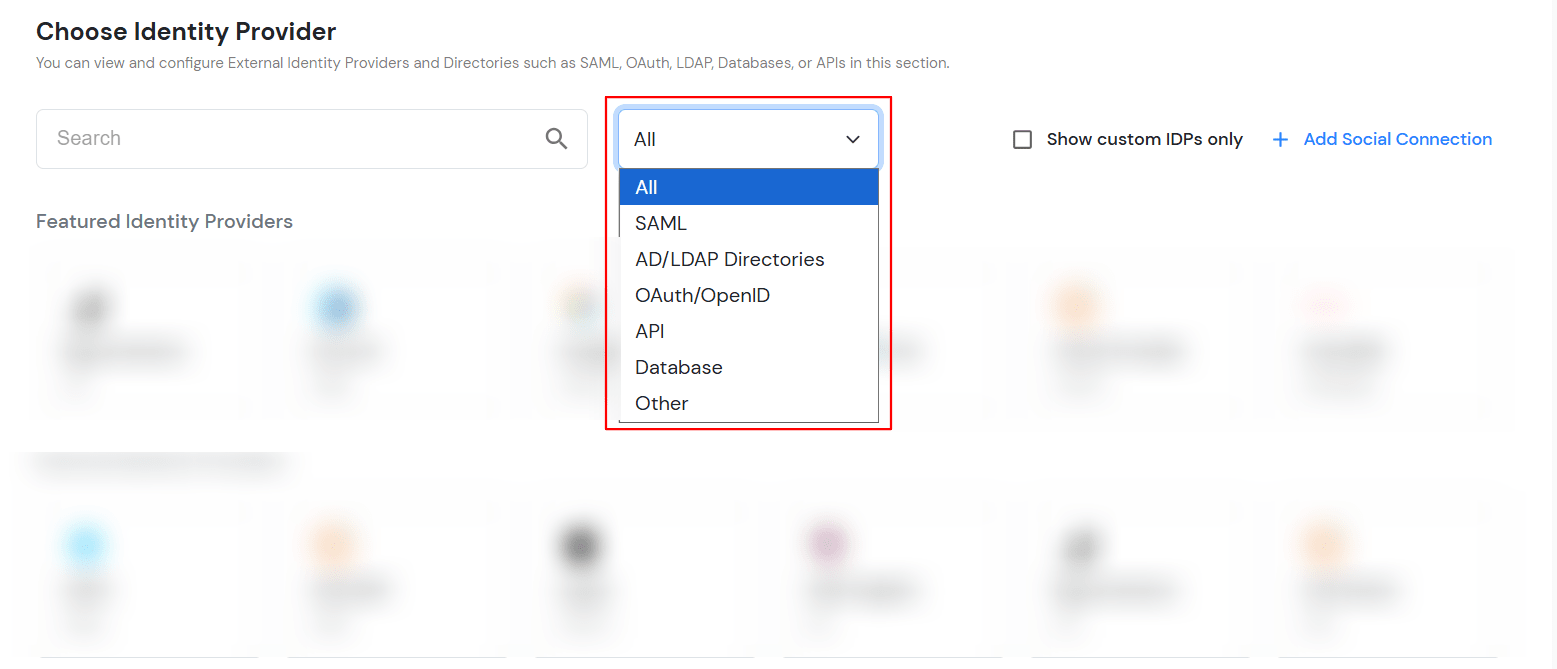
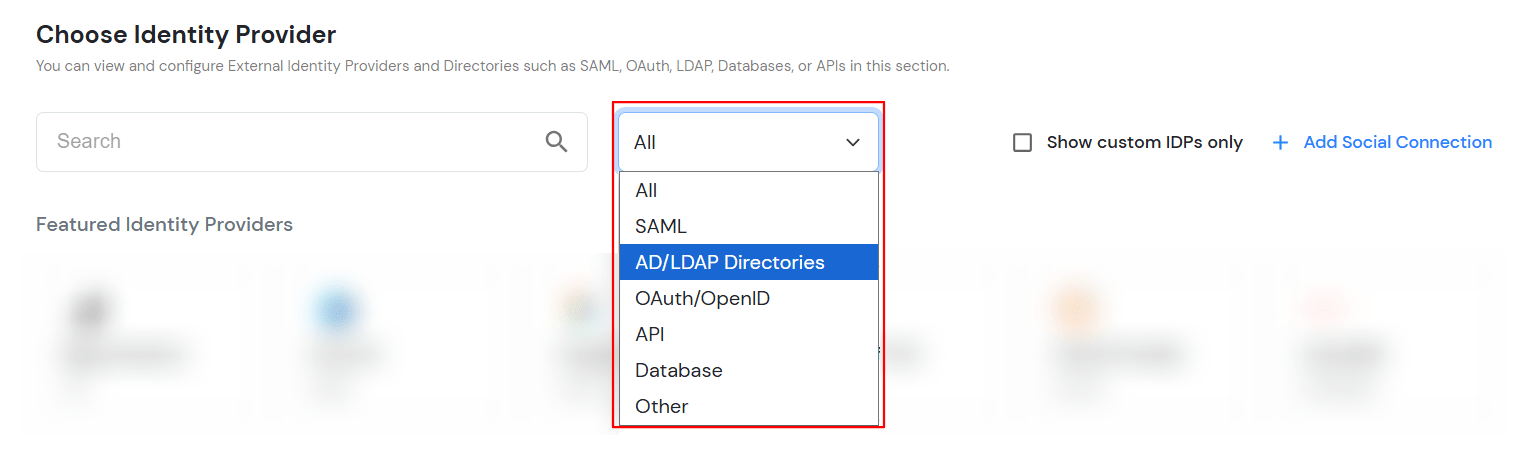
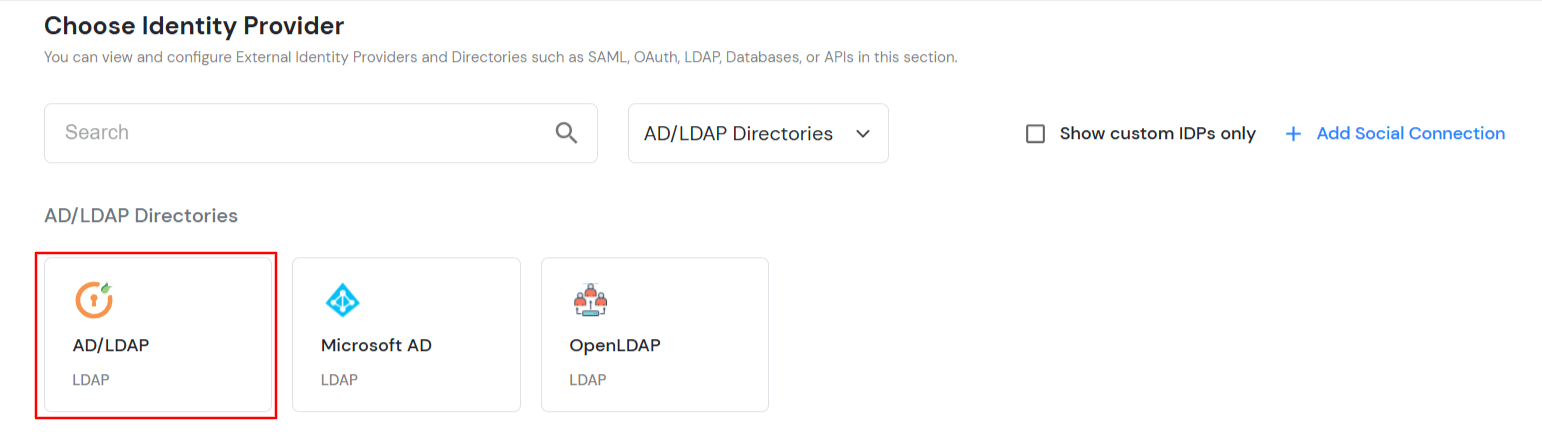
To configure AD/LDAP, select AD/LDAP from the dropdown and click on AD/LDAP Directories.
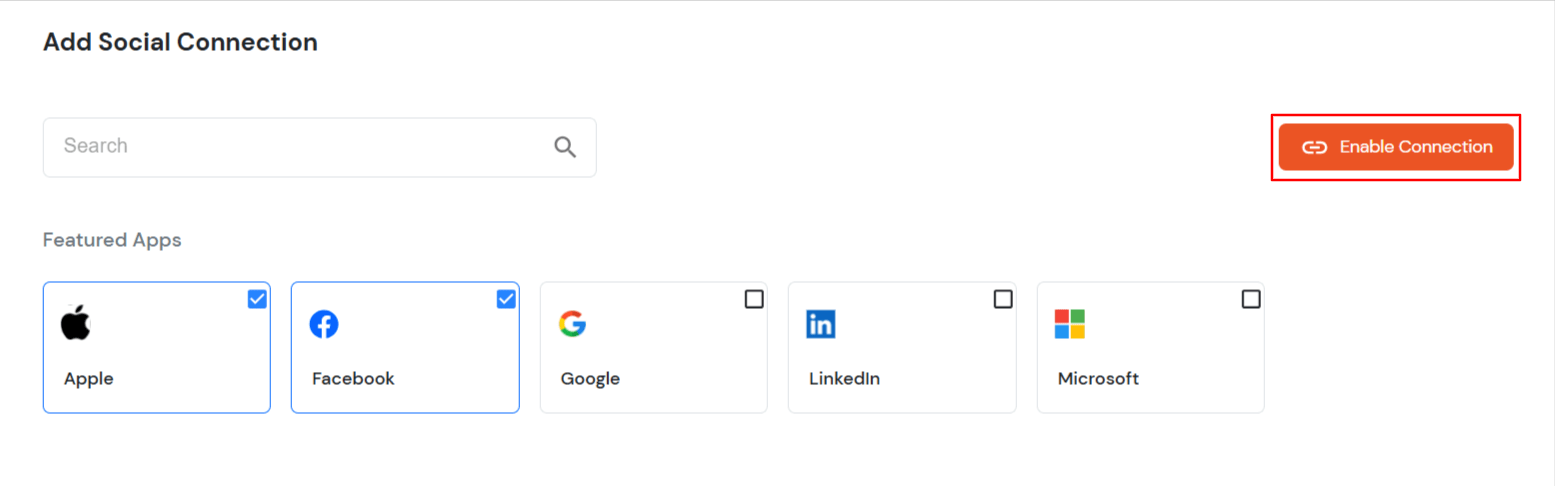
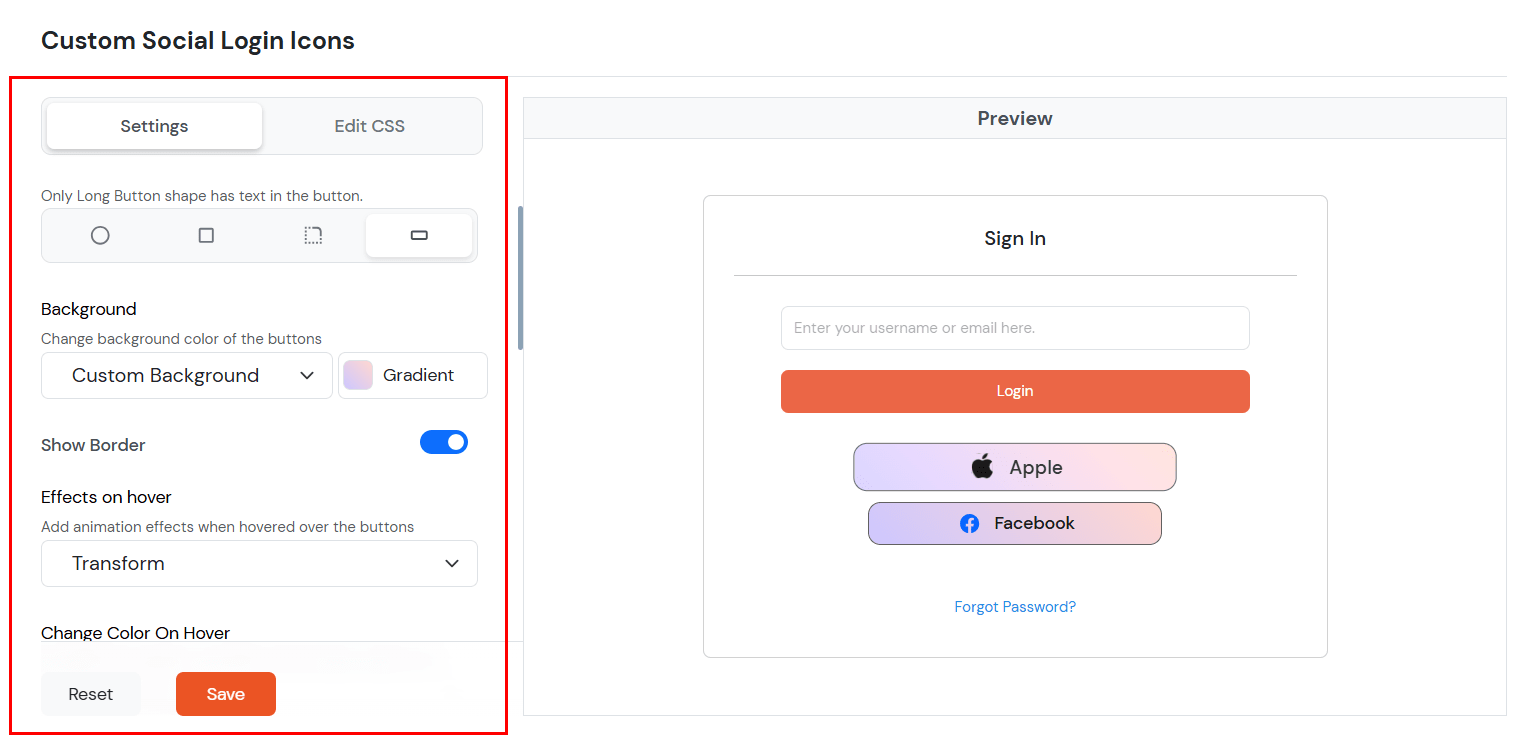

Note: These connections will use miniOrange development keys to quickly test the Social Login in Trial Account. Development keys are intended for testing and are not recommended for production environments. Please switch to your own keys when you upgrade your trial to production account.