Assign Hardware Token to users
A new feature, Multiple Display Token Assignment, allows administrators to assign multiple tokens to a single user. During authentication, users can complete MFA using any of the tokens assigned to them, providing greater flexibility and reliability.
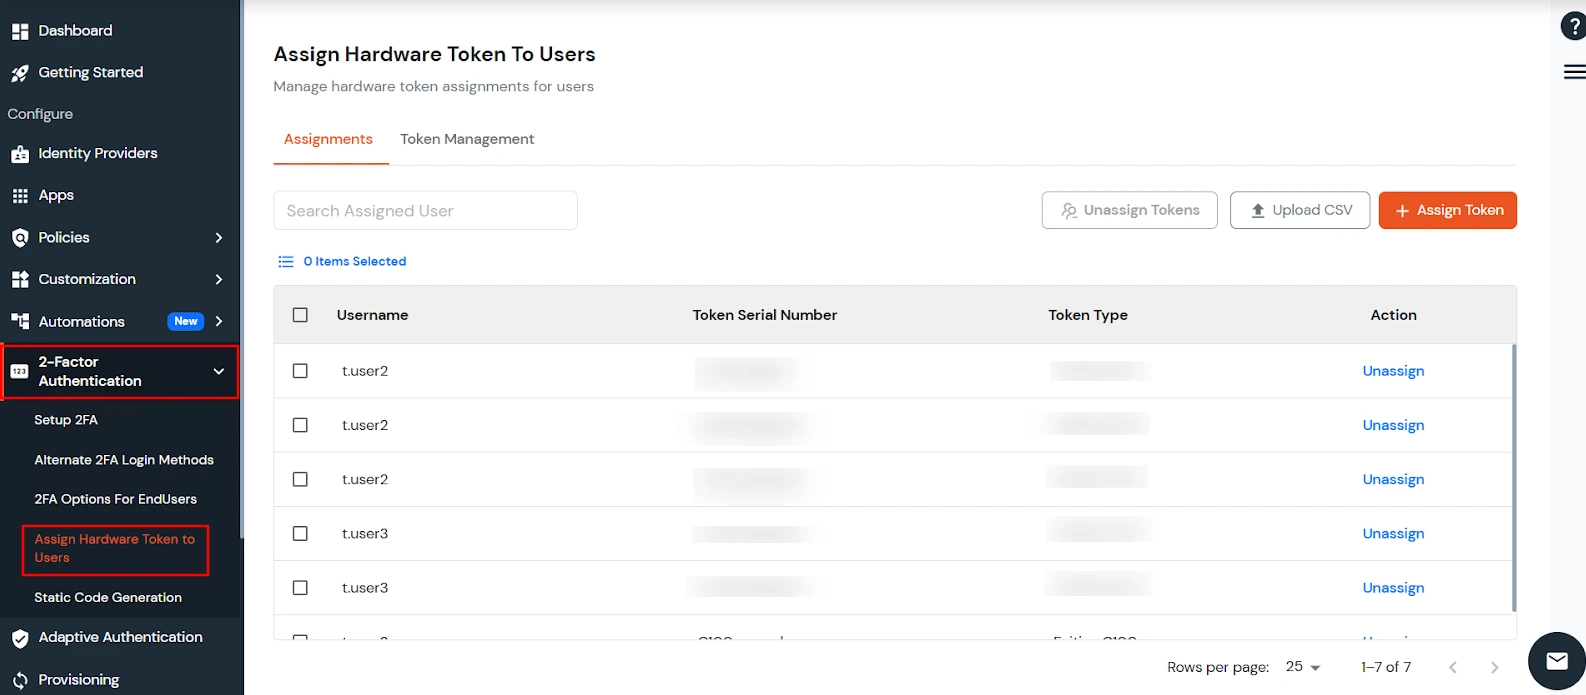
Assignments
[Note: Bulk upload must be enabled for your account, and only tokens added via the Token Management tab can be assigned.]
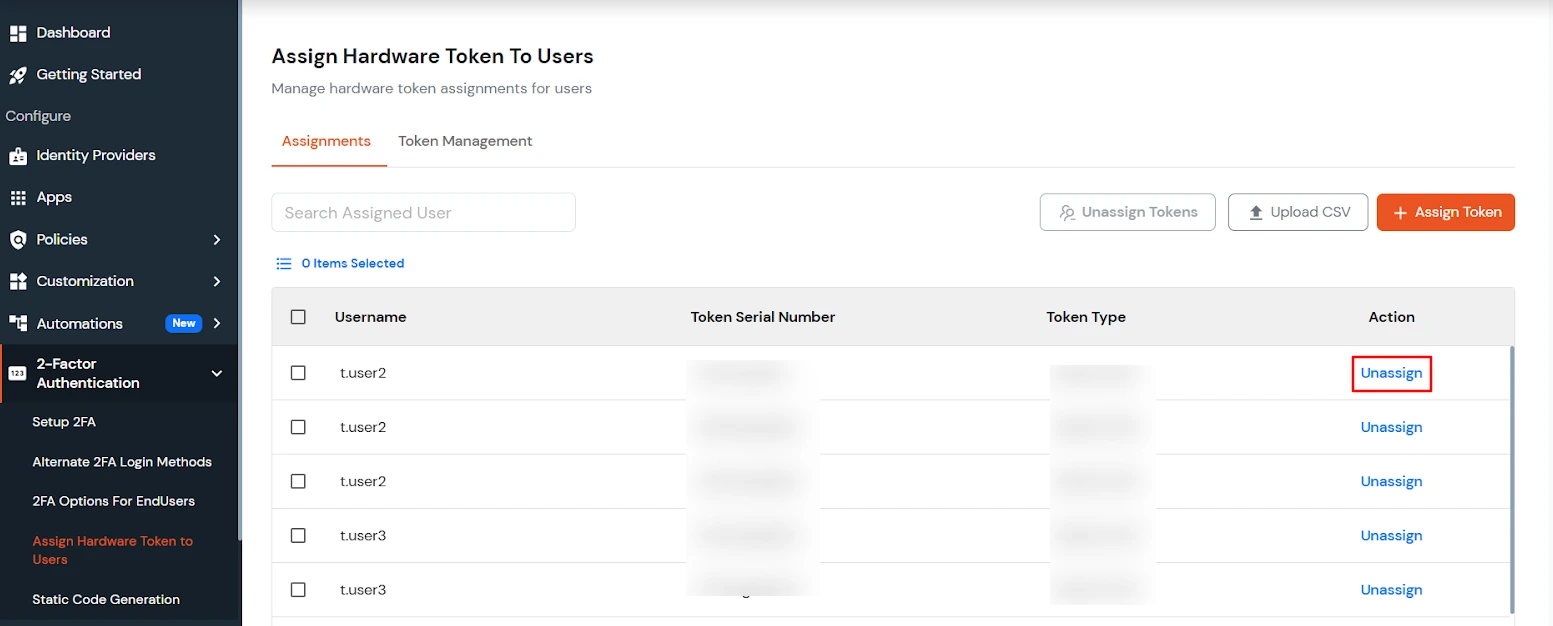
- To unassign a token from a user, click Unassign Tokens in the corresponding row of that token.
- To unassign multiple tokens at once, select multiple rows and click Delete Selection.
Token Management:
- Click on the Token Management tab to view all tokens created by the administrator.

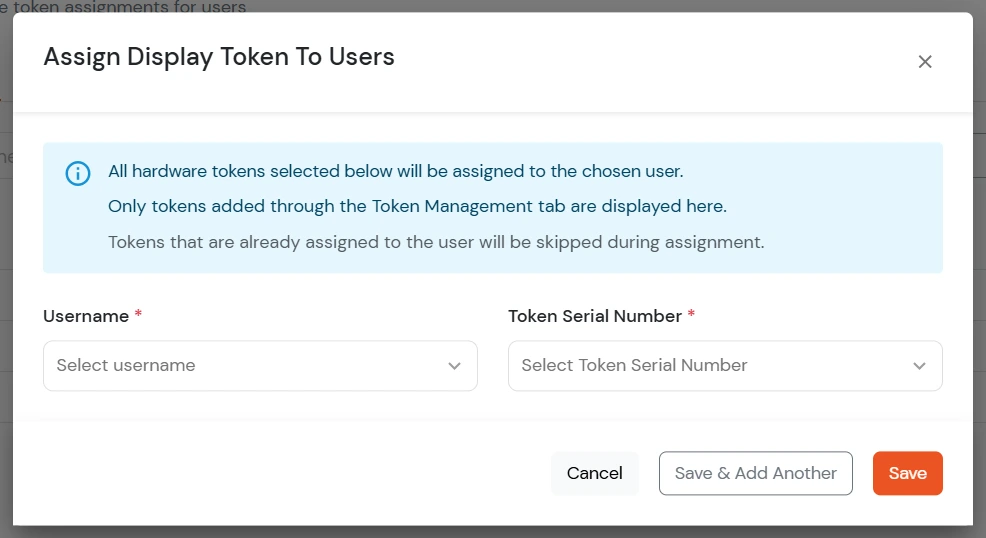
- To add a new token manually, click Add New Token to Add Display Token details for adding a new hardware token.
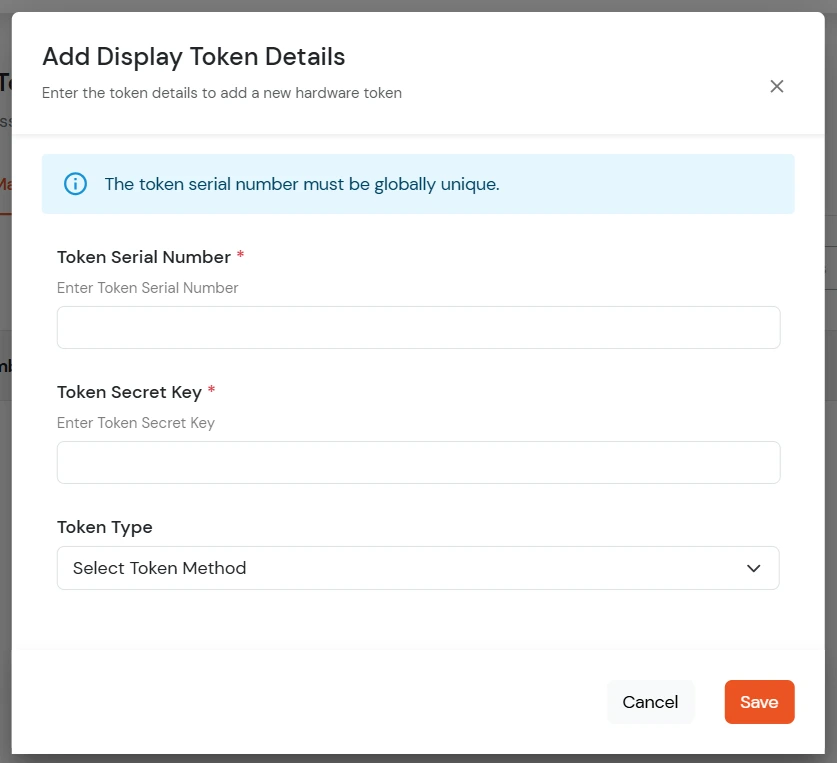
- Enter a unique Token Serial Number.(Two admins can not have same token serial number.)
- Enter the Token Secret Key provided with the hardware token.
- Select the Token Type from the dropdown (miniOrange, Feitian C100, Feitian C200, or TOTP).
- Click Save to add the token.
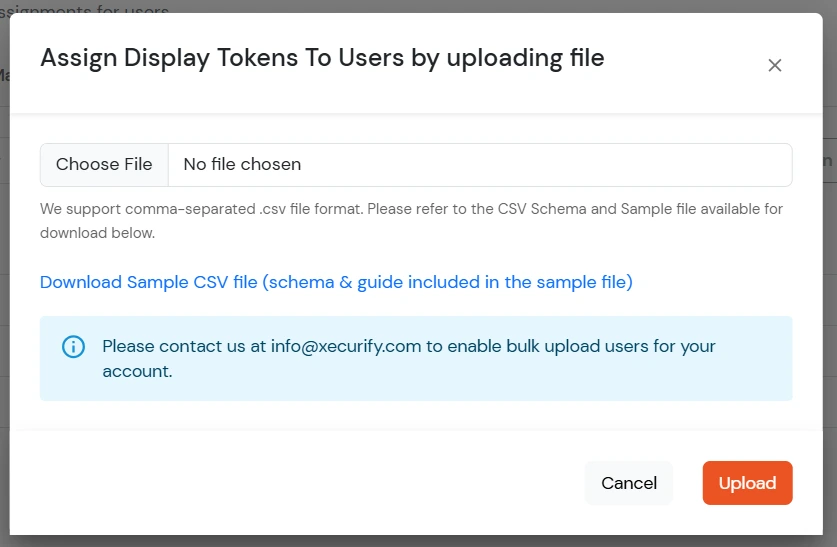
- To add multiple tokens at once, Upload a CSV file.
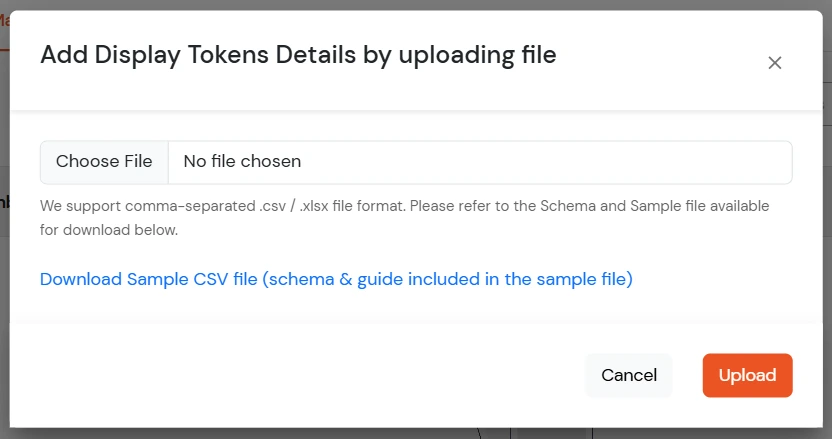
- Choose a CSV File option and click Upload. (You can download the sample CSV file to follow the required format.)
- To delete a token, click Delete in the corresponding row.
- Assigned tokens cannot be deleted. To delete a token, first unassign it from all associated users.
Display Token List and Sync Option
- Navigate to 2-Factor Authentication >> Setup 2FA.
- On this page, go to Hardware Token >> Display Token, and click on Edit.
- You will see a list of all the configured Display Tokens.
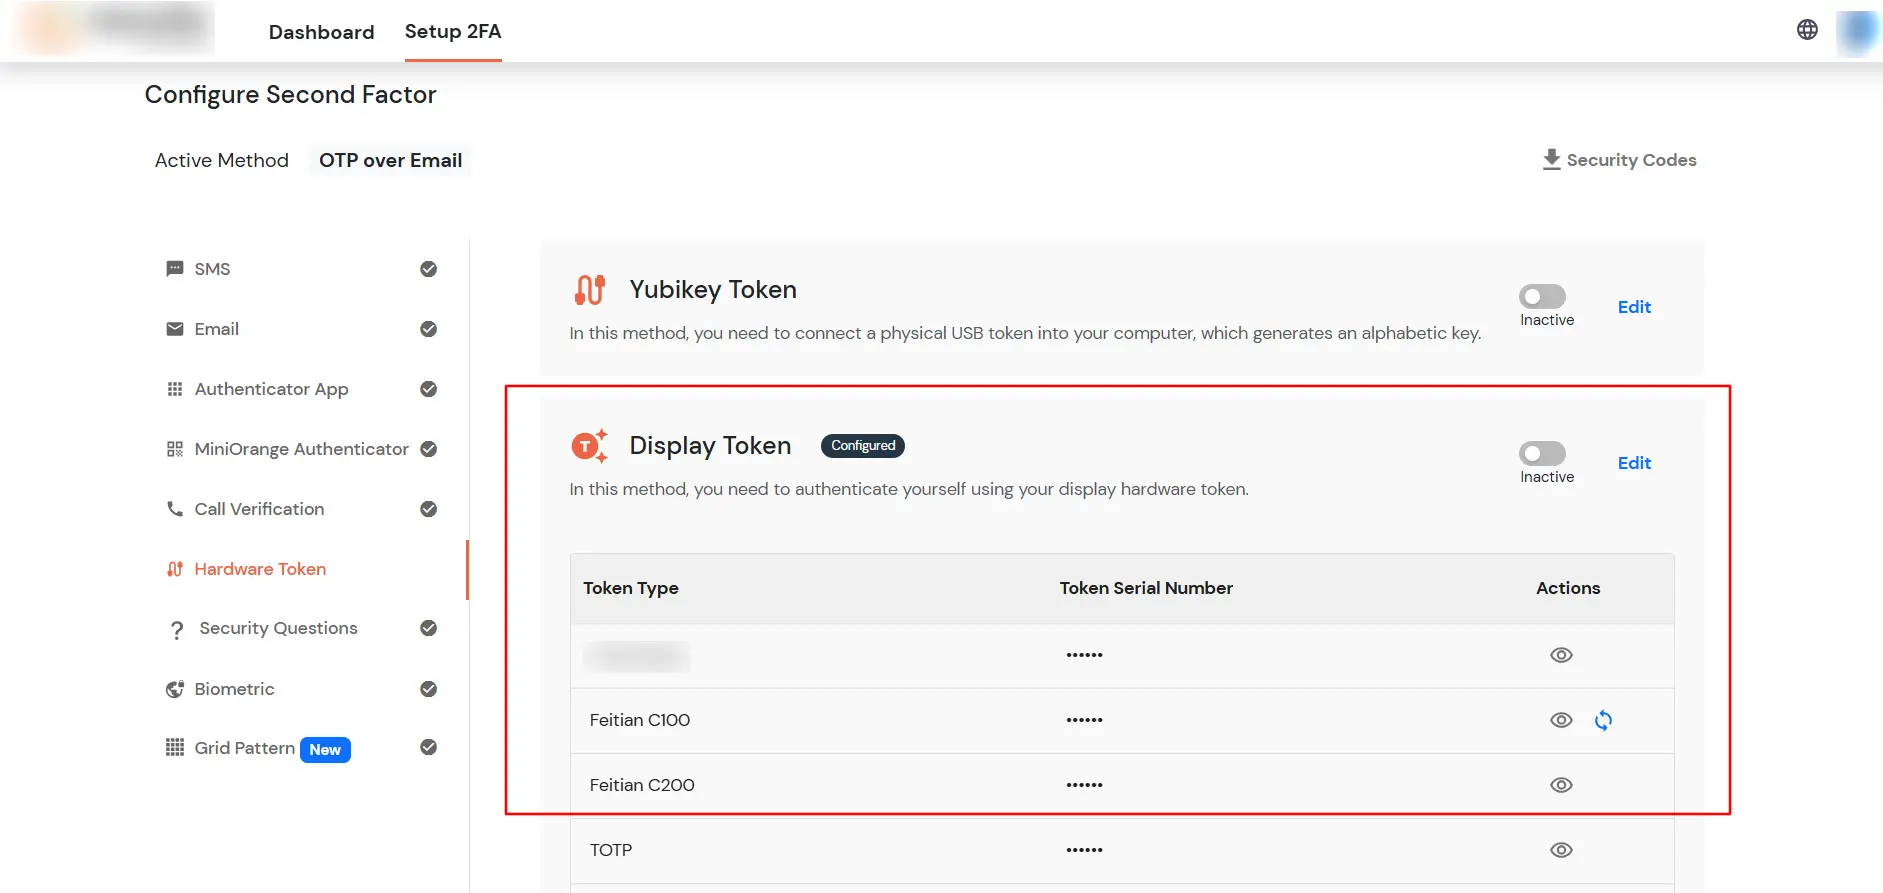
- Admins and end users can sync Feitian C100 tokens by clicking the Sync icon next to the assigned token.
- For end users, the Sync option is capability-based. The sync option is visible on the end-user dashboard and during first-time login only if the admin enables Sync Display Token under Users >> User Roles >> Edit Capability.

- To sync a Feitian C100 token, the user must enter three consecutive OTPs generated by the device.
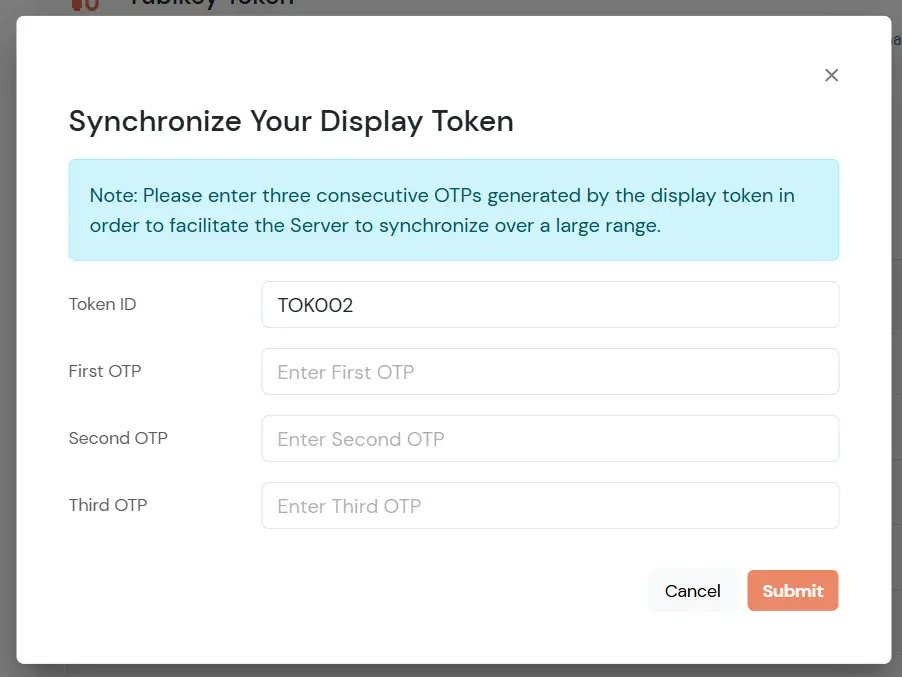
- Click on Submit to finish the Sychronization.