App Categorization
App Categorization allows administrators to organize applications into categories and subcategories for easier discovery on the end-user dashboard. Administrators can create and manage categories, assign applications to categories, and publish the changes when they are ready.
Overview
App Categorization provides a centralized way to group applications for end users. Categories can be created as top-level categories or nested under a parent category. Applications can be assigned from the category page or directly from an application's configuration page.
- Category changes are saved as drafts until they are published.
- Published categories are displayed to end users under the Organization view.
- End users can create and manage their own categories separately under the Personal view.
Prerequisites
App Categorization is available when the New Modern Look for the end-user dashboard is enabled. If this is not enabled, the App Categorization option is not available on the Apps page.
- Go to Settings >> Account >> Preferences.
- Under the end-user dashboard preferences, select New Modern Look.
- Save the preference to enable the new dashboard experience.
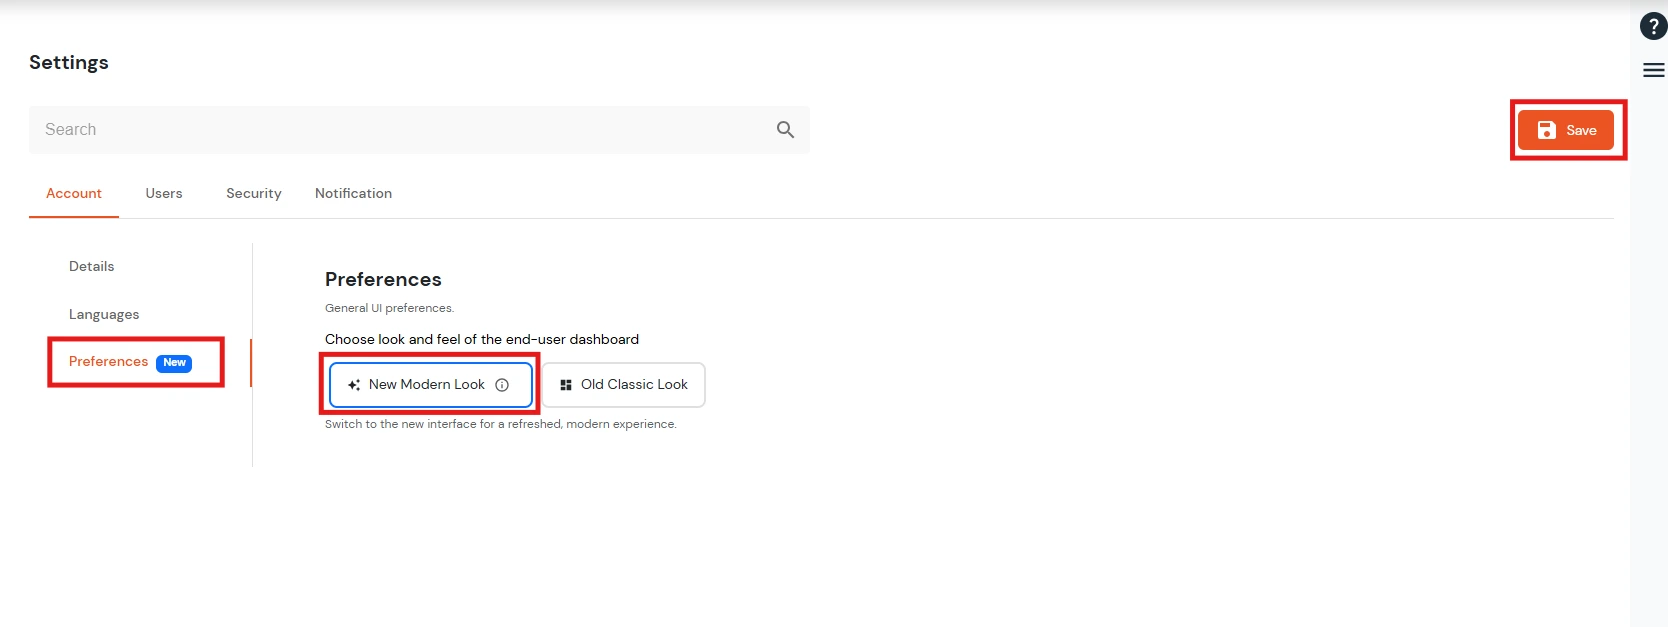
How to configure App Categorization
- From the left navigation menu, go to Apps.
- Select App Categorization.
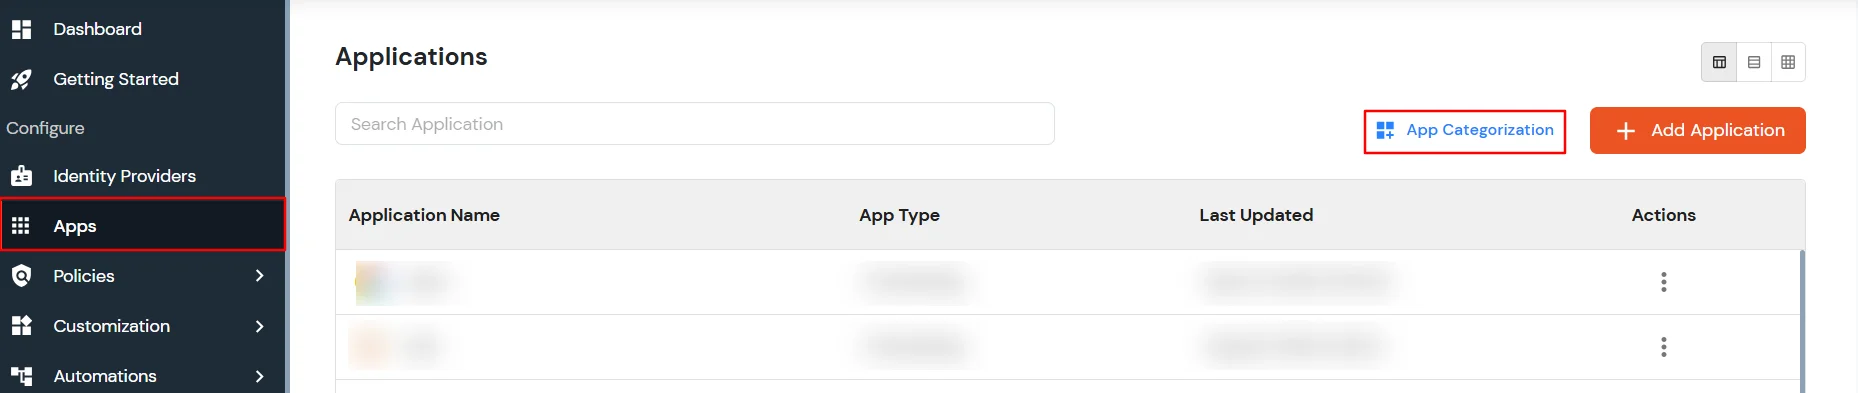
1. Create a category
Create categories to group related applications. A category can be created as a top-level category or as a child of an existing category.
- In the App Categorization page, click the + icon next to Categories.
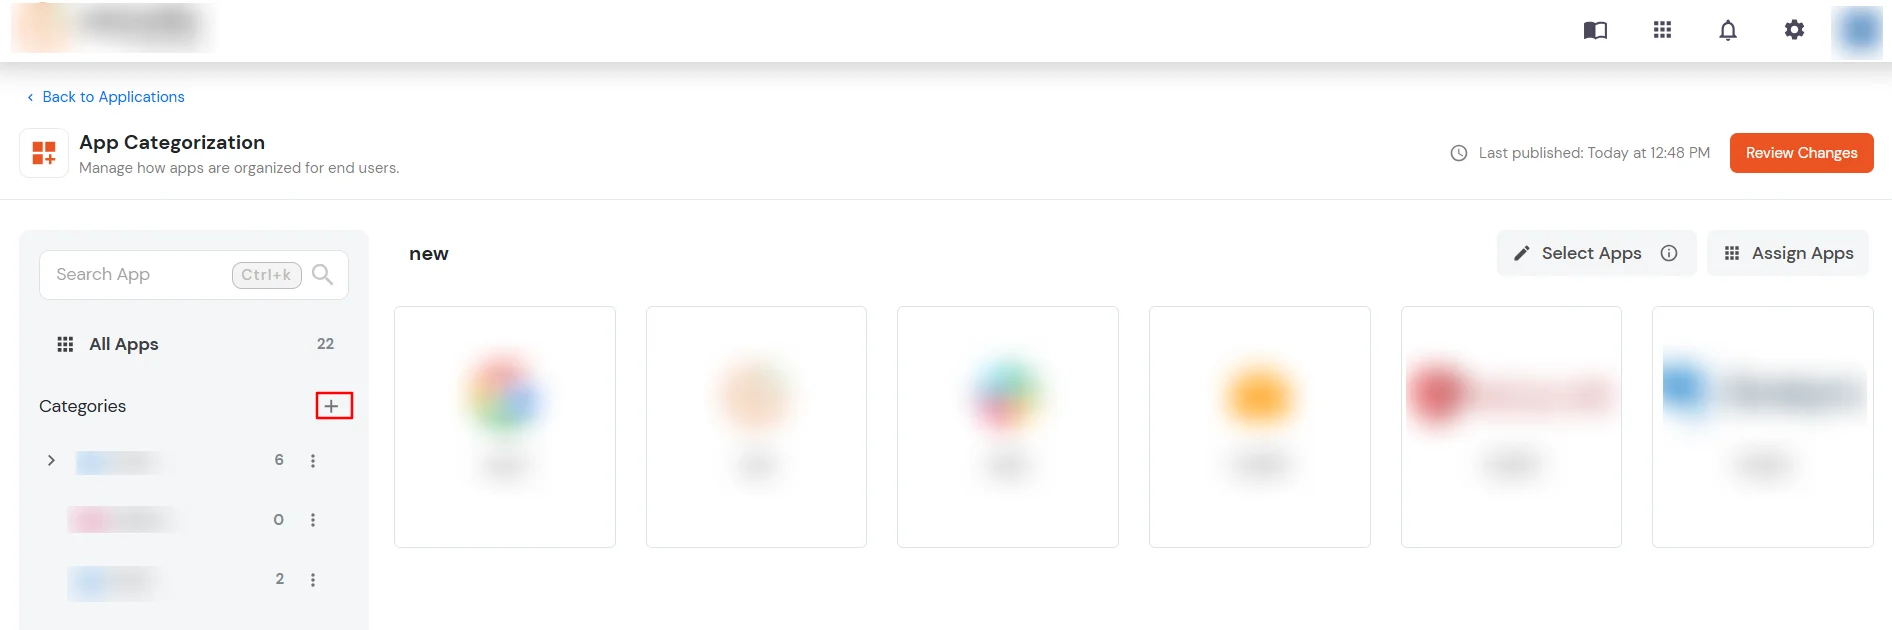
- Enter a Category Name.
- Select a Parent Category, or select None to create a top-level category.
- Select a Category Color from the available palette, or enter a custom HEX value.
- Review the category preview and click Create Category.
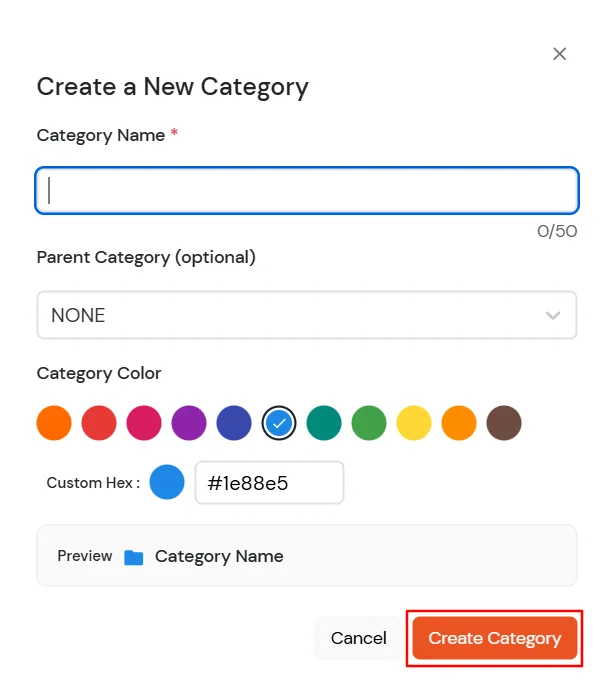
- The category is saved as a draft and selected in the category list.
- You can now assign applications to the category from the category page or from the application's configuration form.
2. Create a child category
Use child categories to create a hierarchy within your application groups. For example, a Finance category can contain child categories such as Accounting and Budgeting.
- Open the three-dot menu next to the parent category.
- Select Add Child Category.
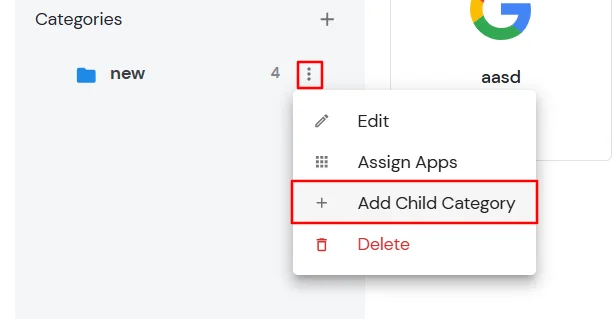
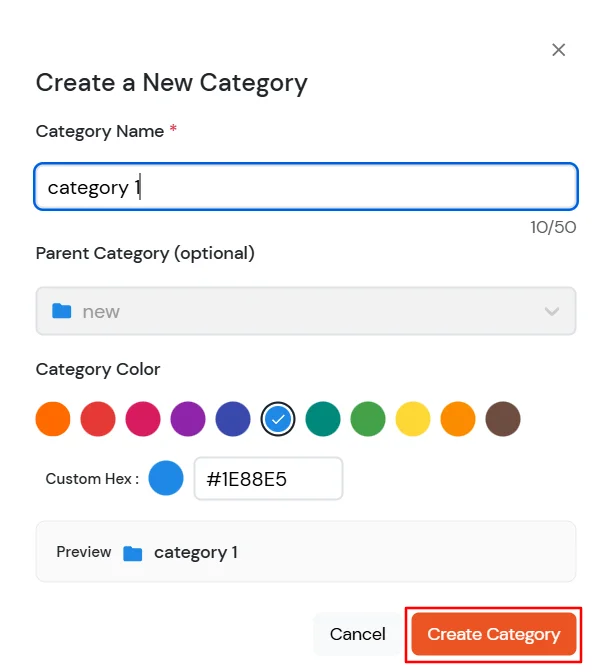
- The parent category is preselected in the category form.
- Enter the child Category Name and update the Category Color if required.
- Click Create Category to create the child category.
3. Edit or delete a category
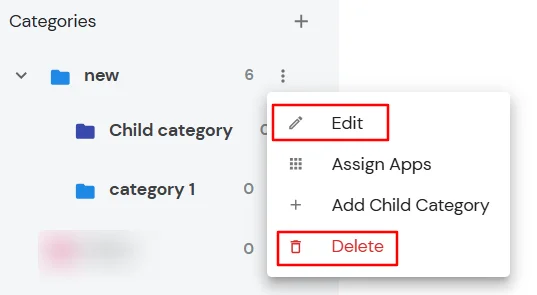
- Open the three-dot menu next to the category you want to manage.
- Select Edit to update the category details, or select Delete to remove the category.
- Review the change before publishing. Category changes remain in draft until you publish them.
4. Assign applications to a category
Applications can be assigned to a category from the category page. You can select multiple applications and assign them at the same time.
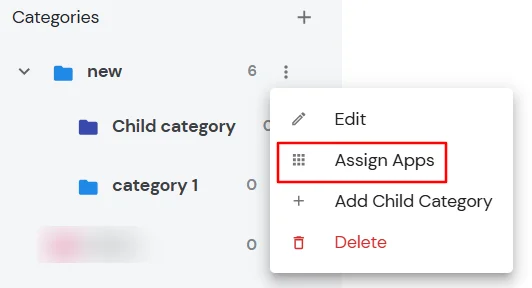
- Select the required category.
- Click Assign Apps.
- Select one or more applications from the list.
- Applications already assigned to the category remain selected and cannot be selected again.
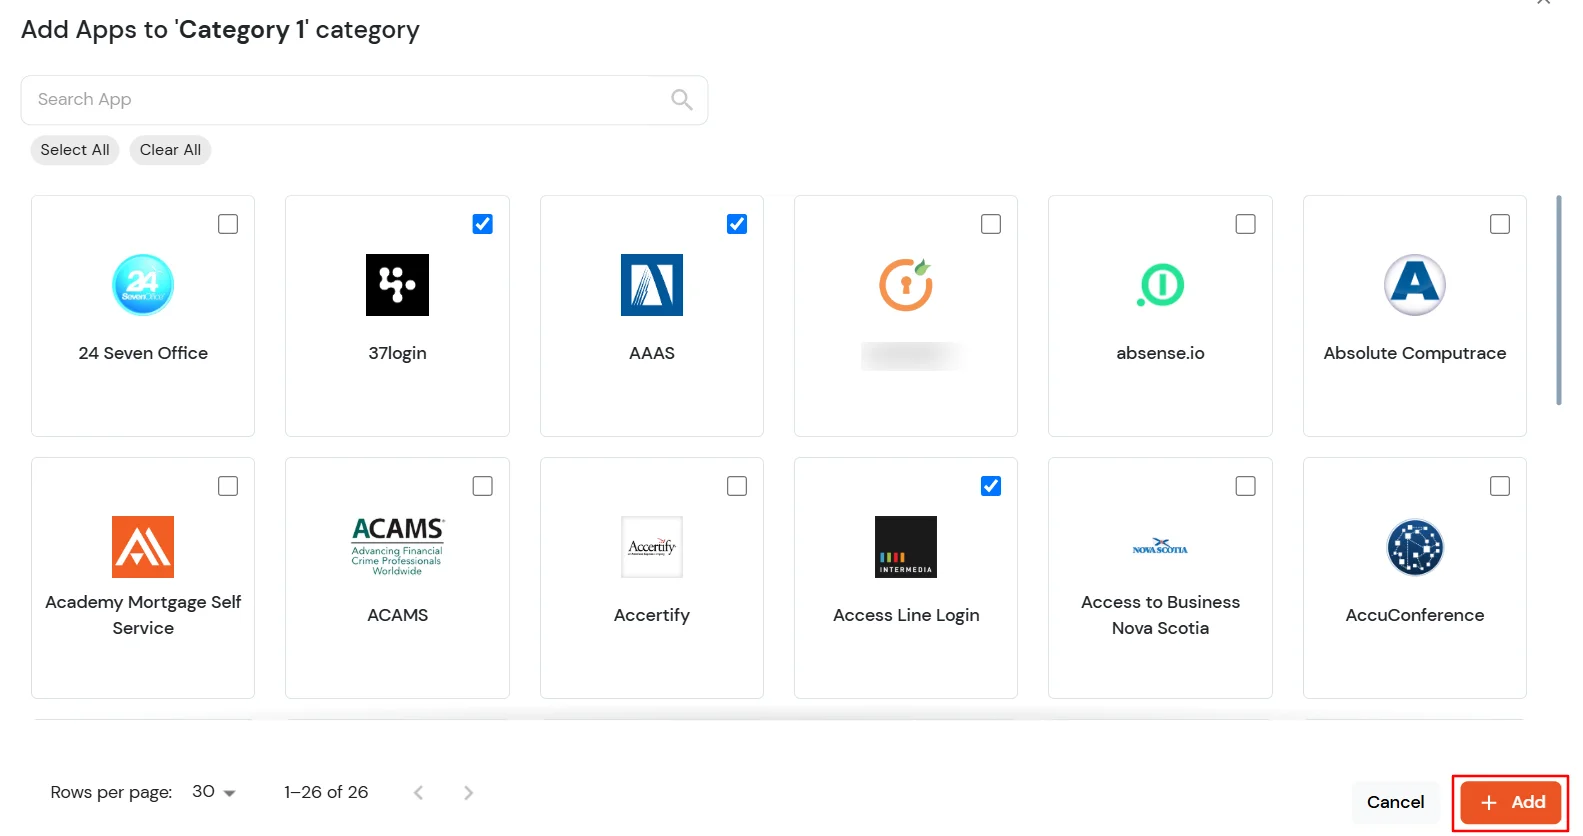
- Click Add to save the application assignment as a draft.
- The assignment is not visible to end users until the draft changes are published.
5. Assign categories while creating or editing an application
You can also assign an application to one or more categories directly from the application configuration form.
While creating an application:
- Go to Apps and click Add Application.
- Select the required application type and open its configuration form.
- In Add App to Categories, select one or more categories.
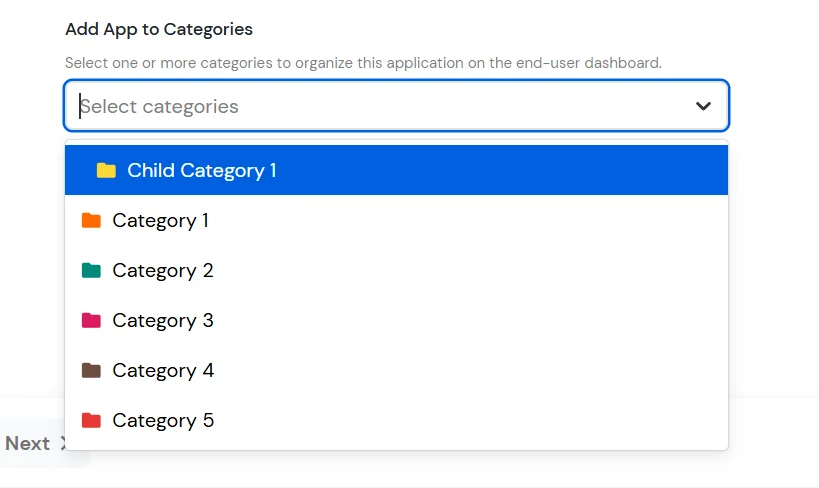
- Complete the application configuration and save the application.
- The category assignment is saved as a draft and must be published from App Categorization before it is visible to end users.
While editing an application:
- Open the required application from Apps.
- In Add App to Categories, review the categories currently assigned to the application.
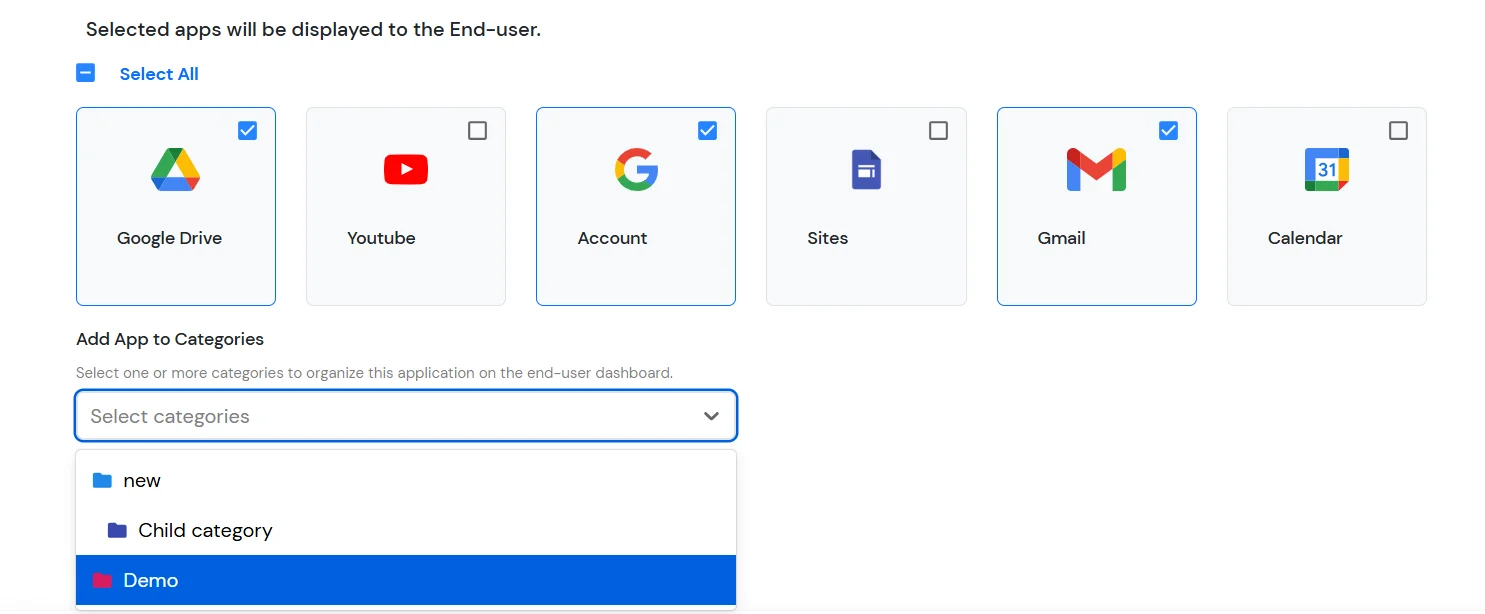
- Add or remove categories as required and save the application.
- If the category selection has not changed, no new draft is created. Any successful category change remains a draft until it is published from App Categorization.
6. Perform actions on multiple applications
Use bulk actions when you need to update the category assignment for multiple applications at once.
- Open the required category.
- Click Select Apps and select the applications you want to update.
- Click the Actions dropdown.
- Select Remove Apps to remove the selected applications from the current category.
- Select Add To to add the selected applications to another category.
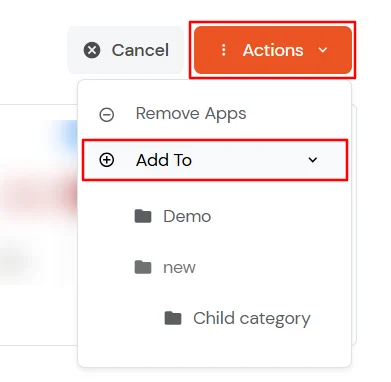
- Complete the action and review the resulting draft change before publishing.
7. Review and Publish
Use Review Changes to verify all category and application assignment changes before publishing them.
- After making the required changes, click Review Changes in the top-right corner.
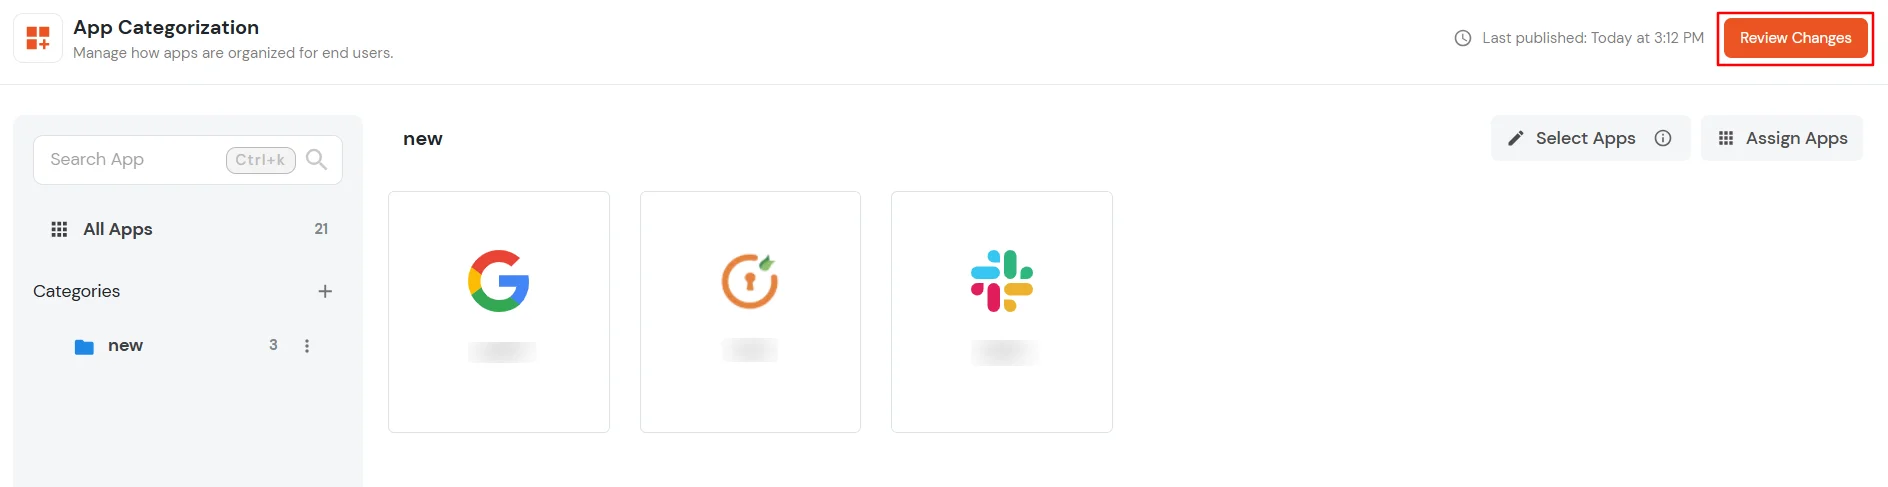
- Review the list of draft changes, including category changes and application assignments.
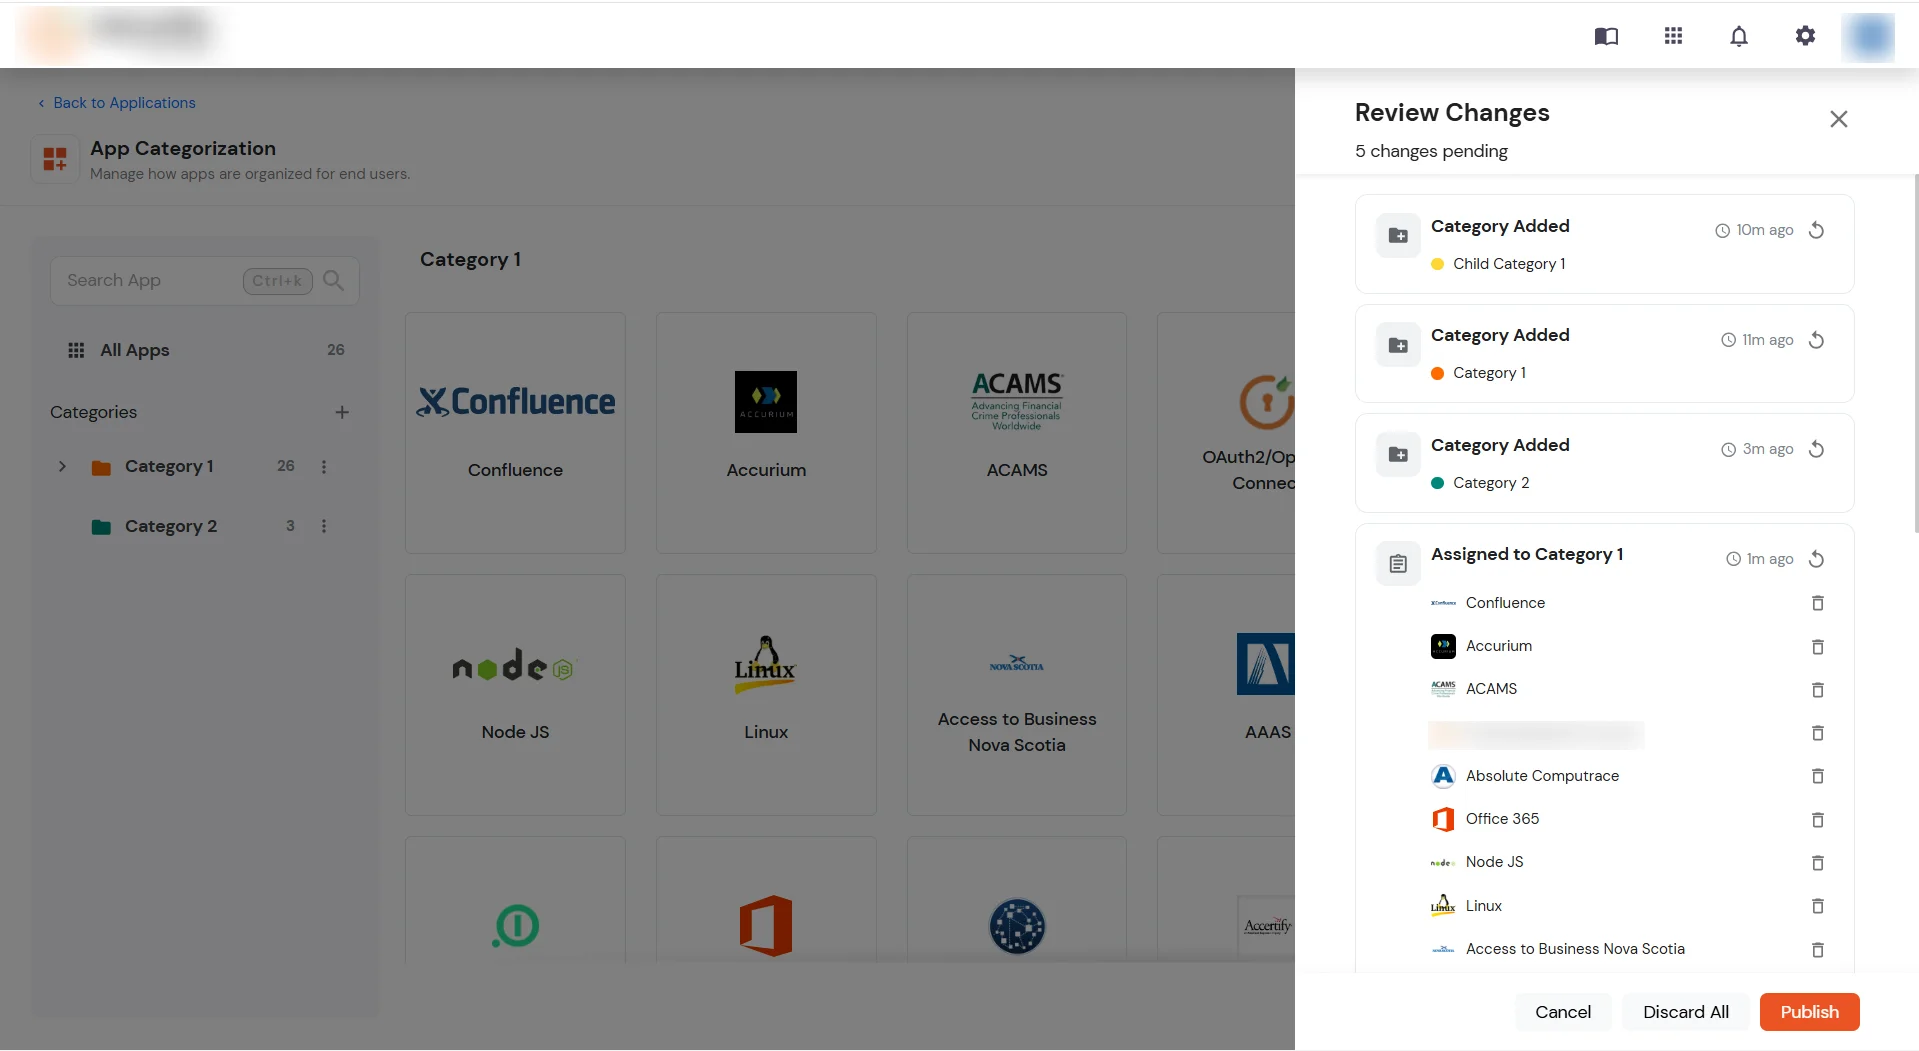
- Use the Undo icon next to an individual change to remove that draft change.
- Click Discard All to remove all pending draft changes.
- In Review Changes, verify that the pending changes are correct.
- Click Publish. Only published changes are displayed to end users.
- After publishing, end users can see the administrator-defined categories under the Organization view on their dashboard.
8. Organization and Personal categories
The end-user dashboard separates administrator-defined categories from categories created by individual end users.
- Organization: Contains categories published by the administrator. End users can view these categories and launch the applications assigned to them.
- Personal: Contains categories created and managed by the individual end user. These categories are separate from the Organization categories.
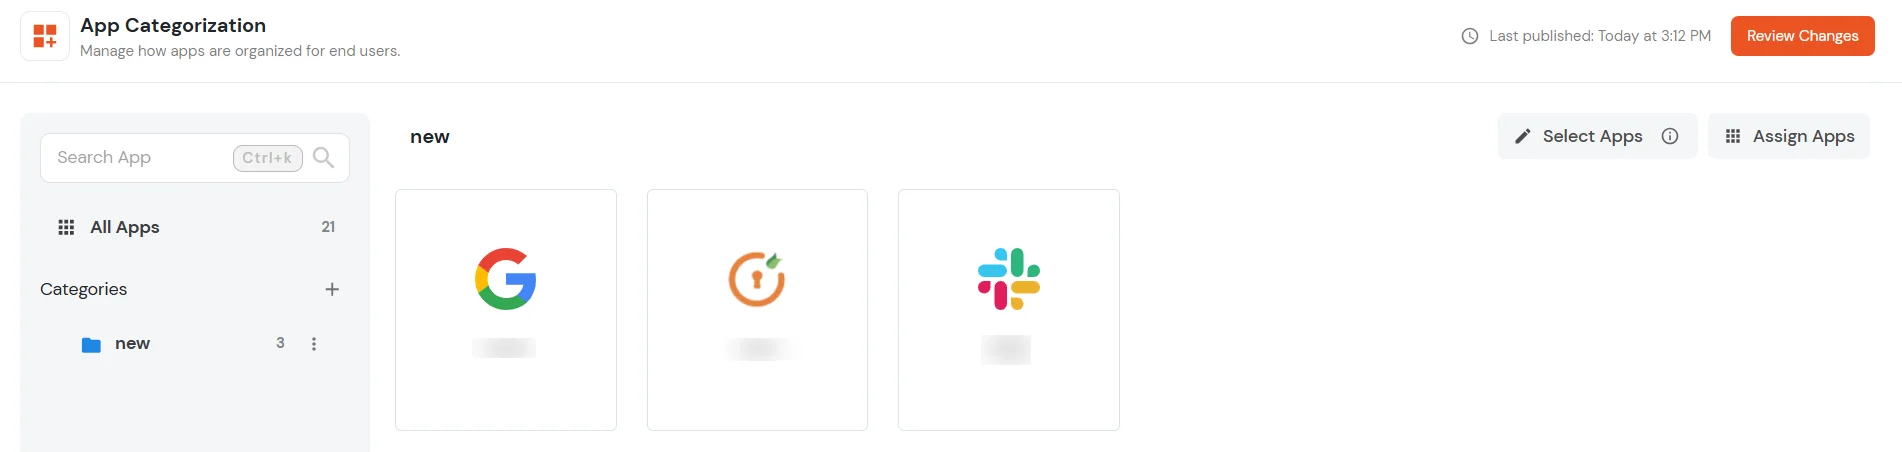
Note: Changes made through App Categorization are maintained as drafts until they are published. Make sure to review pending changes before publishing them.

